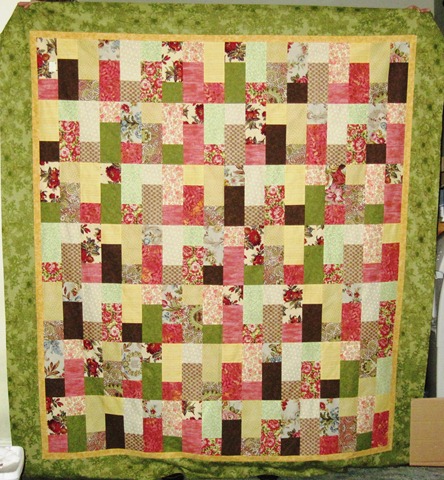
4 Days, 14 Hours = 1 Quilt Top

You have a holiday weekend and what do you do?  You QUILT!!
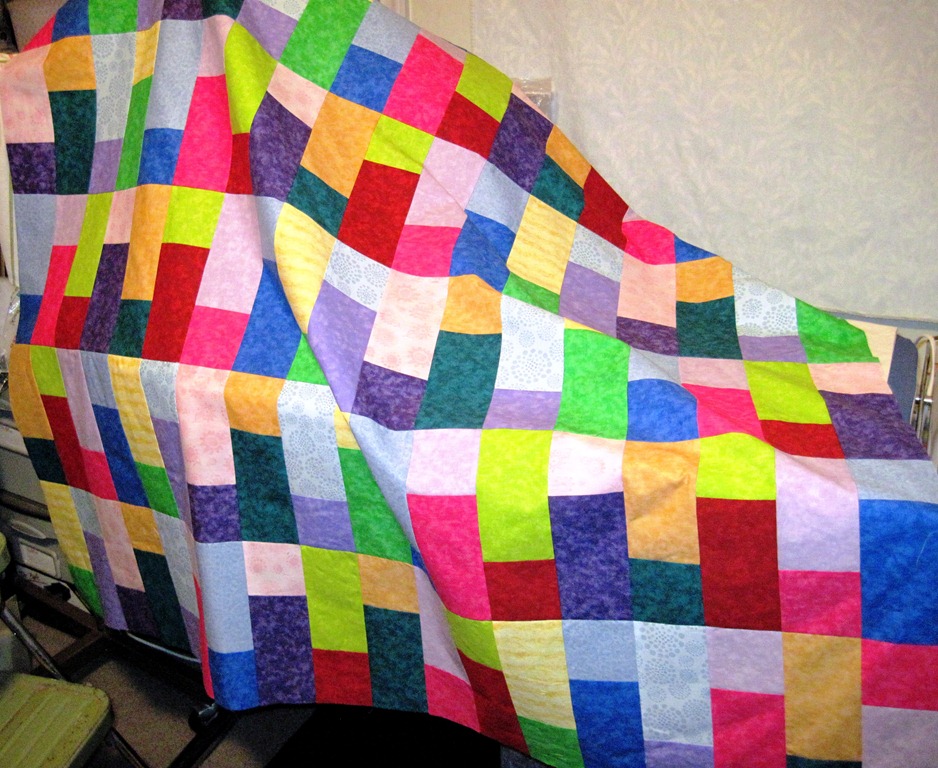
I was just curious, so this past weekend I kept a log.  I was interested in seeing just how long it would take to make a Quilt Top.  Not just a baby quilt, but a grown-up, adult-size, almost bed-size Quilt.

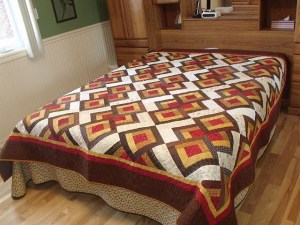
Now, let’s be honest, this is not a Quilt.  It is just the ‘Flimsy” pieced top which will one day become a Quilt.  I have the backing.  Because of the size of the quilt – 65” x 74.5” I will have to stitch together two pieces of fabric to make the back (you see, fabric comes about 45” wide, although you can find extra wide fabric – but that’s a topic for another blog post.)

Also, before it can become a Quilt, I have to buy some batting.  All the quilt batting I have is for baby/children quilts and this is a bit larger.  Guess that means I need a road-trip to Purcellville, VA, to visit Web Fabrics and do some shopping! Open-mouthed smile

OK, back to my weekend.  To begin with you must have a quilt pattern & fabric.  Some people design their own patterns, but I’m guessing that will not be one of my activities.  I do fairly well following directions, and am happy when someone else has assembled the fabric/colors.  So, I pulled out one of the Scrappy Fat 5 Quilt Bundles that I had recently purchased from Fabric Café – Fabric Bundles (Thanks Donna, you guys have Great Prices, Fabric and Patterns!)

So, Pattern & Fabric in hand, Excel spreadsheet set up, Food for Mel to Grill for meals, and Sewing Studio ready (ok, the Ironing Board, Cutting Table & Sewing Machine/Table were somewhat clean), I set out to make a Quilt Top.

  • Sort Fabric
  • Iron Fabric
  • Cut Fabric
  • Sew Cut Fabric into Strip Sets
  • Iron Strip Sets
  • Cut Strip Sets into Segments/Blocks
  • Arrange Segments/Blocks in a pleasing pattern to create Rows
  • Sew Segments/Blocks into Rows
  • Iron Rows
  • Sew Rows together

Do you happen to see a Pattern developing?  There is a lot of Ironing & Cutting in addition to the Sewing that makes up creating a Quilt Top!

After the pieced rows are together then you get to (you guessed it!):

  • Measure/Iron/Cut/Sew Border #1 pieces
  • Sew Border #1 on Left/Right sides
  • Iron
  • Sew Border #1 on Top/Bottom
  • Iron
  • Measure/Iron/Cut/Sew Border #2 pieces
  • Sew Border #2 on Left/Right sides
  • Iron
  • Sew Border #2 on Top/Bottom
  • Iron

TaDa!! Four days, 14 hours later, you have a Quilt Top!


Posted in Hobbies, Quilting, Quilts | Leave a comment

Garden Path – 5-yard Bundle Kit – Flimsy Complete!

In the language of quilters, a Flimsy is a quilt top that has been pieced together, but has not had the batting & backing added to it.  I can say today I have completed the Flimsy of The Garden Path.  This is one of the new 5-Yard Bundle kits available from Fabric Cafe.

This is a new pattern created by Donna Robertson entitled Scrappy Fat Five Quilt.  The Garden Path Kit has 4 yards of Fat Quarters plus 1 yard of Border fabric.  The finished quilt is 63” x 72” and uses a twin bed batting.

I began this Quilt Top on 6/18.  I have a number of other projects going, so I didn’t work on it every day.  I didn’t take pictures of all the steps along the way, but here are a few showing some of the work.


This week I will piece together the backing.  If I have the batting, I will try to assemble the quilt sandwich (backing + batting + top) and baste them together.  In the meantime I will try and figure out how this will be quilted.

Posted in Hobbies, Quilts | Leave a comment

Quillow & Pillowcases & Baby Quilts & Placemats, Oh! MY!!

Last week I got together with a cousin to do some quilting.  She’s a beginner and I just like doing it!  We enjoyed 3 days of visiting, cutting, sewing & eating.  All essential components of quilting.

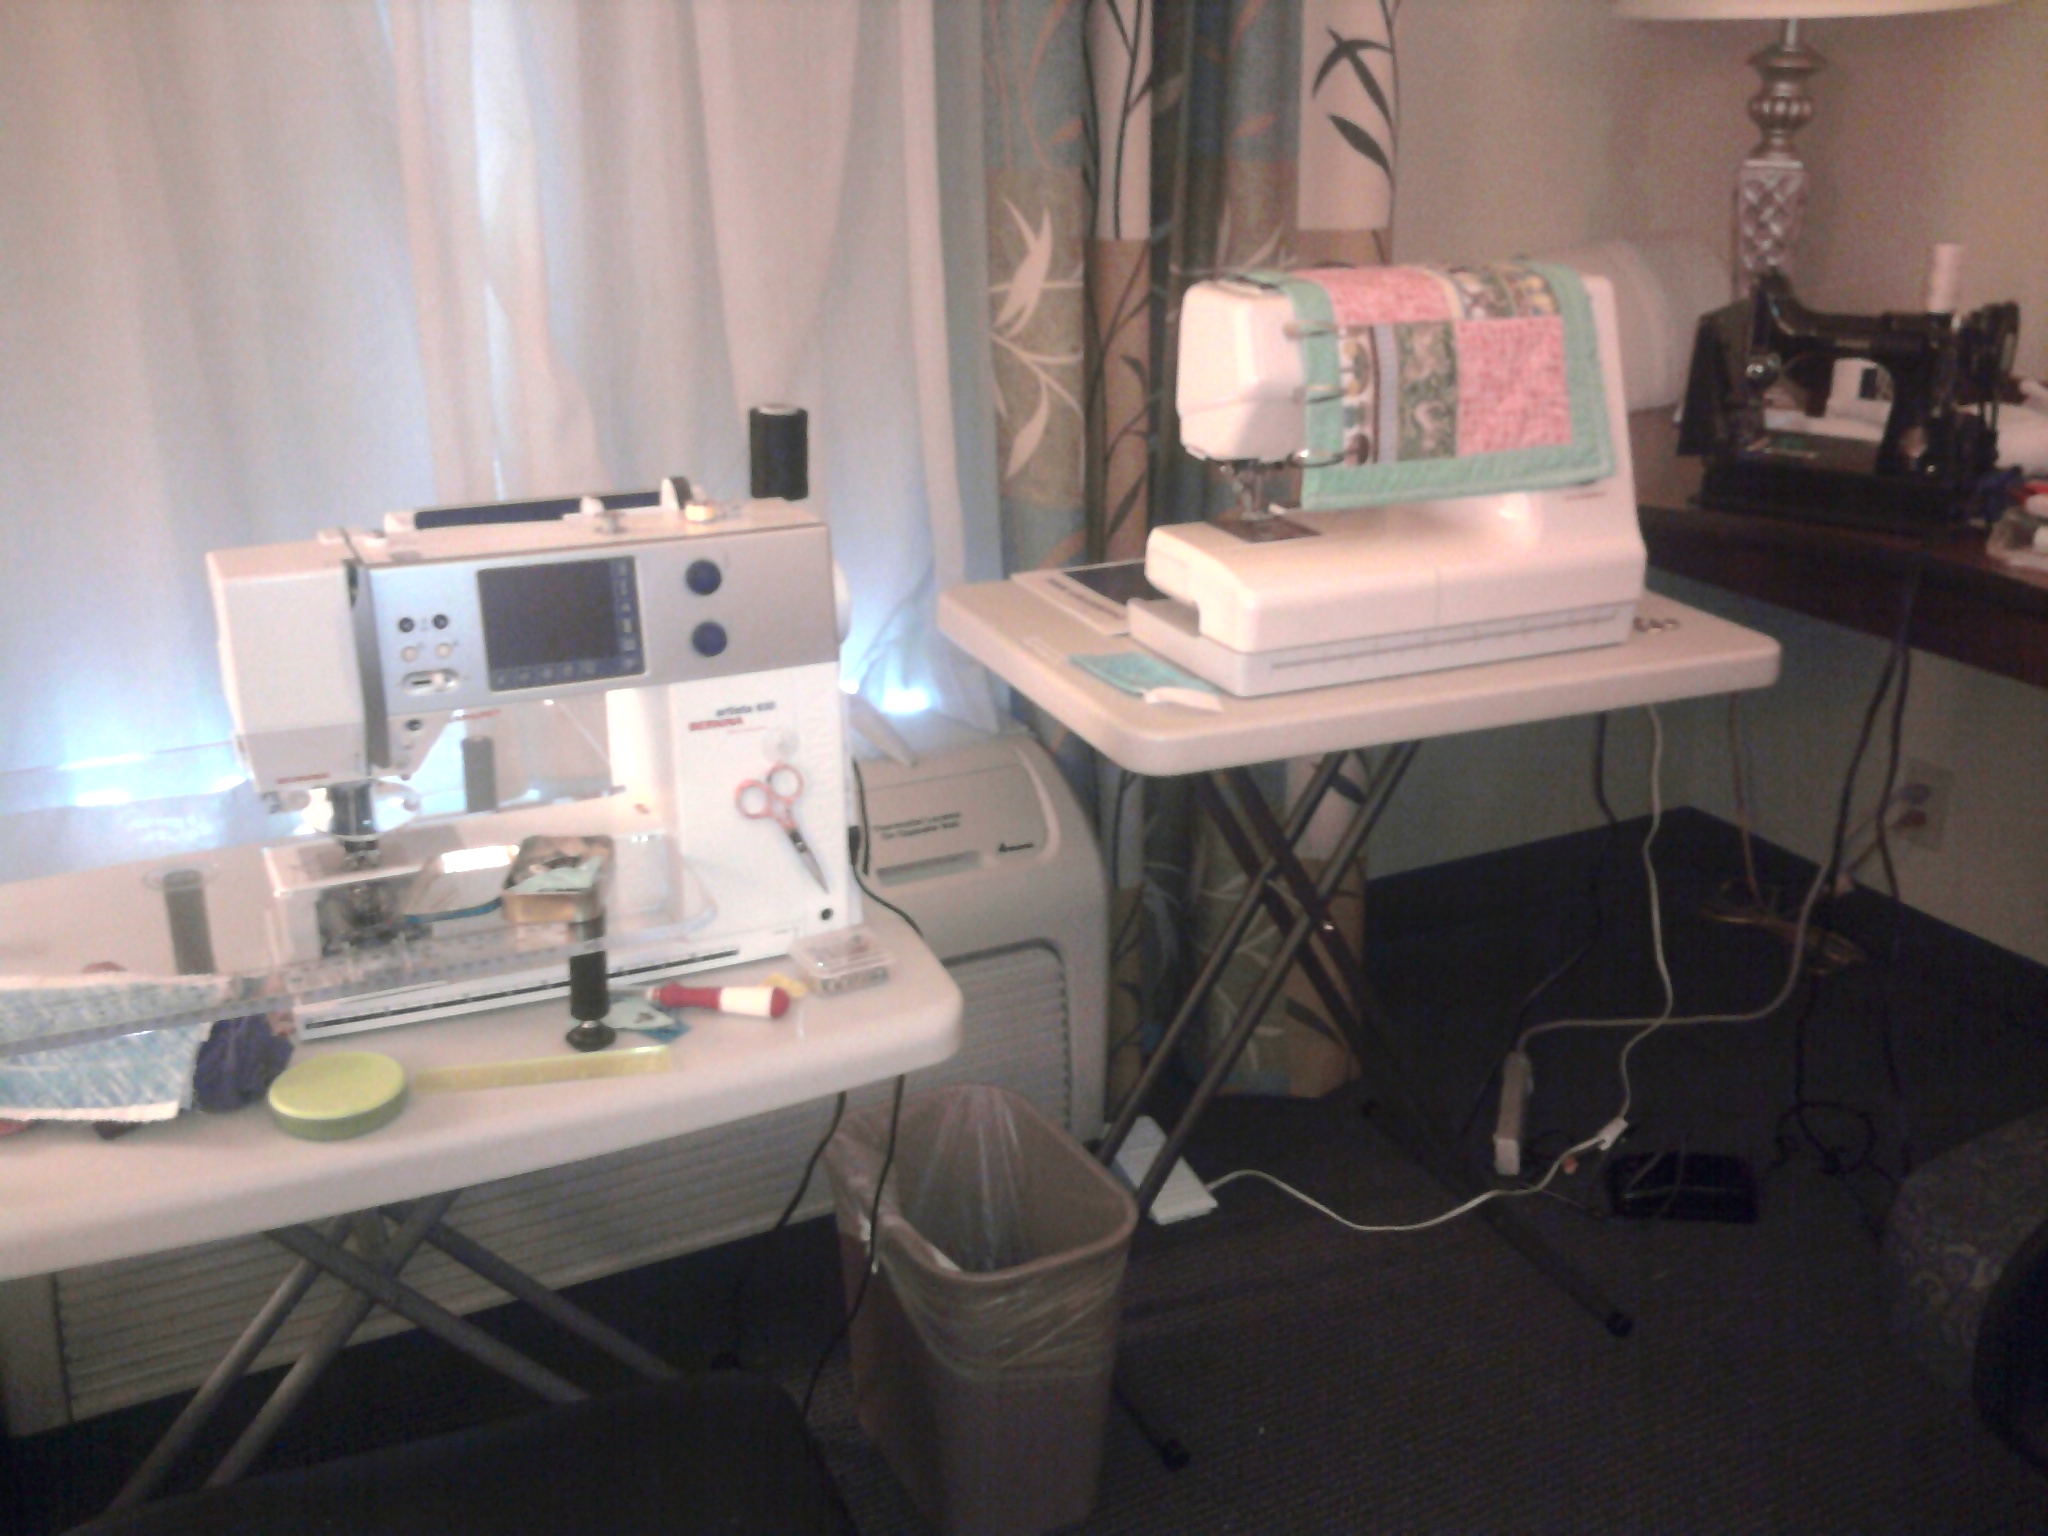
See our sewing set up:

Sewing Machines

April 2011 - Quilting with Karen Hampton Inn

The sewing machines were set up so we could face out the window — great light for sewing!  The cutting mat is on the desk to the right, and the ironing board is on the other side of the room.  We had a regular quilting assembly line set up!

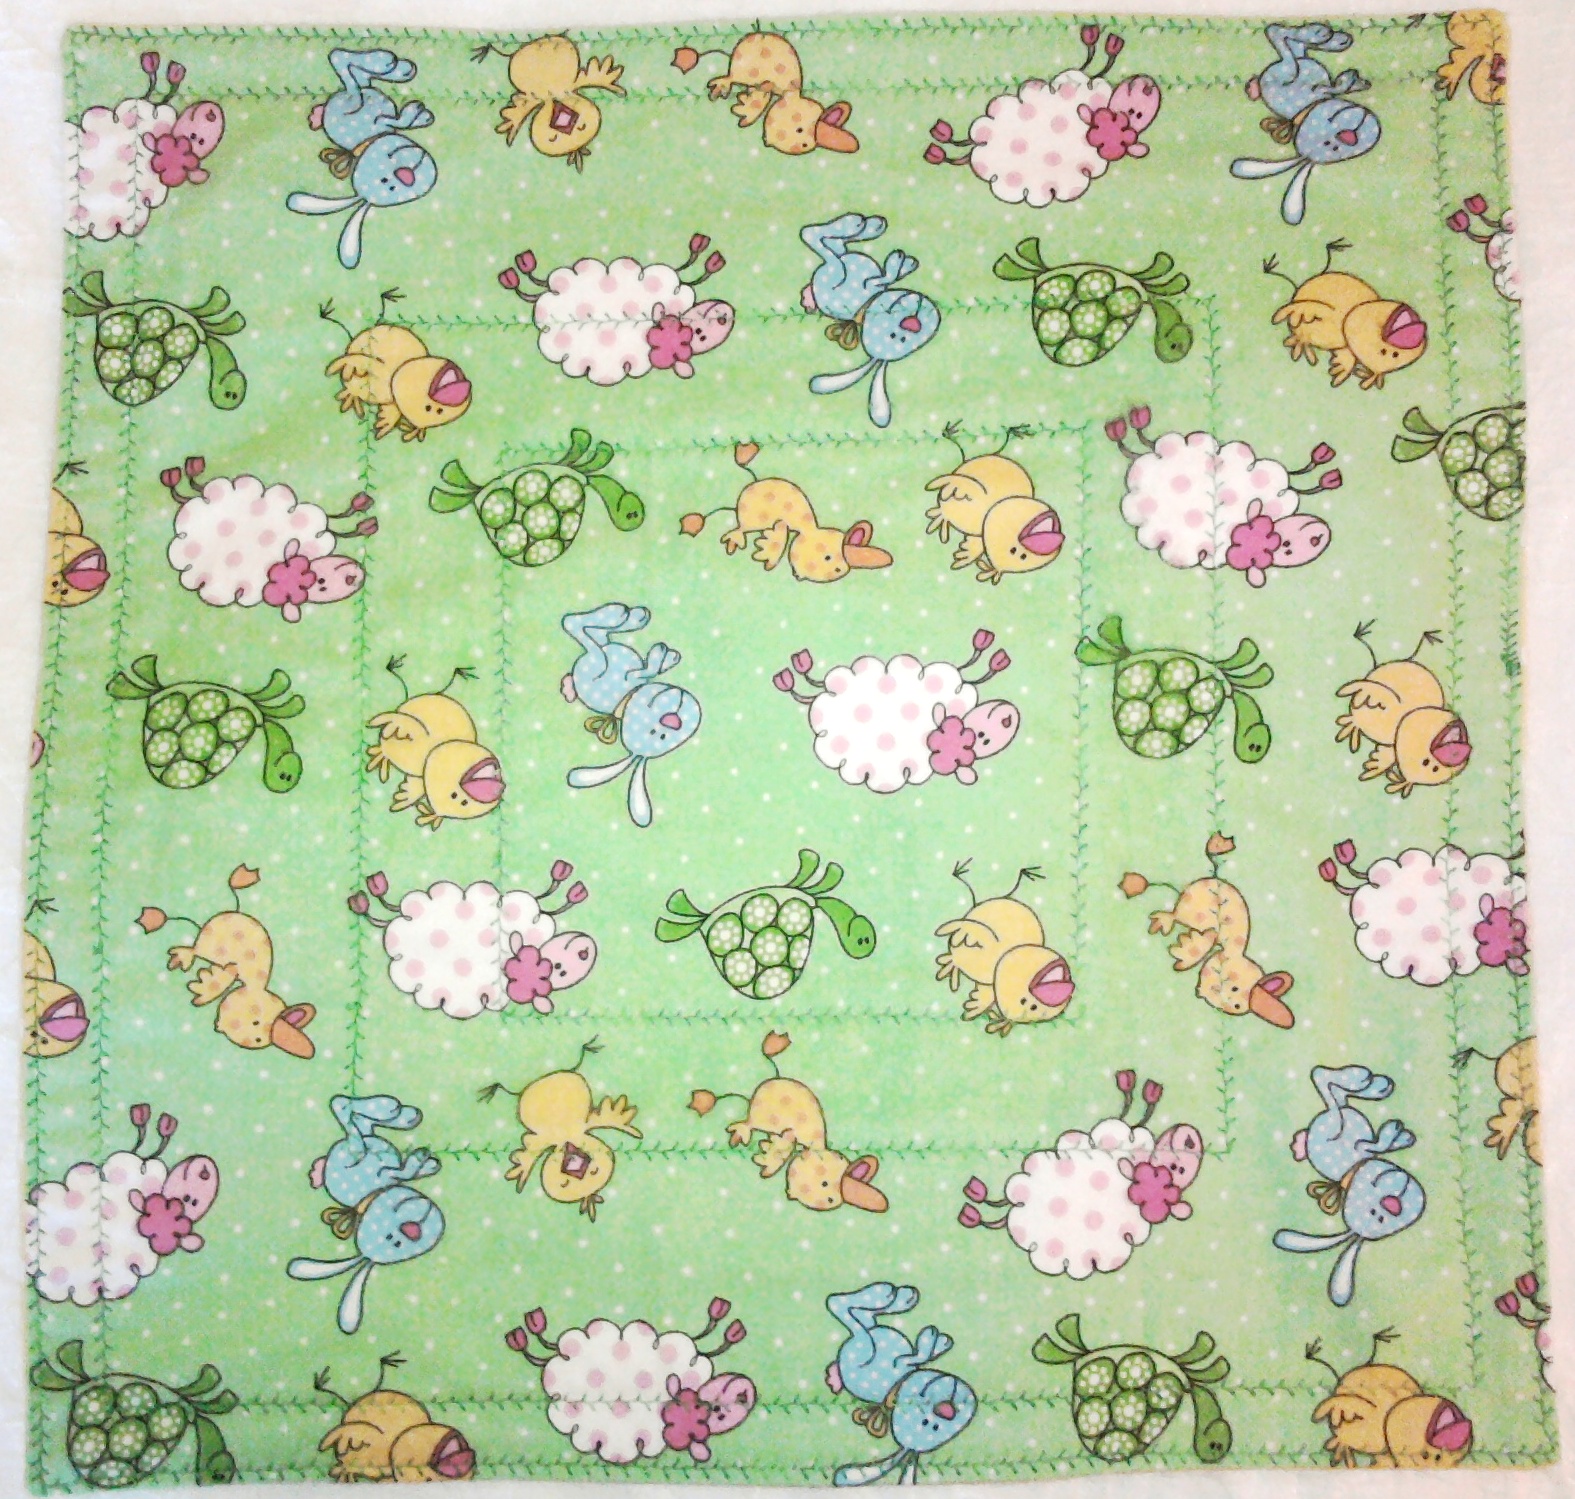
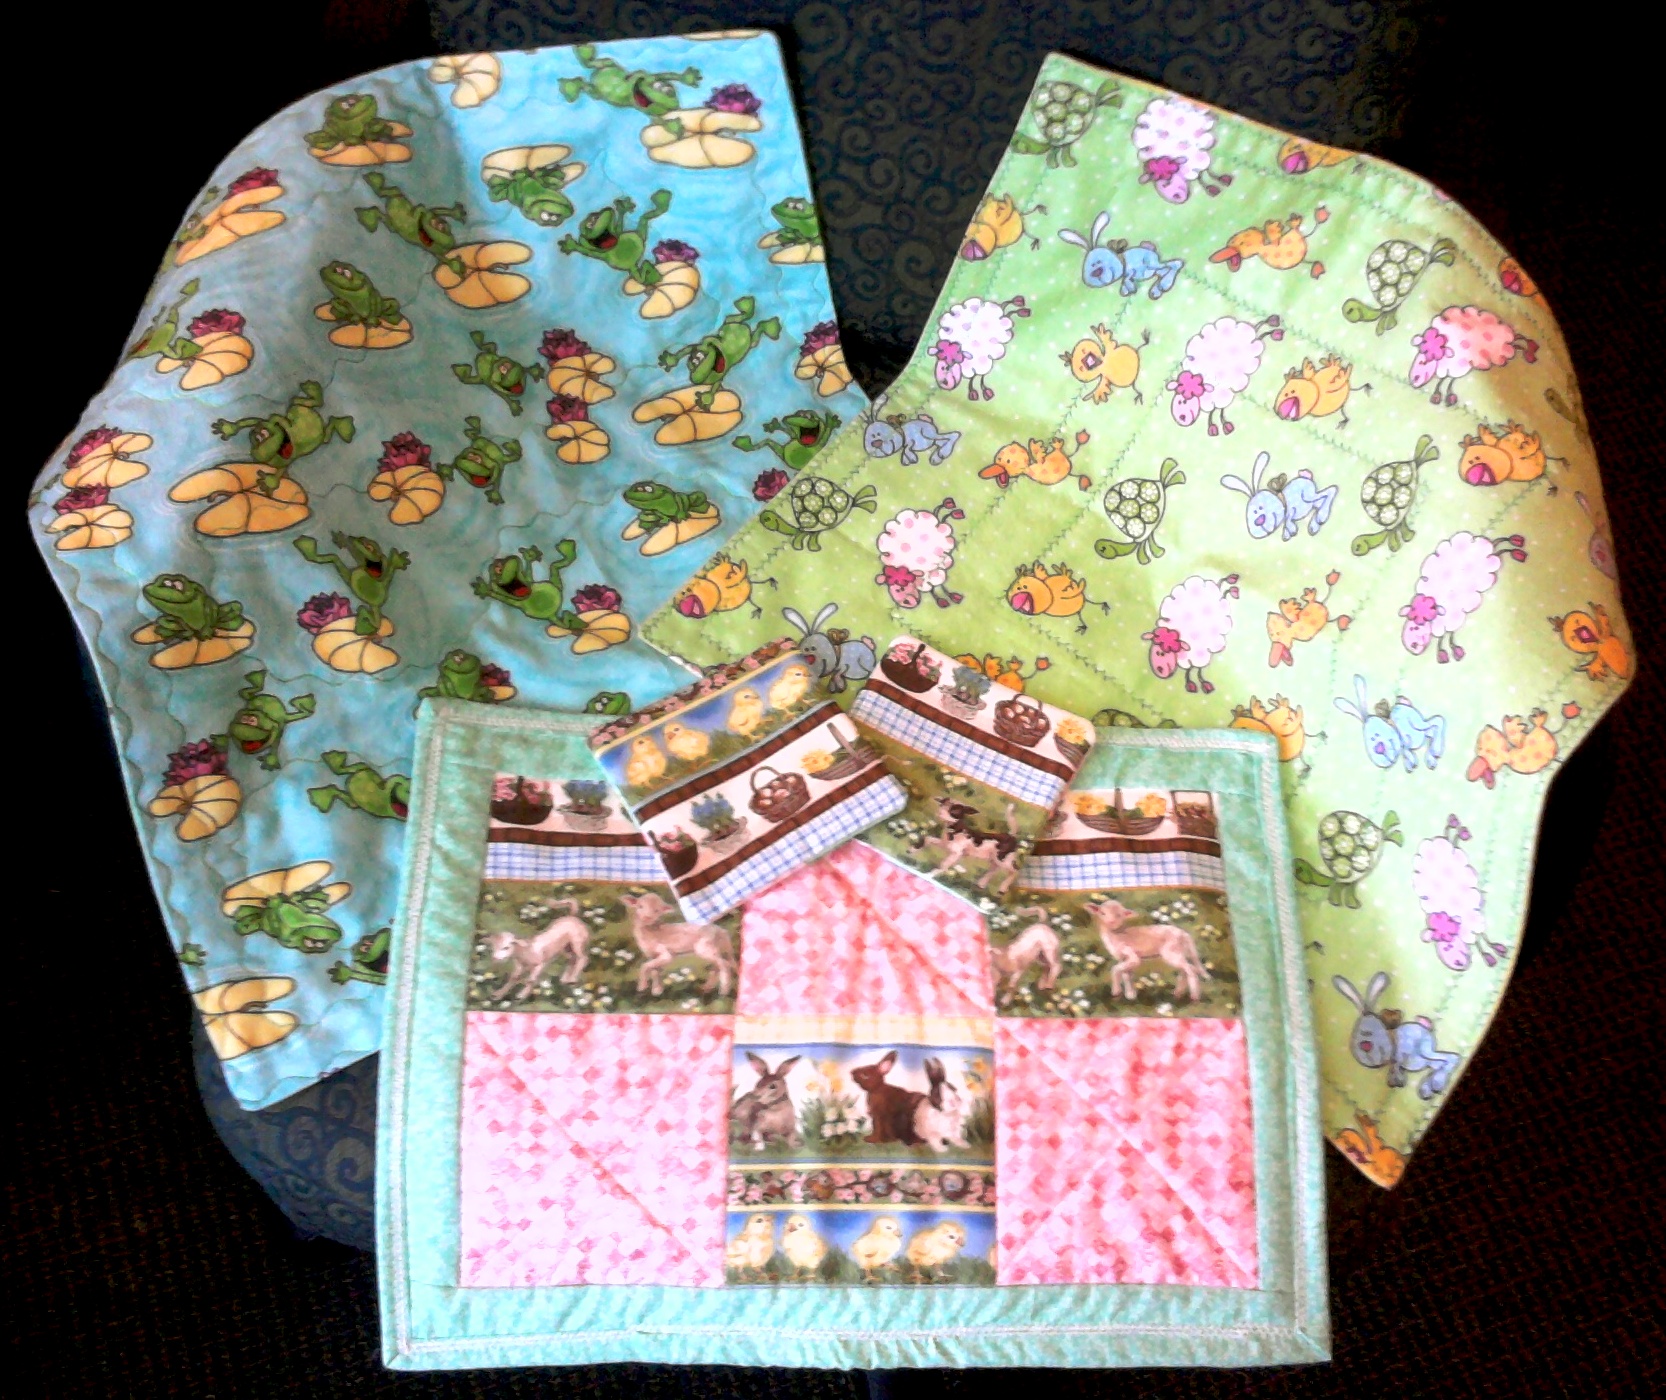
This was the first quilting experience for my cousin, so we began with something simple – Pillowcased Flannel Premie Quilts.  Eighteen inches of two pieces of flannel, laid right-sides-together, stitch a 1/2″ seam all around the edge, leaving a 4″ opening for turning.  After turning right-sides-out, and pressing, we used a decorative stitch to close the opening, and add quilting.  TaDa!  2 Baby Quilts for the NICU!!

Quilting Practice - NICU Baby Quilt

Quilting Practice - NICU Baby Quilt

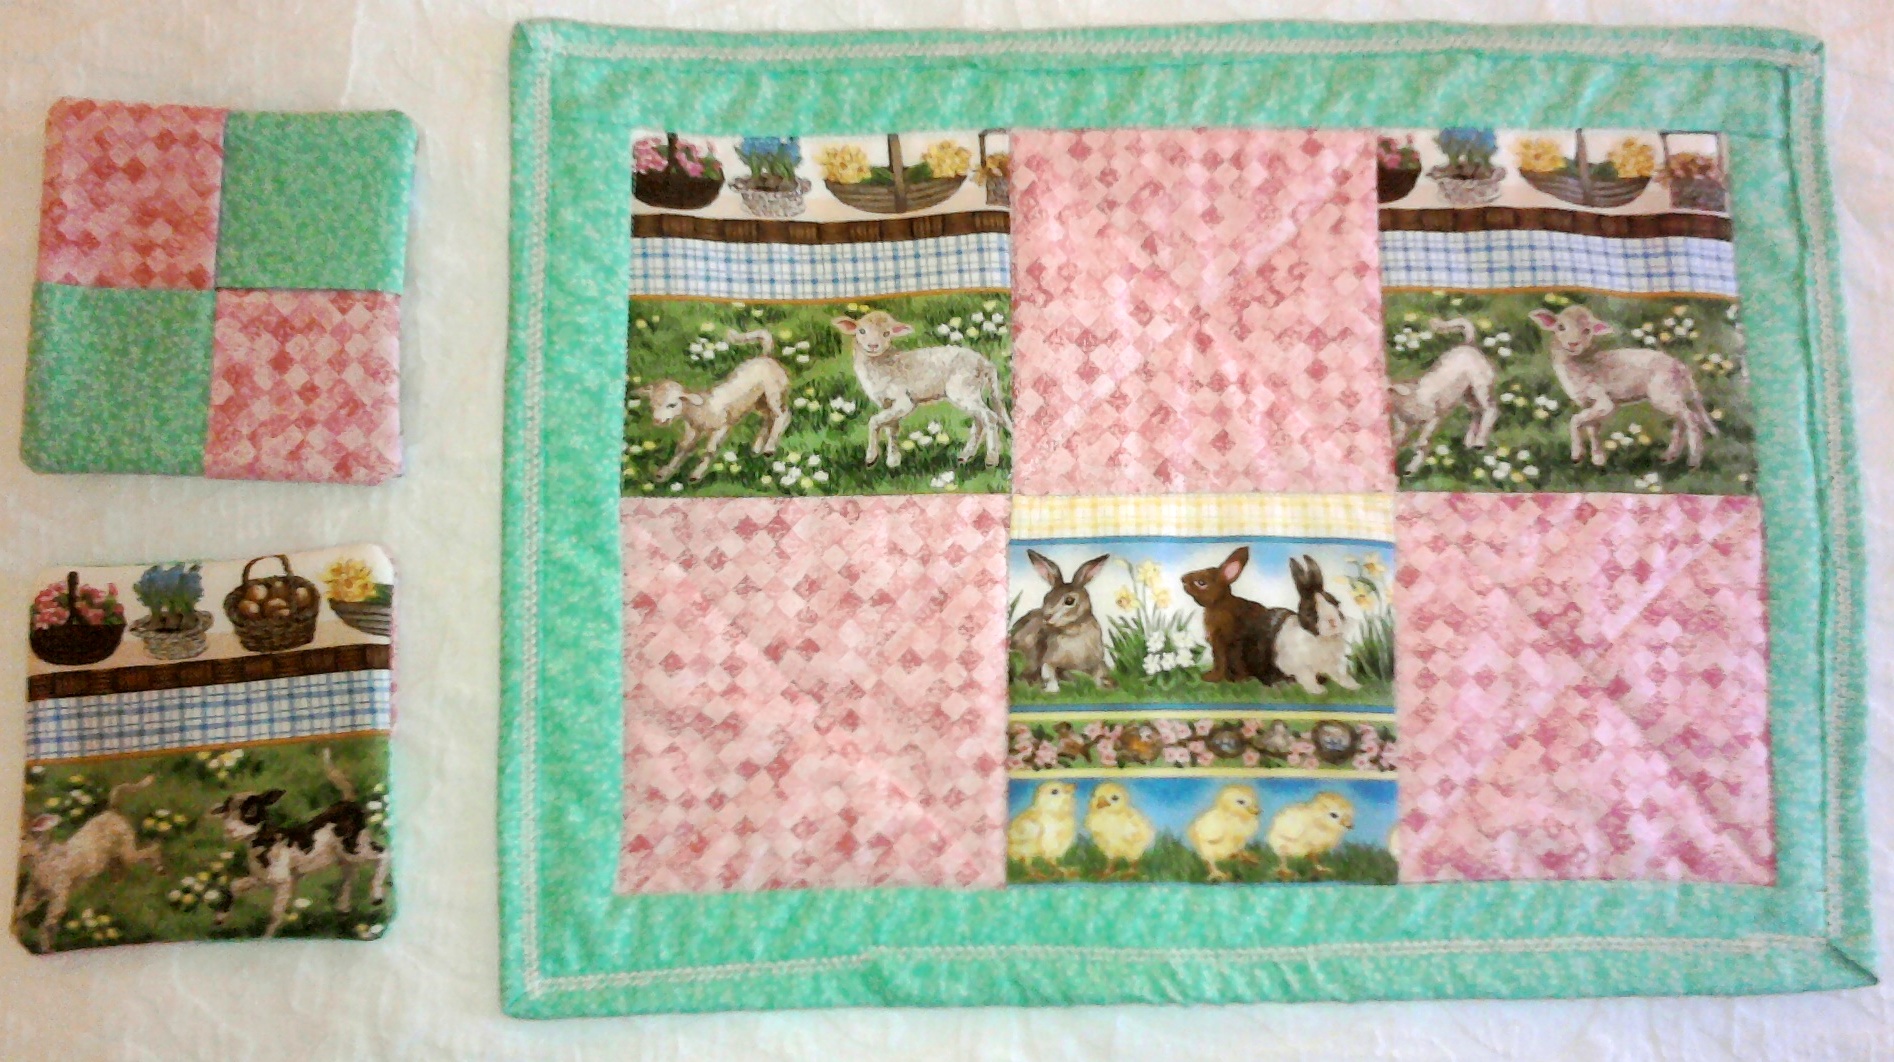
We then moved on to a placemat and coasters.  These projects had several skills which are needed to make a quilt – 1/4″ seams, matching points, adding borders, quilting 3-layers (front-batting-back) and binding.  (Binding is not easy!)

Karen's Placemat and Coasters

Karen's Placemat and Coasters

Karen even got to practice some ‘un-sewing’ a very necessary aspect of quilting.  We also discovered that binding is not easy and the decorative stitch we selected is NOT one we will ever select AGAIN!!

Not bad for 3 days of quilting for a novice!!

2 NICU Baby Quilts, Placemat & 2 Coasters

2 NICU Baby Quilts, Placemat & 2 Coasters

While Karen learned & practiced basic cutting and stitching, I worked on a few projects of my own.  Karen helped with some of the stitching to practice on the sewing machine and working on her 1/4″ seam accuracy.

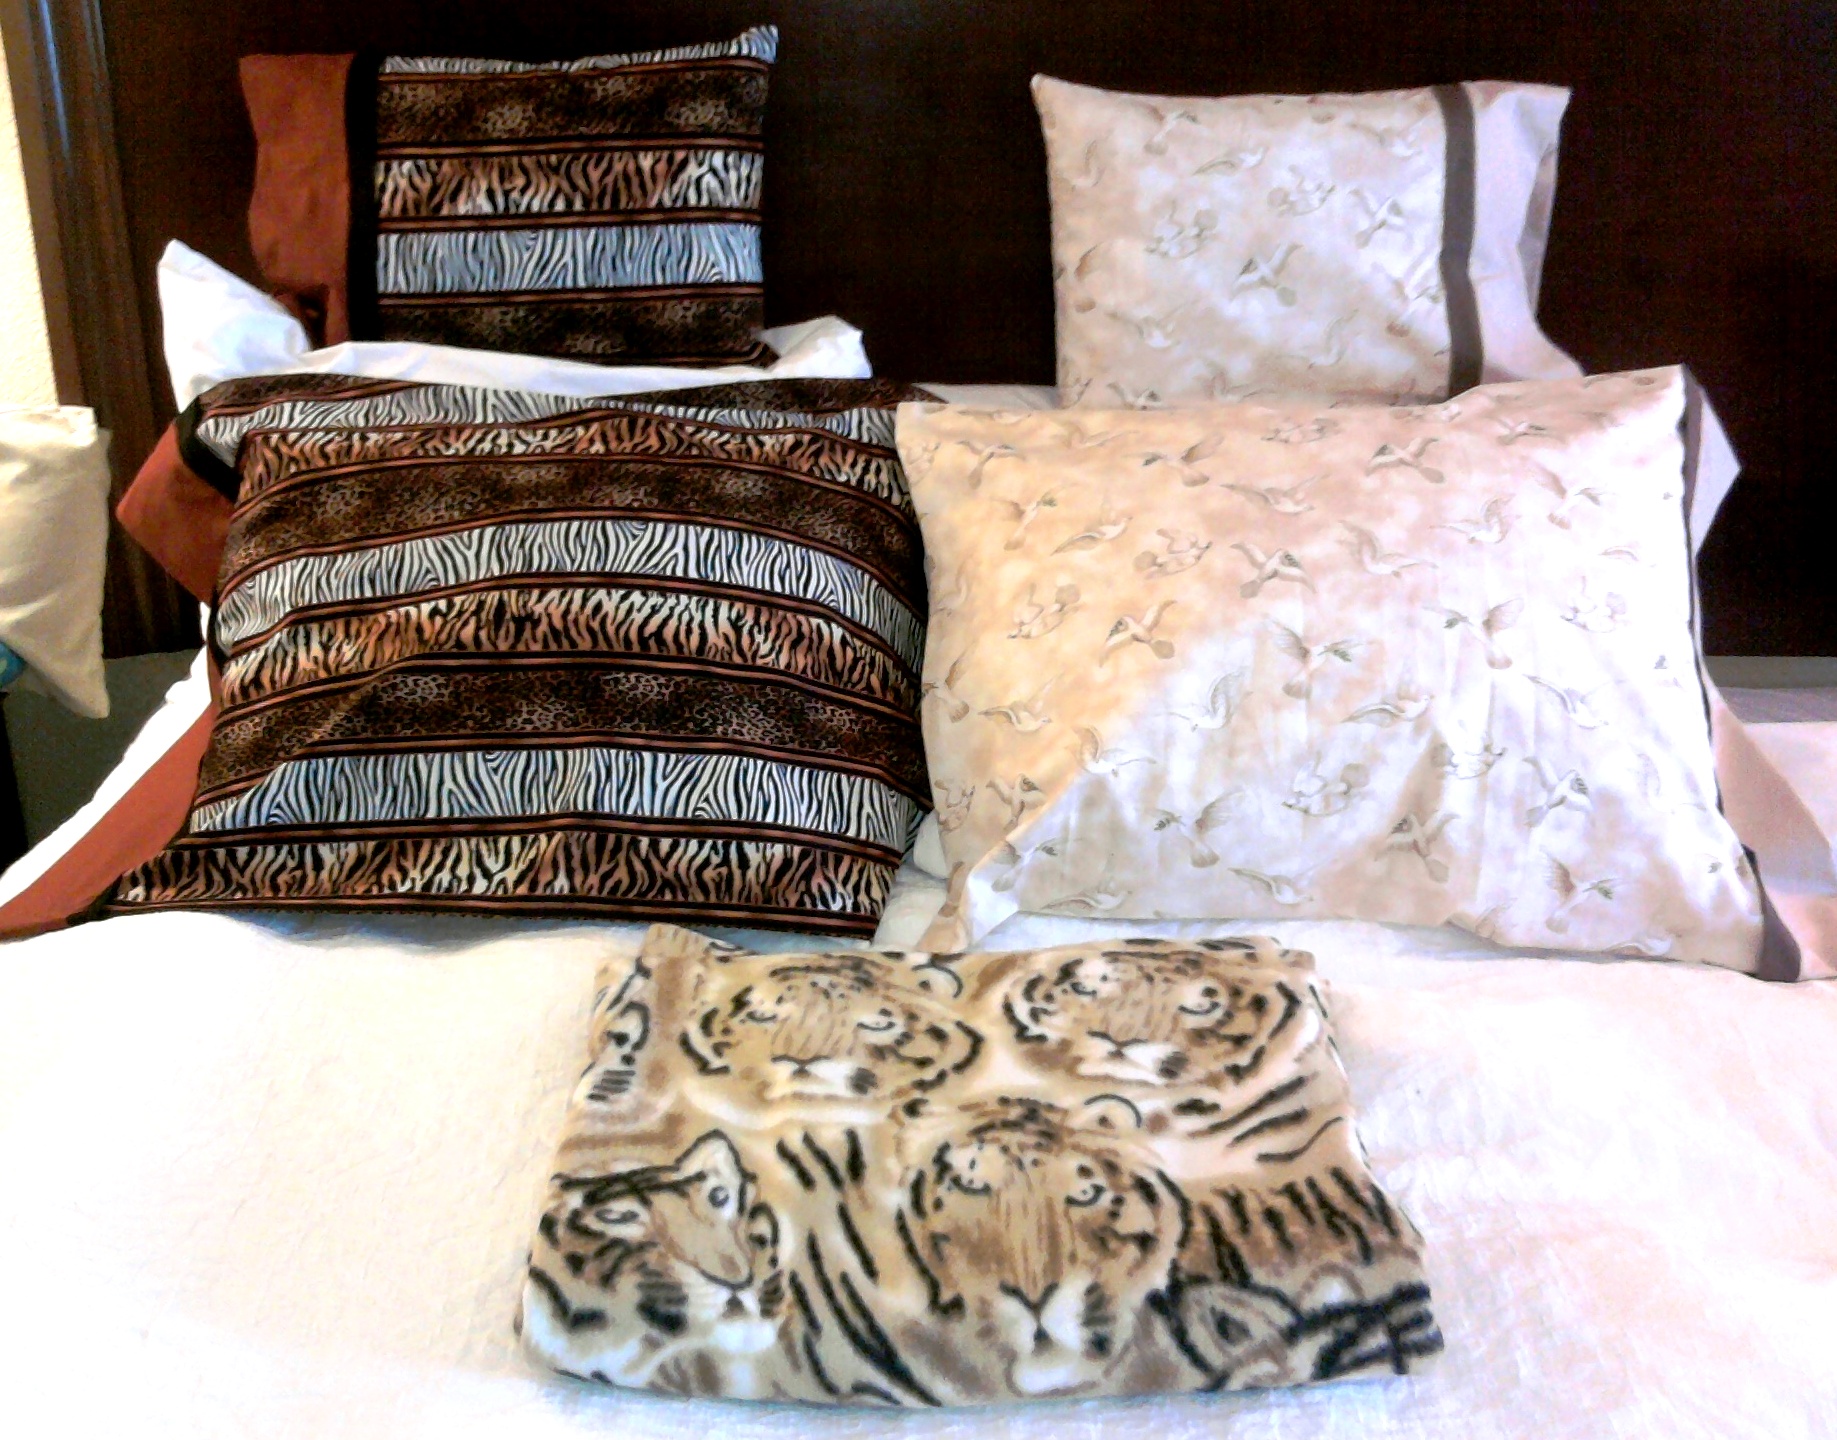
I completed two pillowcases I had started earlier (pictures later).  Then there were two standard pillowcases with matching travel-sized pillowcases, and a quillow for two other cousins.

Cheryl's Pillowcases & Greg's Pillowcases & Quillow

Cheryl's Pillowcases & Greg's Pillowcases & Quillow

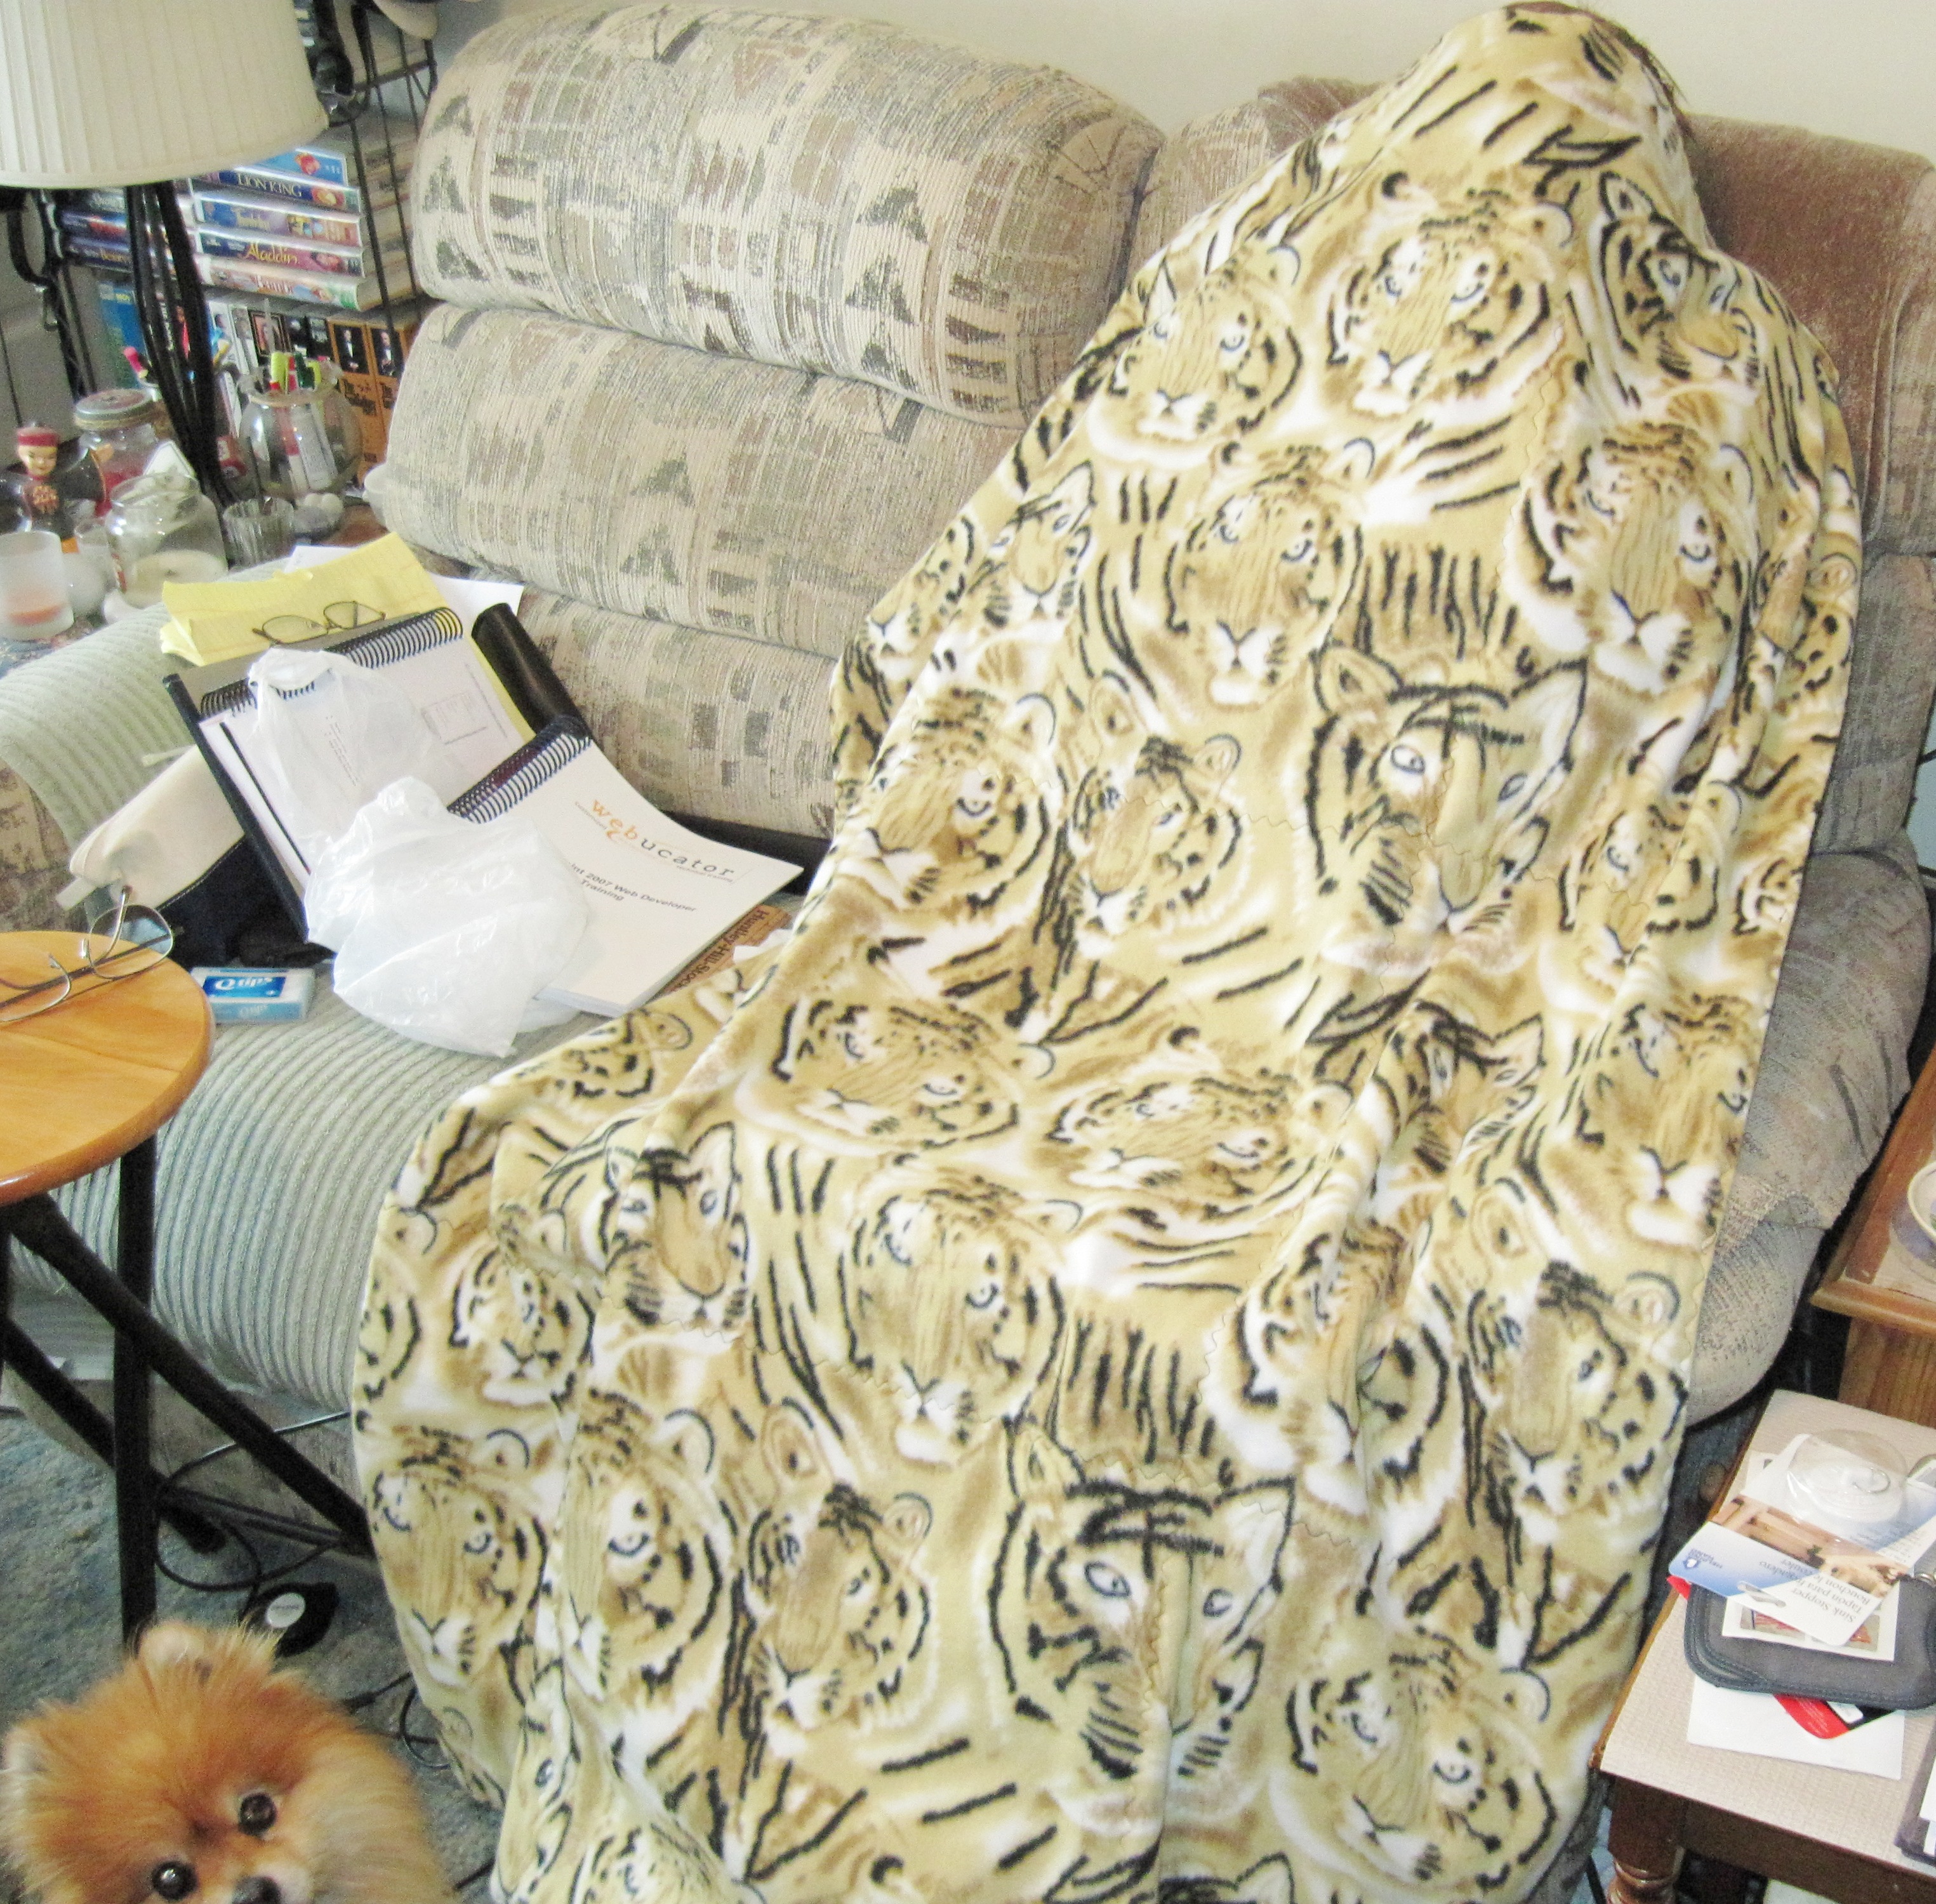
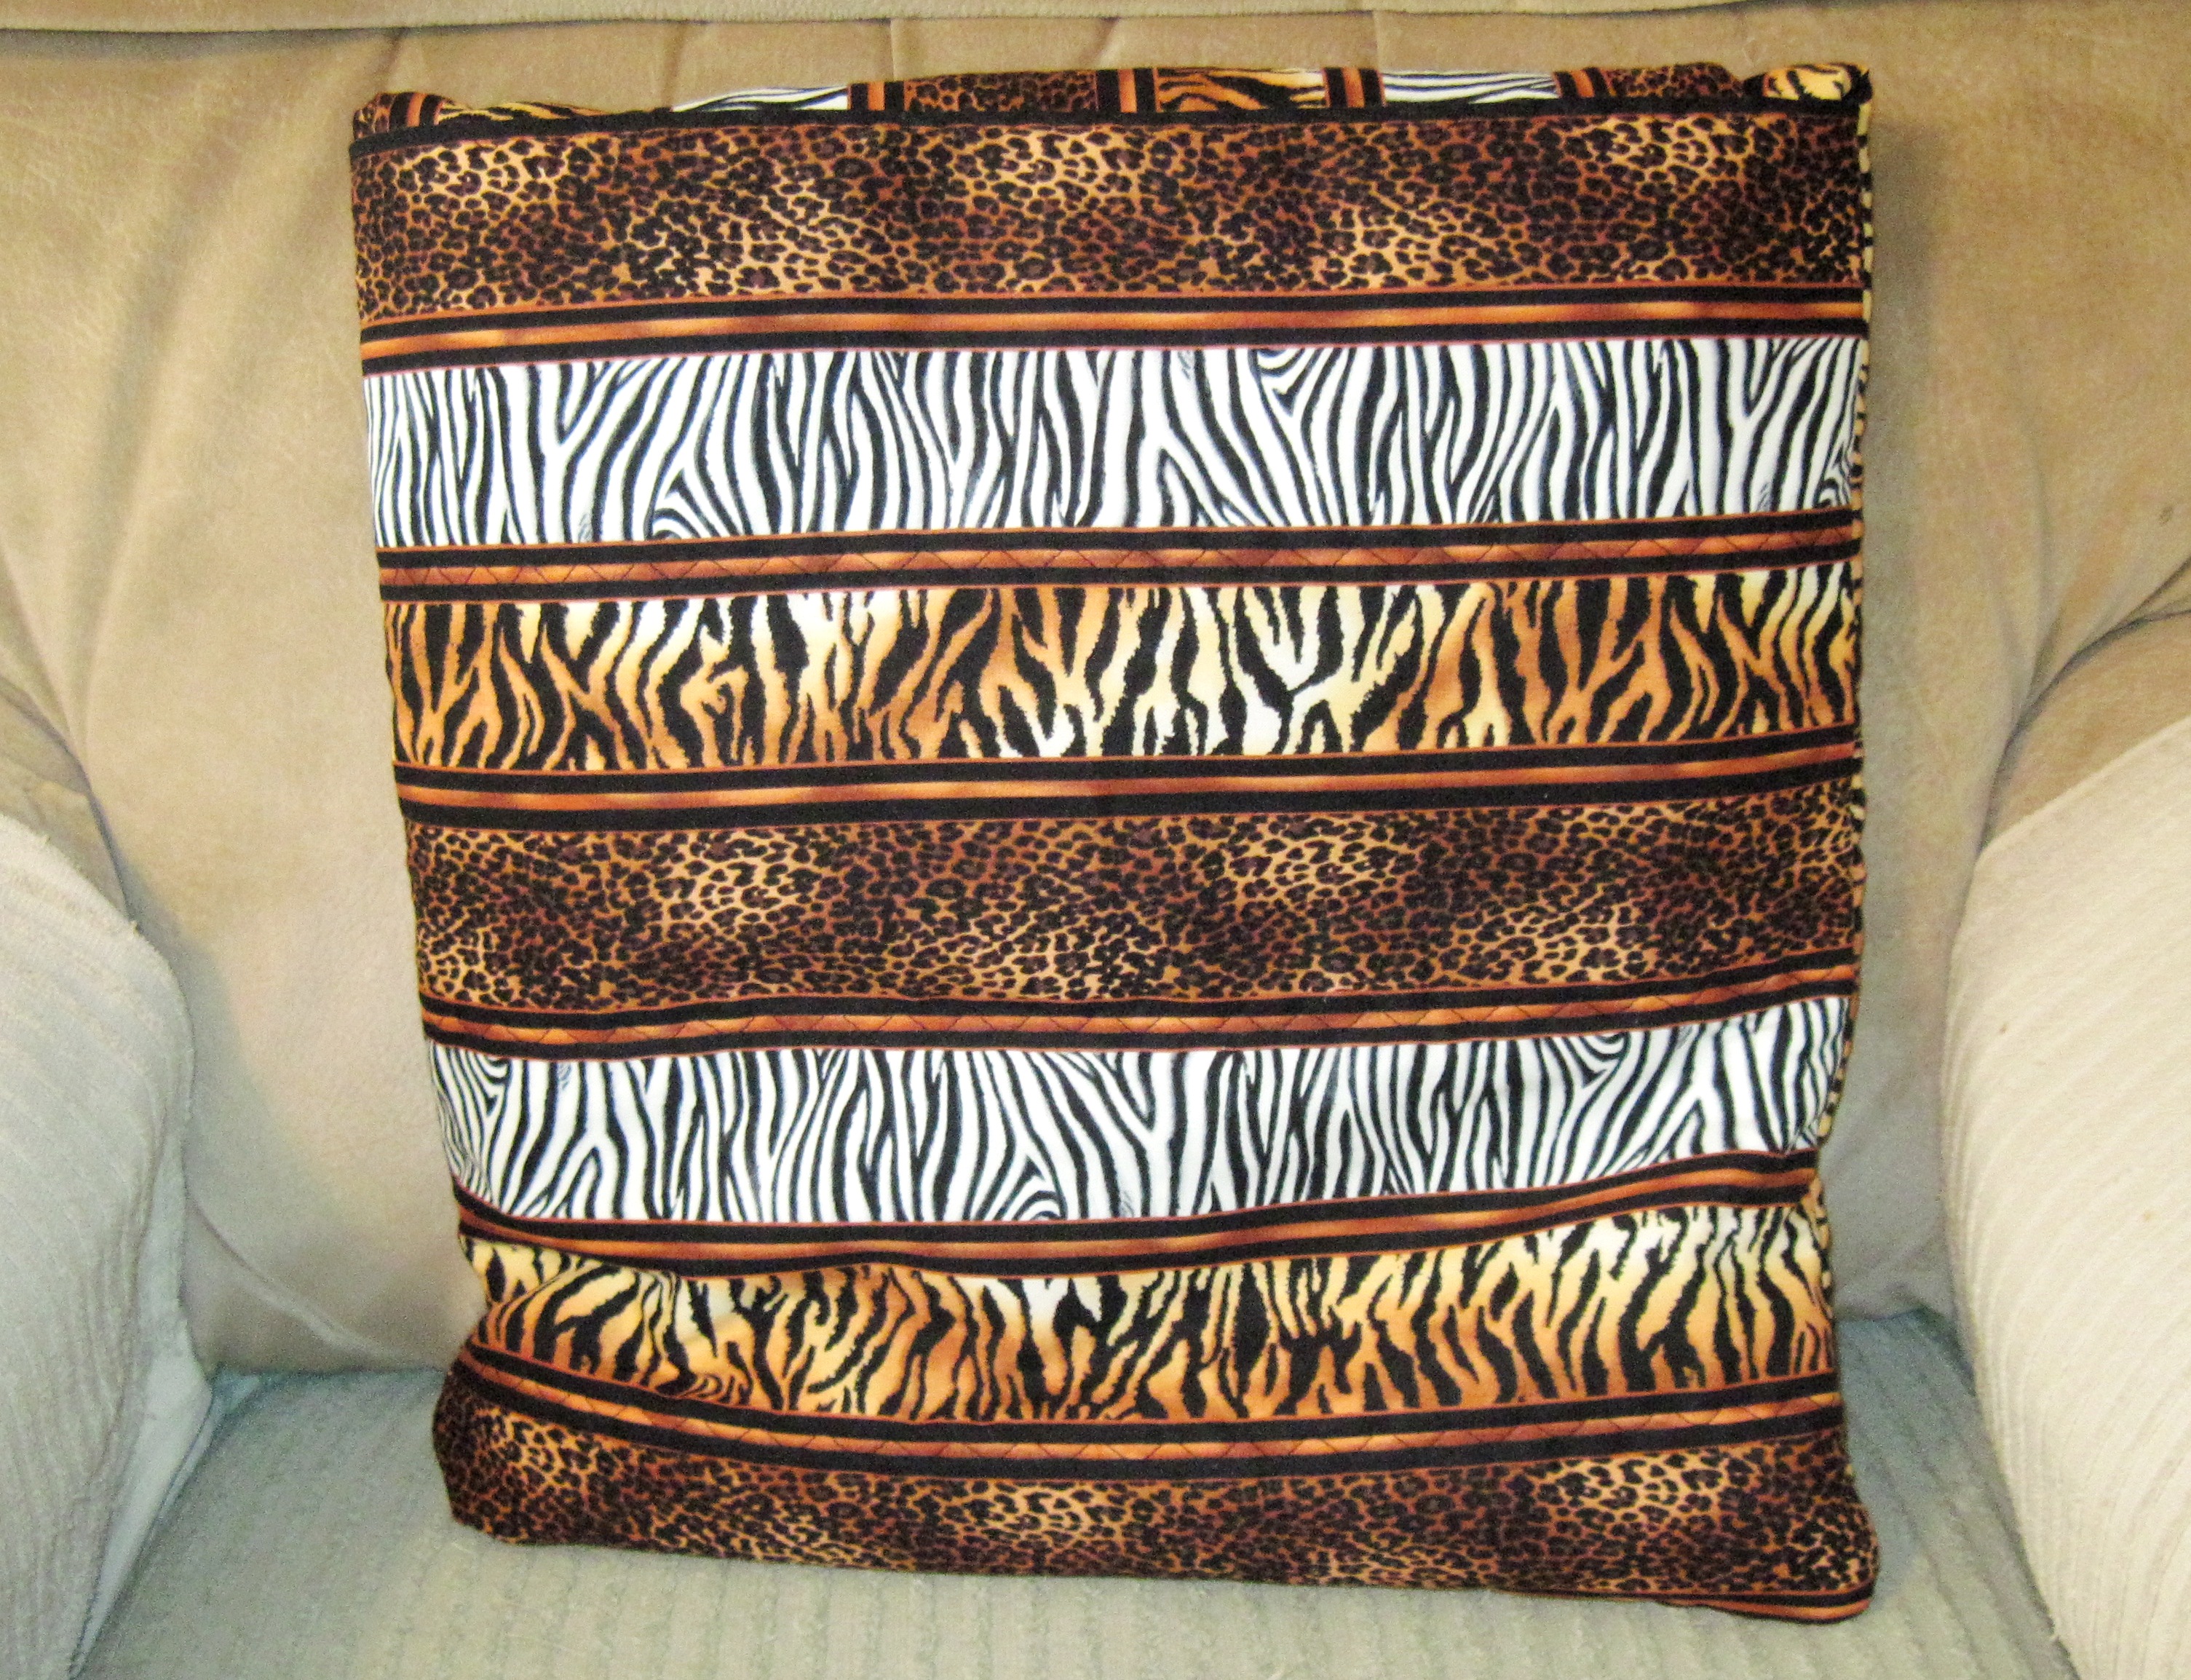
Mel modeling the Quillow (about 45″ x 60″) – Tiger Fleece (KC is watching me take the picture and wondering why he was kicked off Mel’s lap!) —

Quillow - Tiger Fleece side

Quillow - Tiger Fleece side

When folded and tucked into it’s pocket, the Quillow becomes a Pillow (Quilt + Pillow = Quillow).

Greg's Quillow folded into a Pillow

Greg's Quillow folded into a Pillow

So, today I spent cleaning my sewing room and unpacking sewing machines & quilting supplies & fabric.  Now I can get back to sewing.

Posted in Quilting | Leave a comment

They’re in the Mail

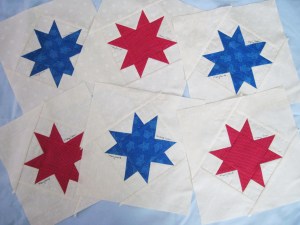
Six Just One Star Blocks

Yesterday I took my Star Blocks to the Post Office and sent them on their way to be part of the larger project — 100 Quilts in 100 Days by Moda Fabrics.

Just take some White/Cream Fabric and Cut —  Then take some Blue Fabric and Cut — Sew together and Poof!  you have a Star Block.  Do it 5 more times and you have 6 Star Blocks.

This slideshow requires JavaScript.

In order to complete 100 Quilts in 100 Days (May 1 to June 14 – Flag Day) there was a need for 1,800 Star Blocks.  Now that seems overwhelming, but as Moda mentions – “many hands make light work.”

Posted in Uncategorized | Leave a comment

Blog Give-A-Ways

Blog Give-a-ways – I enjoy reading what other quilters are doing.  Some of the Blogs I follow are from magazines, thread/fabric manufacturers, quilt designers and quilt teachers.  

Many Bloggers will have a give-a-way of a product, a pattern or some fabric.  To be eligible you have to leave a comment or maybe Like them on Facebook, Tweet or Blog about them.

QuiltMaker Magazine Blog is having a Give-A-Way and as part of their blog they re-direct you to other Blogs that are having a related Give-A-Way.  Sound Confusing?  It isn’t, but it is a nice way to be introduced to other Quilting Bloggers.

This Blog is promoting the next issue of QuiltMaker Magazine and a pattern that is in it.  The pattern’s name is Raspberry Dessert by Julie Herman.  This pattern was done by a number of other quilters and they are revealed here.  I love seeing how one pattern made by different quilters results in totally different Quilts.  Check them out – which is your favorite?

I think this is my favorite:

Variation of Raspberry Dessert

CrazyQuilter Mom's version of Julie Herman's Raspberry Dessert

One of the other Blogs – Sew Many Quilts – gives 4 ways to enter the Give-A-Way on her site.

Posted in Quilting | Leave a comment