Working on the Chain Gang.


Chain Piecing is another method of quickly assembling blocks and is another method that I used in making this quilt top for Fabric Café.
9-Patch

 In my last post I demonstrated Strip Piecing and mentioned that I would be able to make 18 Nine-Patch Blocks using only 10 seams (sort-a).

While Strip Piecing, I used 8 (long) seams to assemble 4 strip-sets which were then sub-cut into smaller segments.


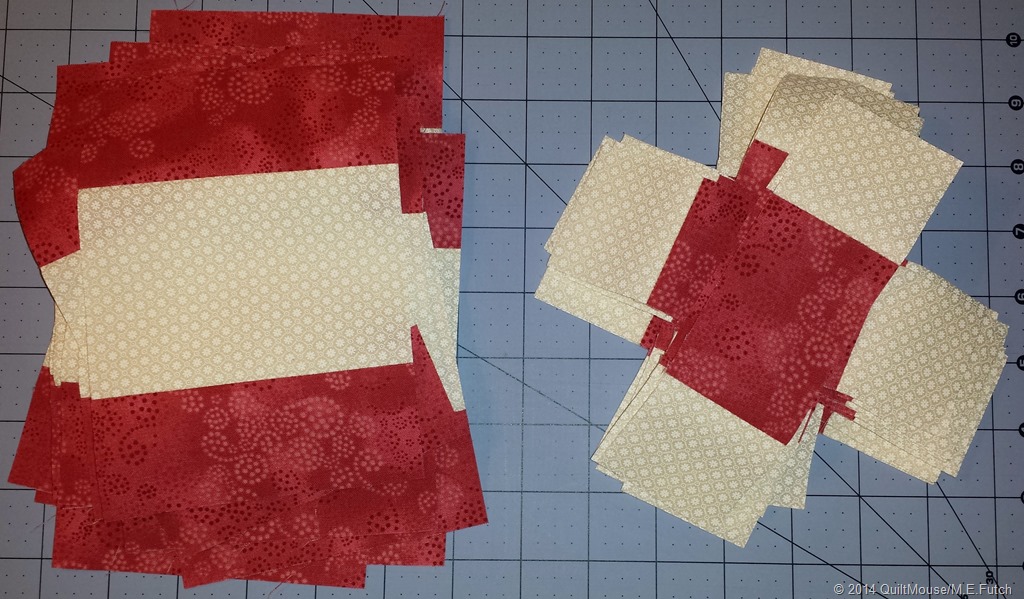
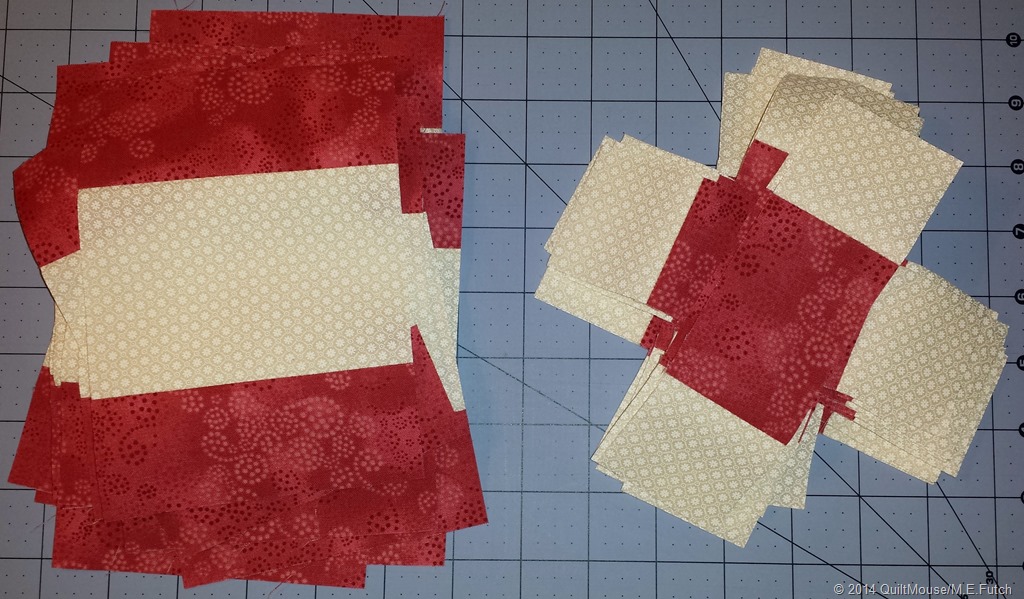
Now I have to assemble the 18 blocks using 18 of one segment and 36 of another.
8SegmentsAllCut

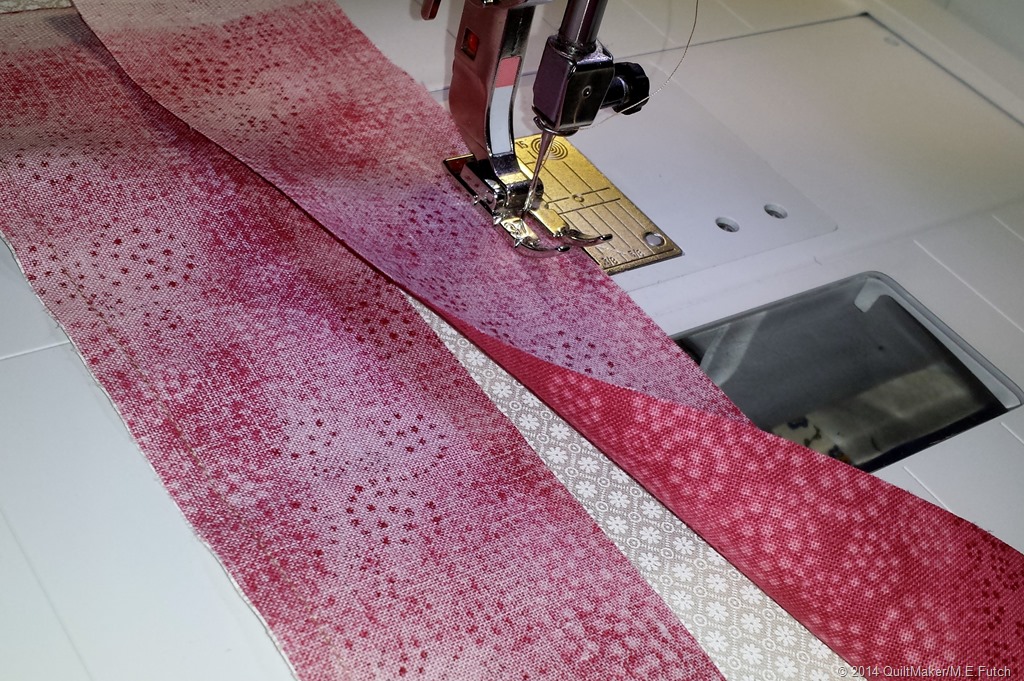
Following the directions, I take one of the larger 3-piece segments and match it with one of the smaller 3-piece segments.

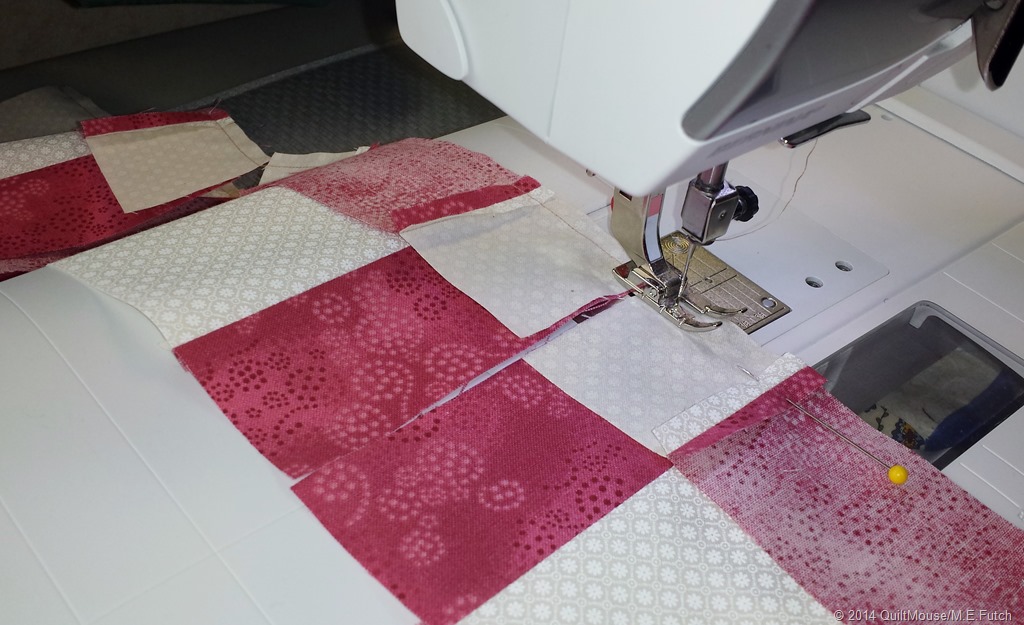
Using pins to help keep the seams matched, I start sewing.  I always sew with the smaller segment (or block or row) on top.
1-ChainPiece-Seam1

When I get to the end of the segment, I do not remove what has been stitched.  I just take another larger 3-piece segment, match it with one of the smaller 3-piece segments, pin, and continue stitching.  Continue adding segments until all of the larger 3-piece segments have a smaller 3-piece segment stitched to the right side.

You will have something like this when you finish. (Sun was shining in the window and the picture didn’t turn out great, but you get the picture.)

2014-01-17 10.32.55

Technically, you could call this all one ‘seam’  – you didn’t stop/start, waste thread pulling it out & cutting it between stitching segments.

Repeat the process.  You don’t have to cut the stitches   between the blocks, just start at the end and sew the second small 3-piece segment to the other side of the larger 3-piece segment (which actually now has 6 pieces).  This will be your 10th long seam and you will now have 18 Nine-Patch Blocks completed!

Your choice – cut the blocks apart and then iron, or iron and then cut the blocks apart.

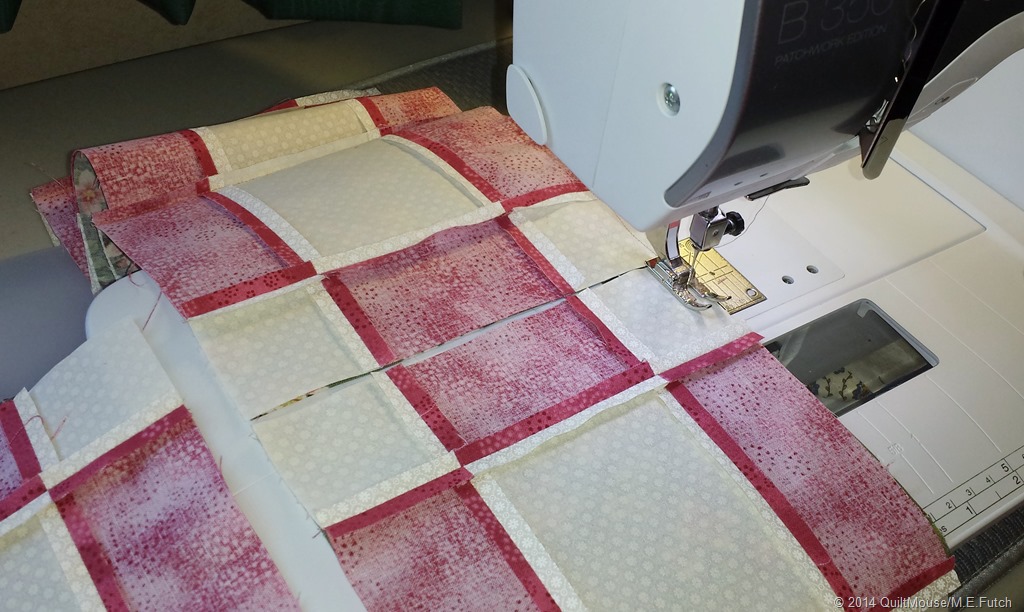
More Chain Piecing – There are now 18 Nine-Patch Blocks and 18 fabric rectangles and the rows are ready to assemble.  Pair one Fabric Rectangle and one Nine-Patch and again Chain Piece the pairs until there are 18 pairs.
3-ChainPiecing-Blocks1-2

The pattern calls for 6 rows of 6 blocks each, so take 6 pairs of blocks and Chain Sew them to another pair making sure you are alternating  the blocks (and if using directional fabric, keep the fabric going the right direction).

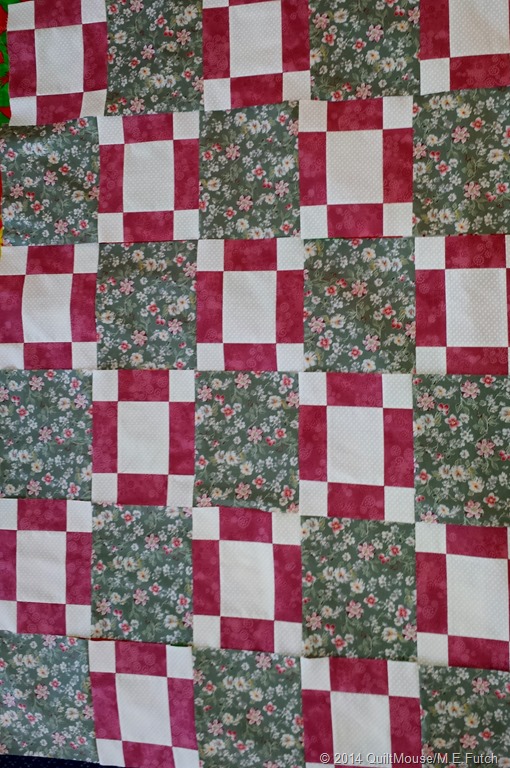
The rows are now almost done.  Take the 6 rows of 4 blocks and Chain Piece the remaining 6 pairs to make 6 rows of 6 blocks each.
4-ChainPieceRows

So, there you have it. Eighteen Nine-Patch Blocks stitched in only 10 (long) seams and 6 rows of 6 blocks each Chain Pieced.

Next comes the Borders & Corner Blocks.

Happy Stitching!


Quilt Mouse
Posted in Quilting, Tutorial | 1 Comment

Do You Strip?

OK, Gotcha Attention, didn’t I?!? <Big GRIN>

I’m talking about Strip Piecing.  Some people find it boring, but I find that it helps me to keep moving and get a lot done.

This is what I mean – when piecing a quilt top, sometimes you cut all the itsy, bitsy, tinnie, tiny pieces and individually sew them to one another and keep stitching larger pieced segments until you get a complete block.  Often this is what you need to do.

But there are times when you are piecing several blocks – like today, I’m piecing 18 blocks – that all have the same sized pieces in the same positions. In this case, Strip Piecing makes the work so faster.

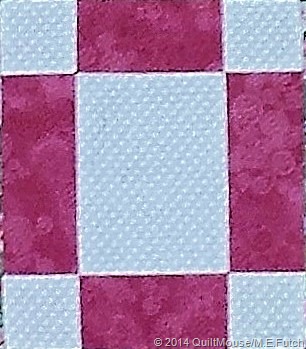
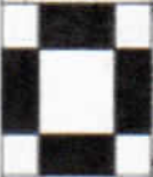
9 patchThis block is a 9-Patch –  See the nine segments? 

I ‘could’ cut each little piece and stitch them one-at-a-time.  This would be 8 seams per Block times 18 Blocks – you do the math, but that’s a lot of seams.

I can accomplish the same result in only 10 seams by sewing strips together and then cutting the strips into segments which are then sewn together to make the block.

The first step – cut strips of fabric the width of your yardage – that is from selvage to selvage. This pattern is one of Fabric Café’s.  Donna’s patterns are so very easy to follow and fun to make.

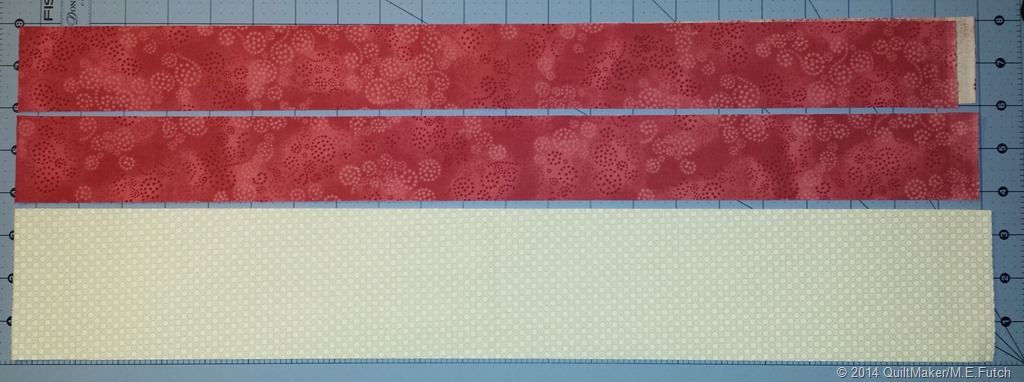
I cut strips of one fabric and strips of the second fabric, following the pattern’s directions.  Now I only have 8 (long) seams to stitch.

 1StipsCut

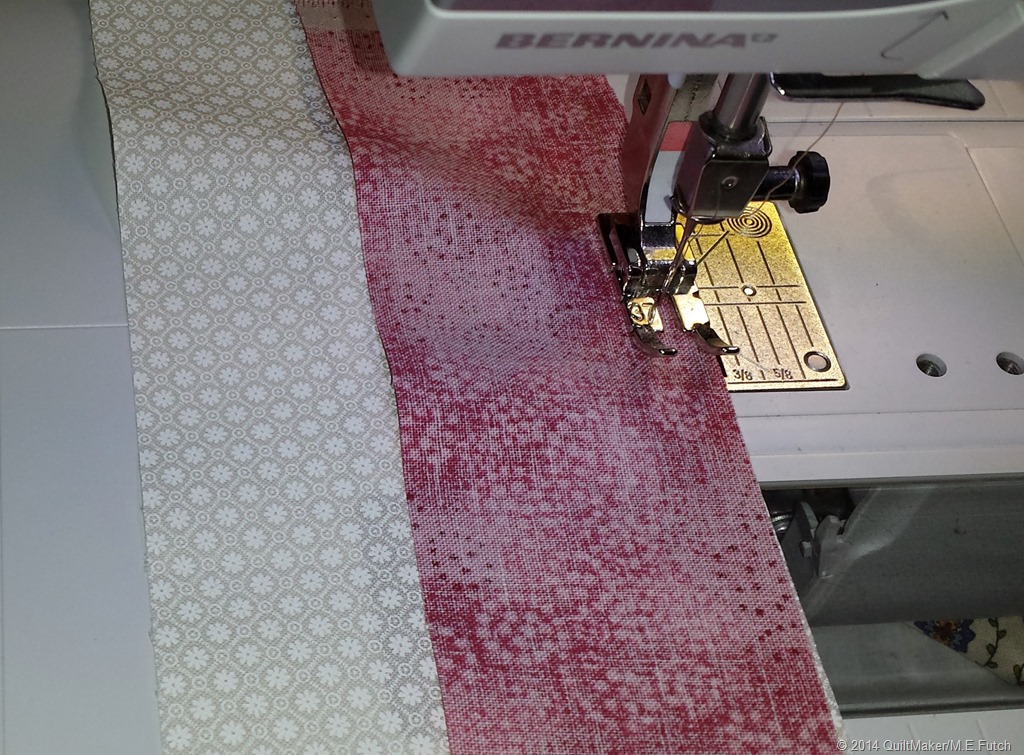
Following the Pattern Directions match 2 of one color and one of the second color and begin stitching.

2SewStrip1

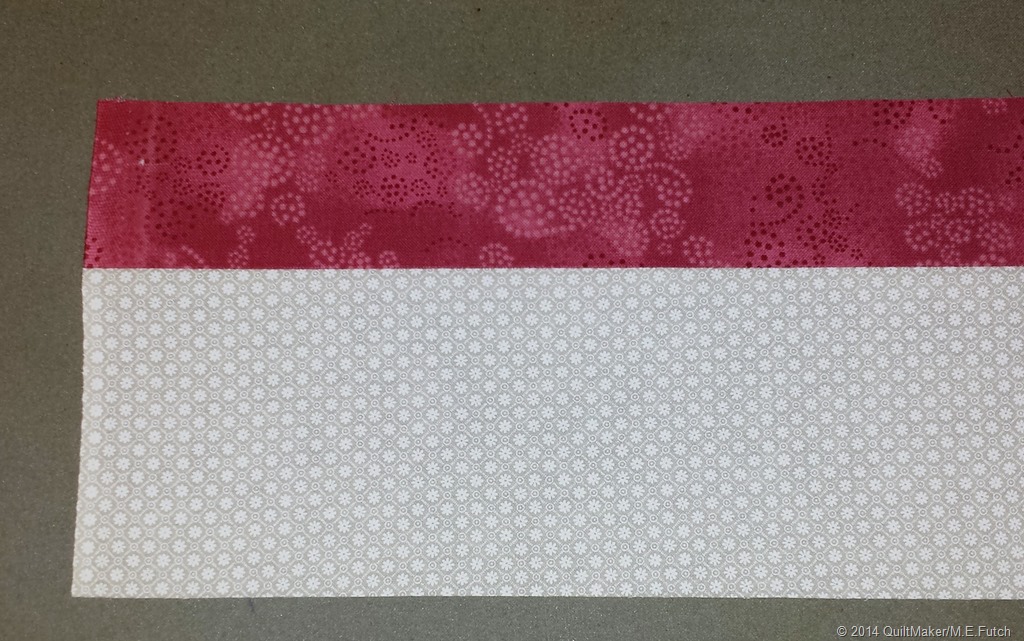
Repeat until you have one strip sewn to one larger strip.  With this pattern, after 4 long seams, I have 4 pieces with 2 strips each.

This next step is optional – to iron or not to iron.  If you need to stretch your legs, go ahead and iron this strip.  In this case, I have ironed the seams open.  Your choice!

3Strip1-Iron

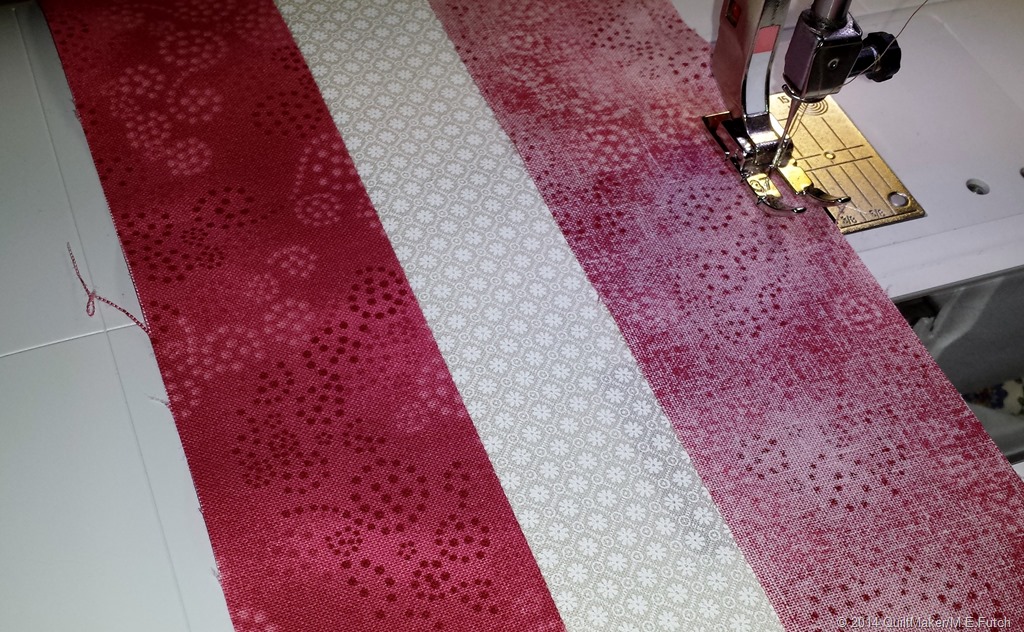
Now proceed with stitching the 2nd narrow strip onto the 2-piece strips you have on the opposite side of the wider strip.

Ironed –

4SewStrip2

Not Ironed –

5SewStrip2-NoIron

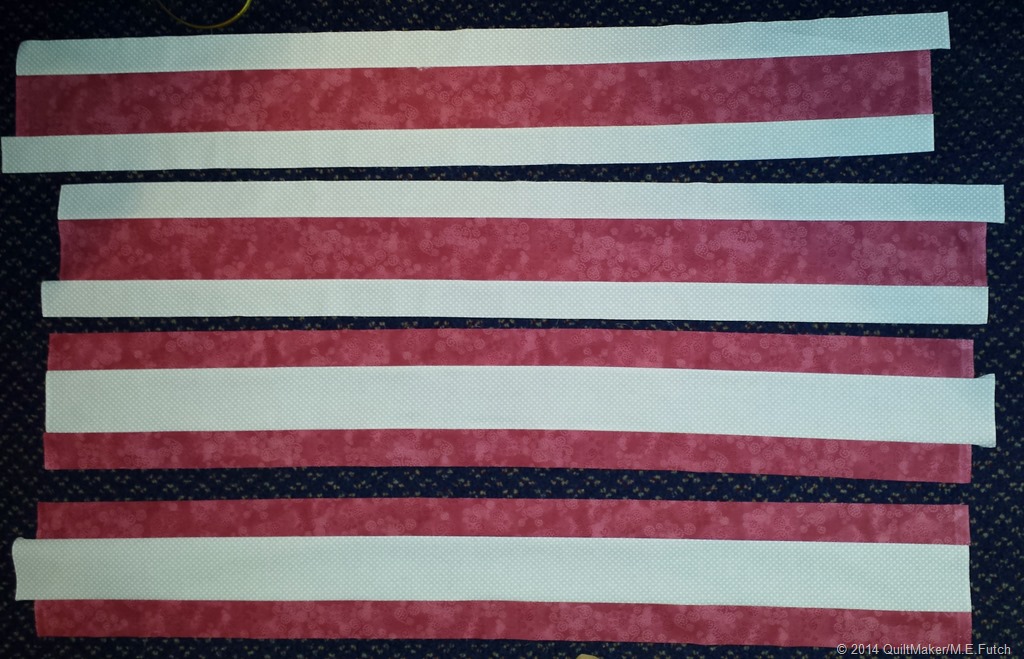
TA DA!  After sewing only 8 (long) seams, I now have 4 strip sets.  If you haven’t ironed them yet, this is the time to do it.

6StripsAllSewn

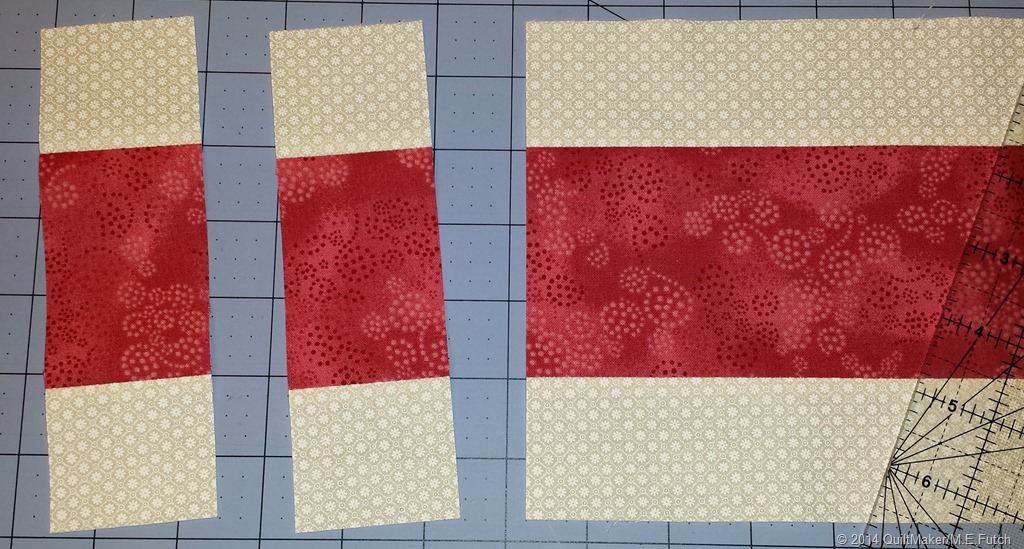
Now I sub-cut each of the 4 strips into the sizes required, and I’m ready to assemble my 18 blocks.

7CutBlockSegments

After cutting the required number of pieces, I have all I need to finish up my 18 Nine-patch blocks.  So far, I’ve only sewn 8 seams!

8SegmentsAllCut

Now, isn’t strip piecing fun?  Sometimes it’s nice to stitch something I don’t need a degree in higher mathematics!

Next I will show how these 18 blocks come together with only 2 more seams (sorta).

Happy Stitching!


Quilt Mouse
Posted in Quilting, Tutorial | 2 Comments

Where Are You Friday?


Where am I?  I’m sewing!  You say that’s not different than any other day.  Well, you may be right, but the location is different.

It’s Bright & Sunny, and 5 degrees warmer than home.  A friend of mine is attending a Basket Weaving Workshop.  We live far apart and don’t get to see each other much, so I joined her.  Except, I am sewing while she’s weaving. In the evenings we get to catch up and chat!

We’re on the 2nd floor and no elevator (go figure!).  When I checked in and expressed my concern, I was cheerfully told they had a maintenance man who would be glad to assist me.  Gene met me at my car and saw me pulling out my suitcase, then my sewing machine, then my sewing kit, then my project bag – oh, by the way, did I mention I travel with a folding table, TV tray and seat?  Yes, I told him, I’m ‘moving in!’

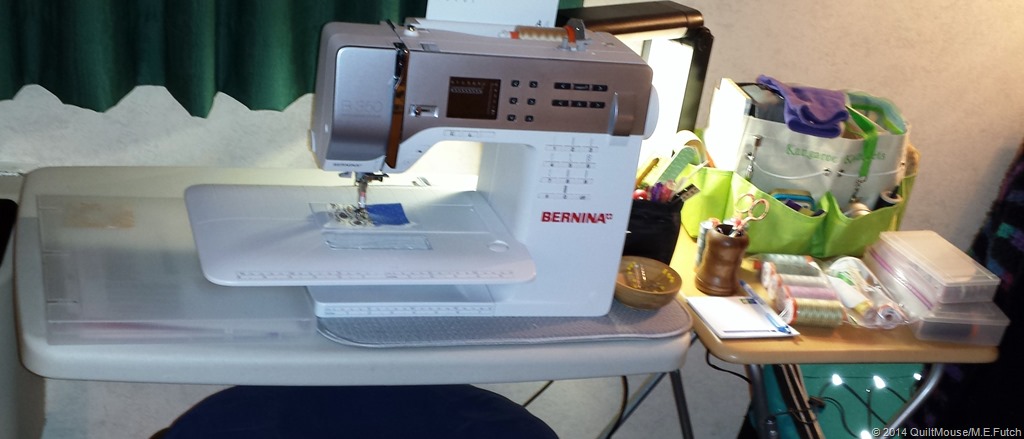
Once in the room I’ve set up my ‘mobile sewing studio.’  First is my Sewing Station:

SewingStation

This includes my Sewing Machine and lamp on the folding table – furniture in hotel rooms are too high for sewing. On the TV tray I have my thread and miscellaneous notions.

Next I set up my Cutting Station:

CuttingStation

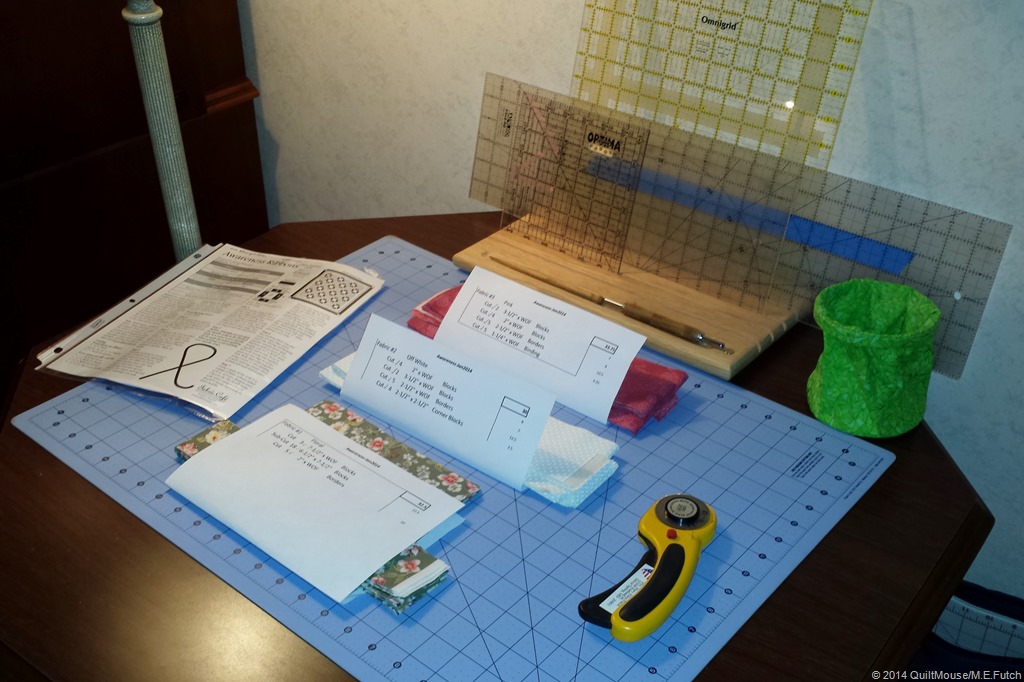
Although I did a lot of cutting at home preparing projects for this long weekend, I will still need to do some cutting.  Included here is my Cutting Mat & Rotary Cutter, plus my Rulers on my new Ruler Rack (Thanks, R!) and of course, a scrap bin.

Finally, I set up my Ironing Station:

IroningStation

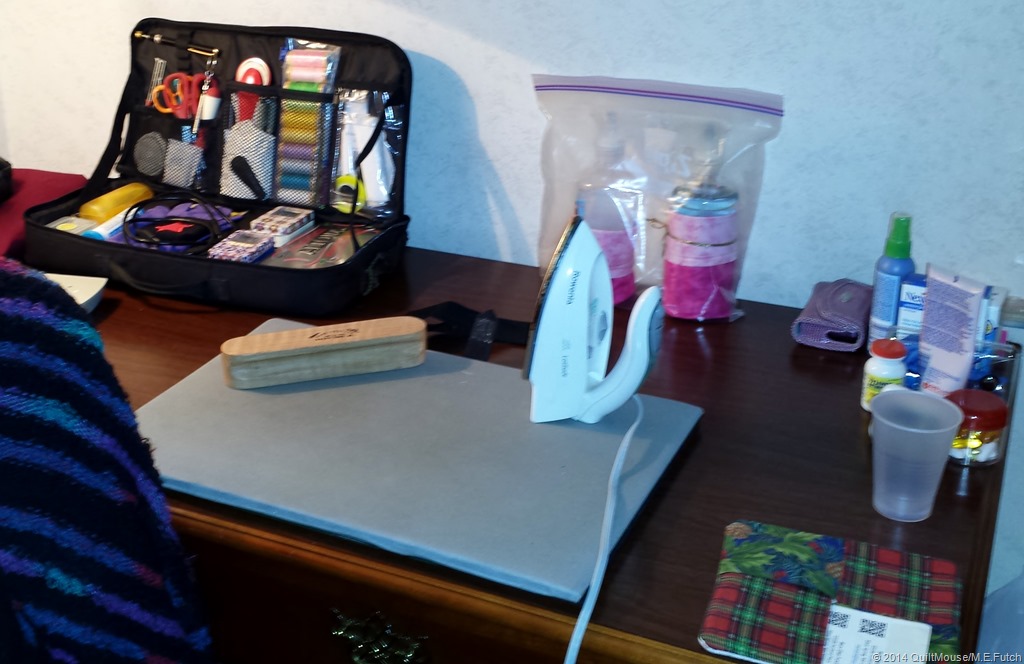
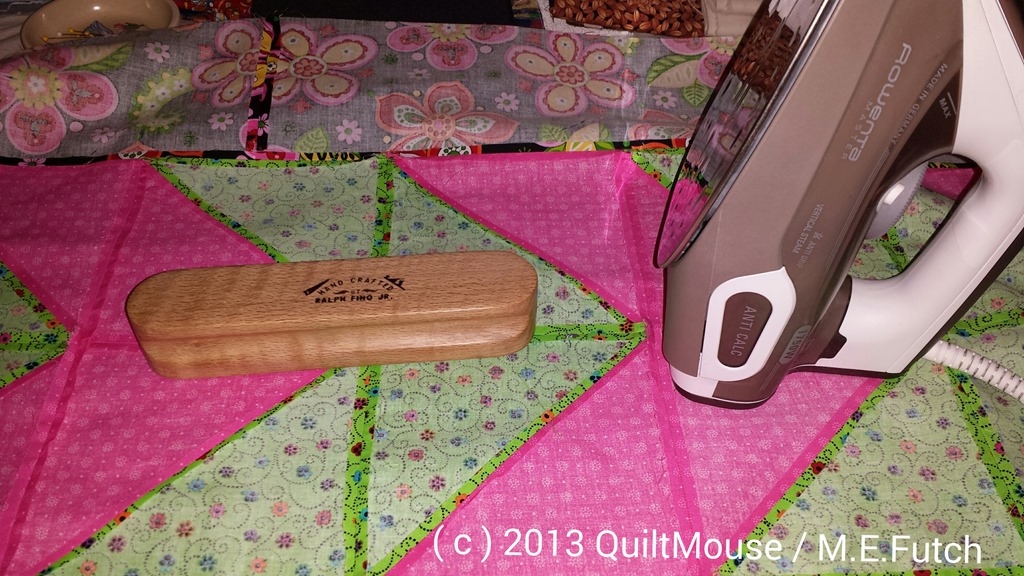
I have a nice size ironing mat and a cute little travel iron.  If I need more space, I’ll use the ironing board in the room, but this space should do quite well.  I brought my “Tailor’s Clapper” to help press any pesky seams.

So, I’m all set for some serious stitching!


Quilt Mouse
Posted in Quilting, Travel | Leave a comment

A Quilt Along in Support of the Make A Wish Foundation

Moda Fabrics & the Fat Quarter Shop are sponsoring a Quilt Along in support of the Make A Wish Foundation.

You can see more information on the Fat Quarter Shop’s Blog – Wishes Quilt Along.  See the button on my Side-bar. This is similar to a Block of the Month (BOM) program, except we know what the quilt will look like at the beginning.

Each month, on the first, the pattern for another block will be released.  The quilt that is made by the Fat Quarter Shop to demonstrate the blocks will be auctioned off at the end of the program and 100% of the proceeds will be donated to the Make A Wish Foundation.

The participants are requested to make a Donation to the Wishes Quilt Along Donation Page for the use of each free pattern.  Moda Fabrics and and Fat Quarter Shop will match up to $10,000 of donations raised.

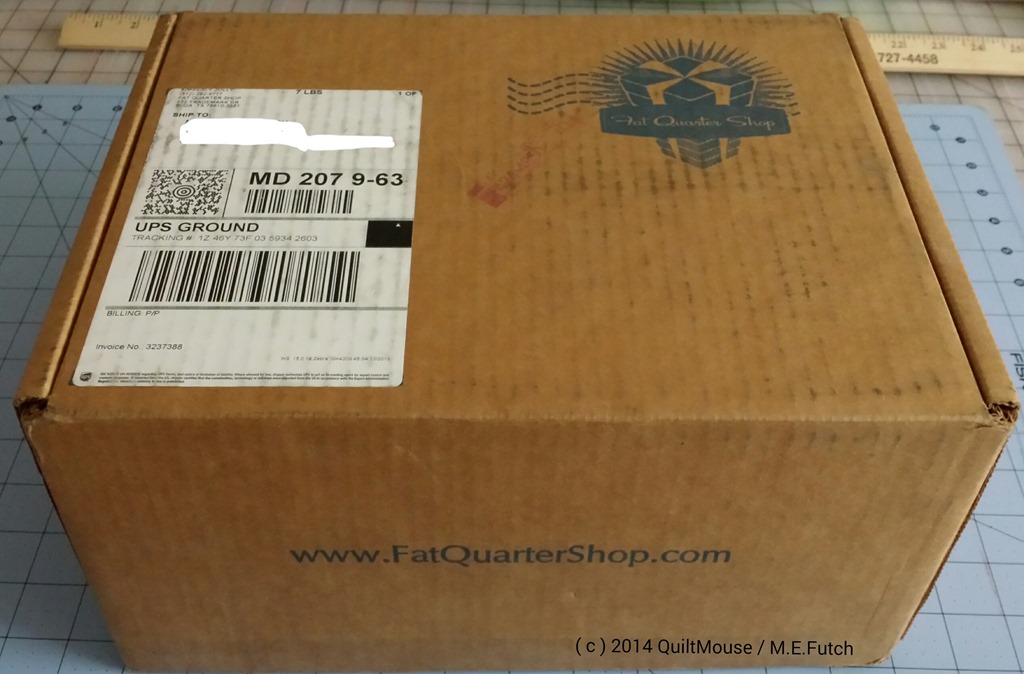
The first block was released on January 1st.  I ordered a kit from the Fat Quarter Shop so I will have the same quilt as the one they have made with the Wishes Collection by Sweetwater for Moda Fabrics.  The kit shipped last week and I finally got mine!

IMG_20140109_074845

I love their boxes. They are nice and sturdy and can be used to hold fabric as I’m working on the blocks.  This will come in handy since this Quilt Along will take 12 months.

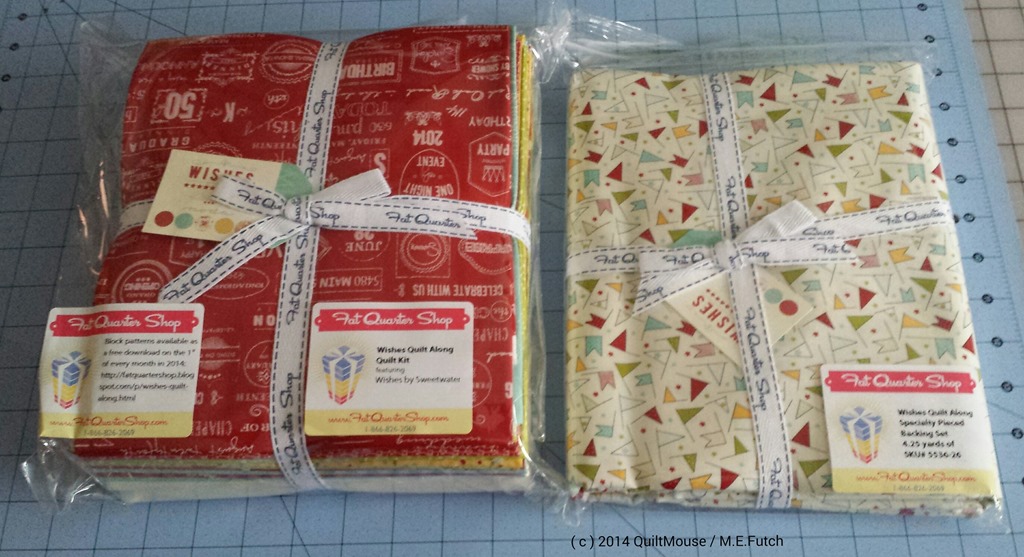
I got both the Quit Along Wishes Kit and the Backing Fabric.

IMG_20140109_075235

So I have everything I need to complete this quilt except for the batting!

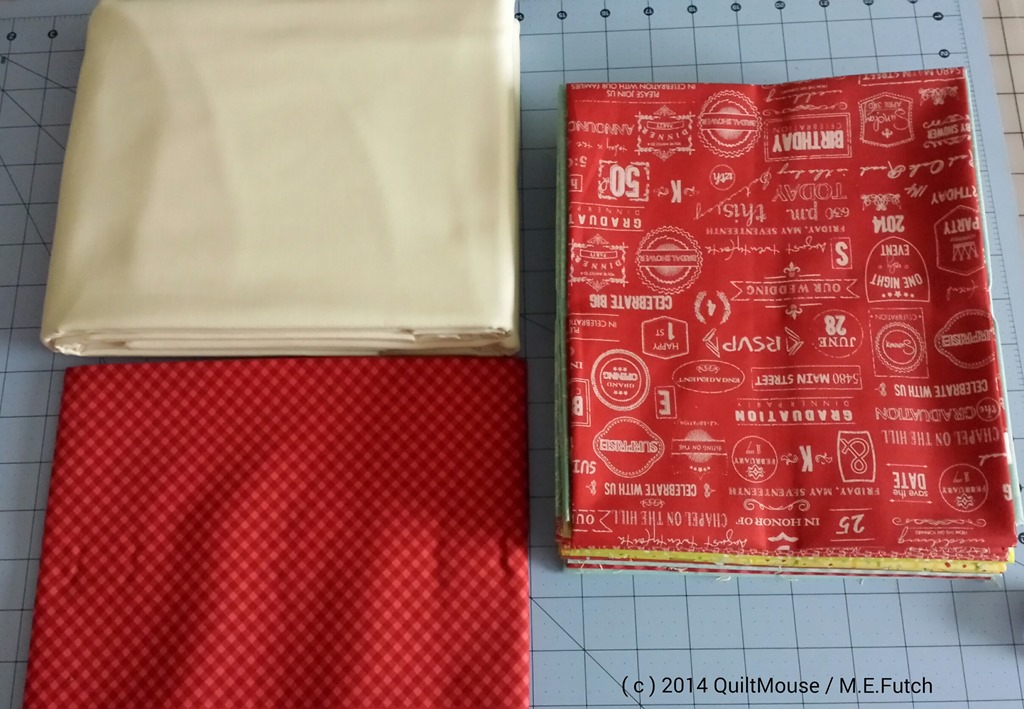
The kit for the top includes 22 fat quarters (right), plus background/border fabric (top, left) and fabric for the binding (bottom, left).

IMG_20140109_075359

This makes two BOM programs I am participating in this year.  I will post pictures of both blocks the end of the month.  I’ll try not to fall behind. Smile


Quilt Mouse


Posted in BOM, Charity, Quilting | 3 Comments

What Every Quilter Needs….

OK, maybe not ‘needs,’ but more like ‘wants.’ Tools of the Trade and things that help keep us organized.

Tailor’s Clapper:

2013-12-31 13.29.13

Used by tailors many years ago to set in a sharp crease in a hem or pant’s leg.  This item has a similar use for quilters.  Used while ironing seams, preferably using steam, the Clapper is pressed and held in position to help flatten the seam without scorching the fabric.  This is especially helpful when pressing points which have multiple layers of fabric.

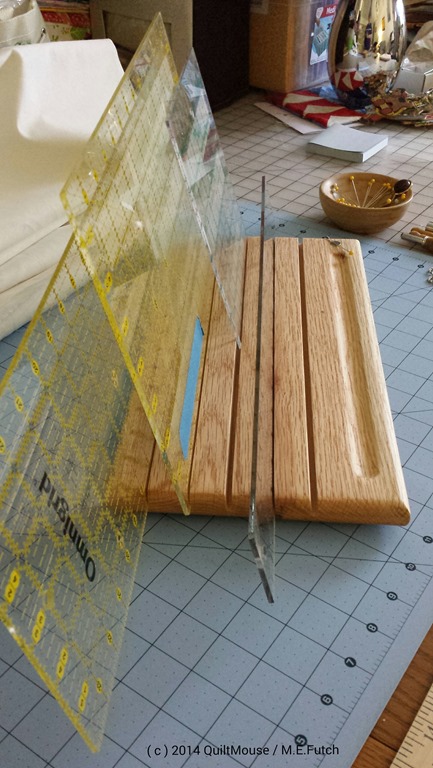
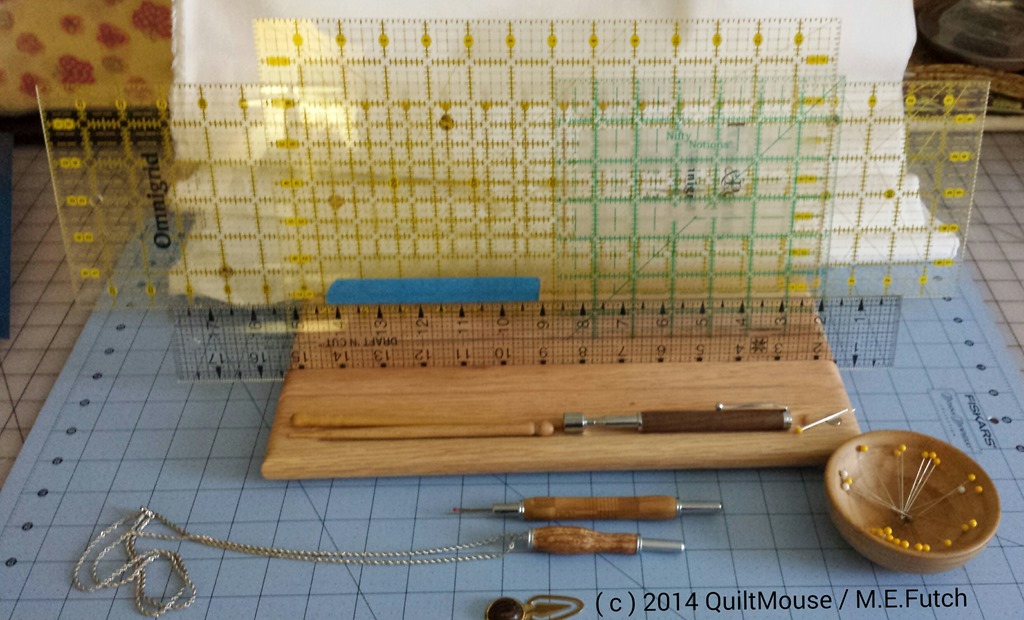
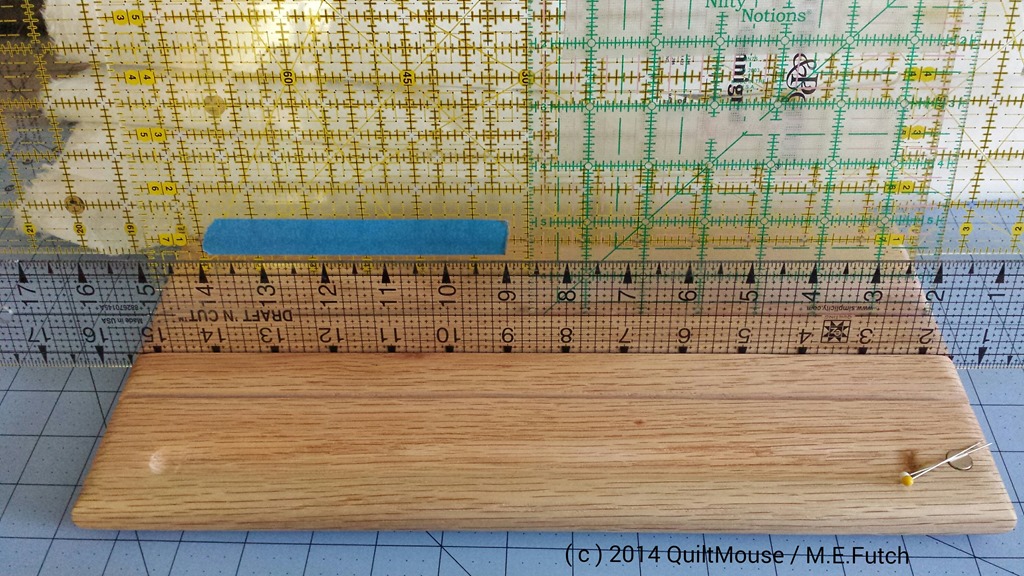
Ruler Rack:

2014-01-07 14.18.56

2014-01-07 14.20.06


The Ruler Rack is useful to keep your Acrylic Rotary Cutting Rulers organized and handy. Your rulers won’t be lost under the fabric on your cutting table or broken.  This one is especially handy with a pencil groove to keep your fabric marking pens plus a magnet in the corner to keep pins at hand.


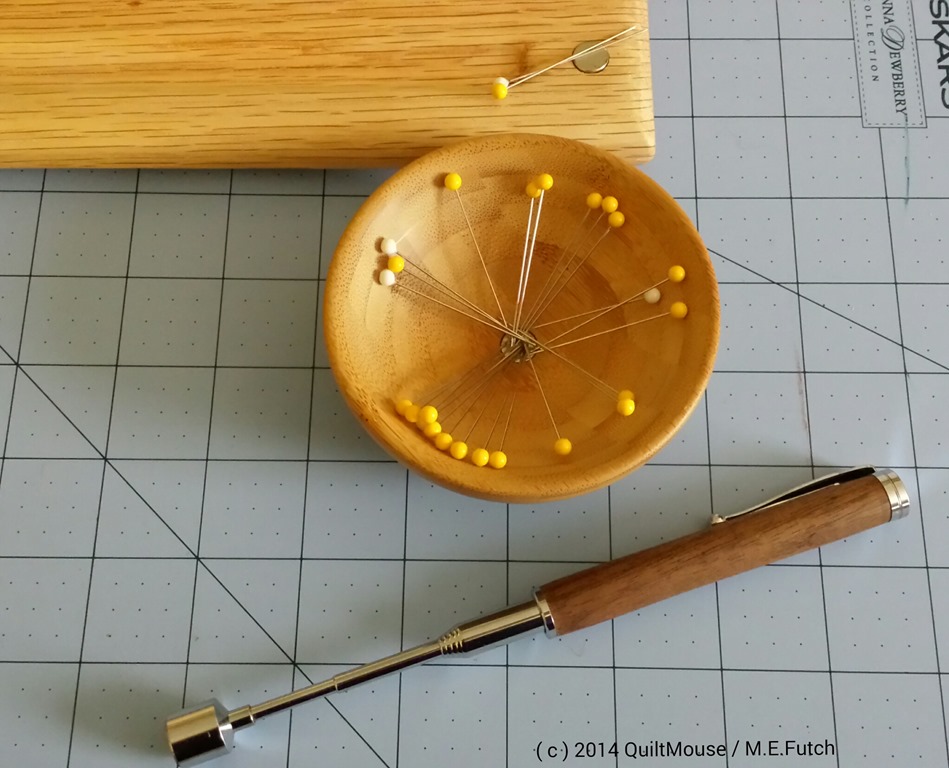
Magnets:

2014-01-07 14.18.00

Magnets are a very useful quilting tool. Here are three examples. 

  • A small, but powerful, magnet on the corner of the Ruler Rack. 
  • A pin bowl with a magnet in the bottom to keep your pins from scattering.
  • An extension Magnetic Pick up Wand, when you want to sweep the floor for those dropped pins.

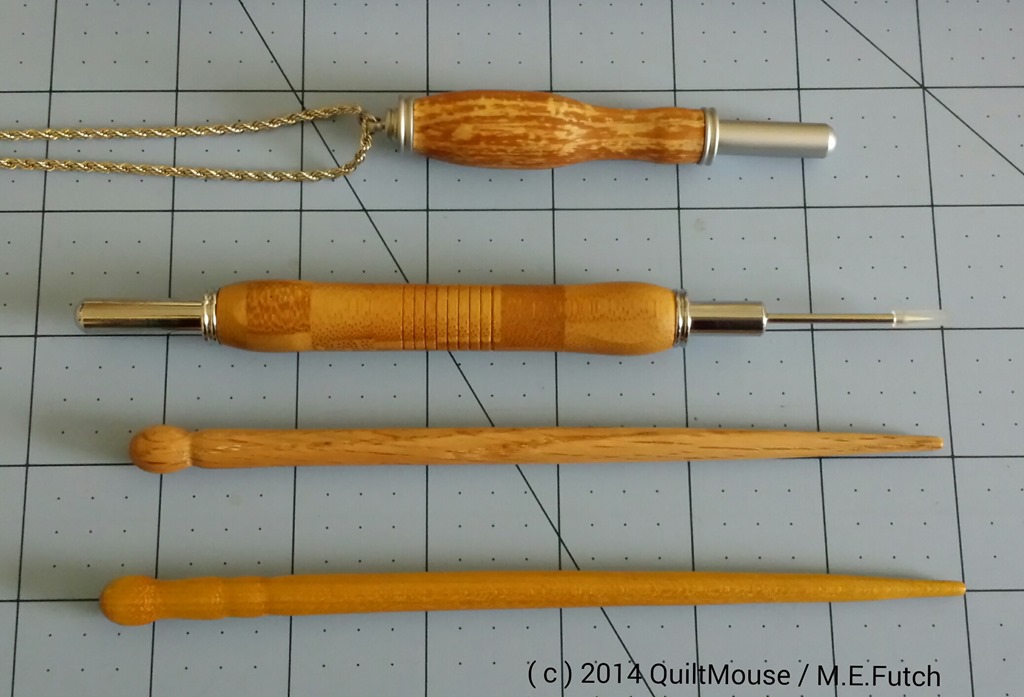
Stilettos & Seam Rippers:

2014-01-07 14.16.54

Unfortunately, the more you stitch the more you eventually end up ‘un-stitching.’  A nice, sharp seam ripper is a quilter’s friend! 

Safety is always a concern, whether it is avoiding cutting yourself with your rotary cutter or not stitching your finger when sewing.  Even the best, most experienced stitcher or quilter can have accidents, and these stilettos are just the thing to safely ease some difficult fabric under the needle on the sewing machine without accidently stabbing yourself.

2014-01-07 14.15.26

My Cutting Table is happy with all the new, custom-made, wood quilting tools.

Thank you to my very talented Brother-in-law for the lovely handmade quilting tools.

Posted in Quilting, Sewing | 2 Comments