January 2014 Summary

This has been a busy month.

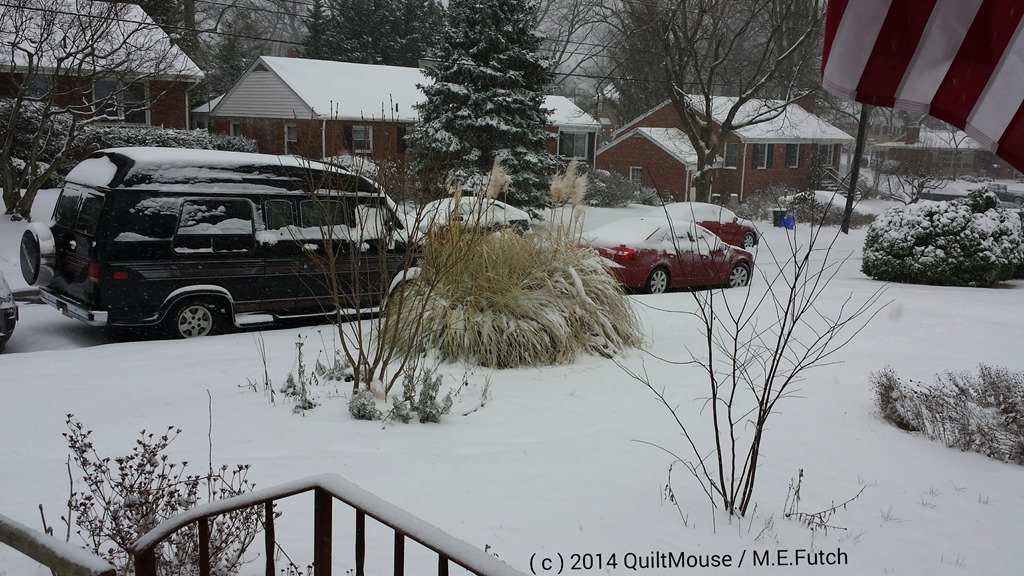
Weather has been a bit of a challenge.  Snow, Ice, Wind & Record Breaking low temperatures have definitely provided us with a dose of Winter.

Snow caused the Monthly Meeting of Quilting for Good on January 3rd to be cancelled. Guess we’ll have to make twice as many in February! Winking smile

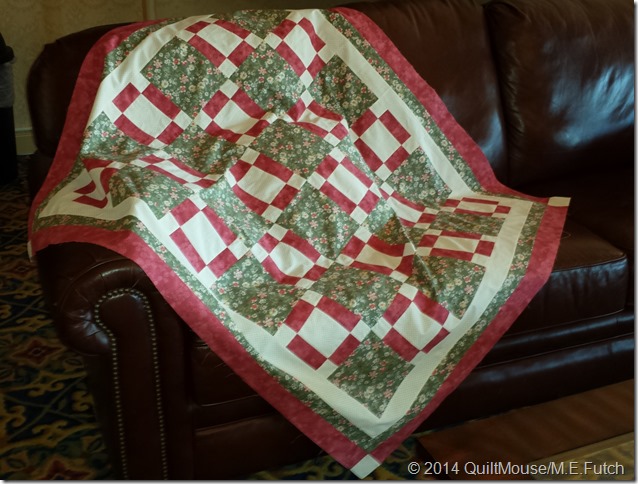
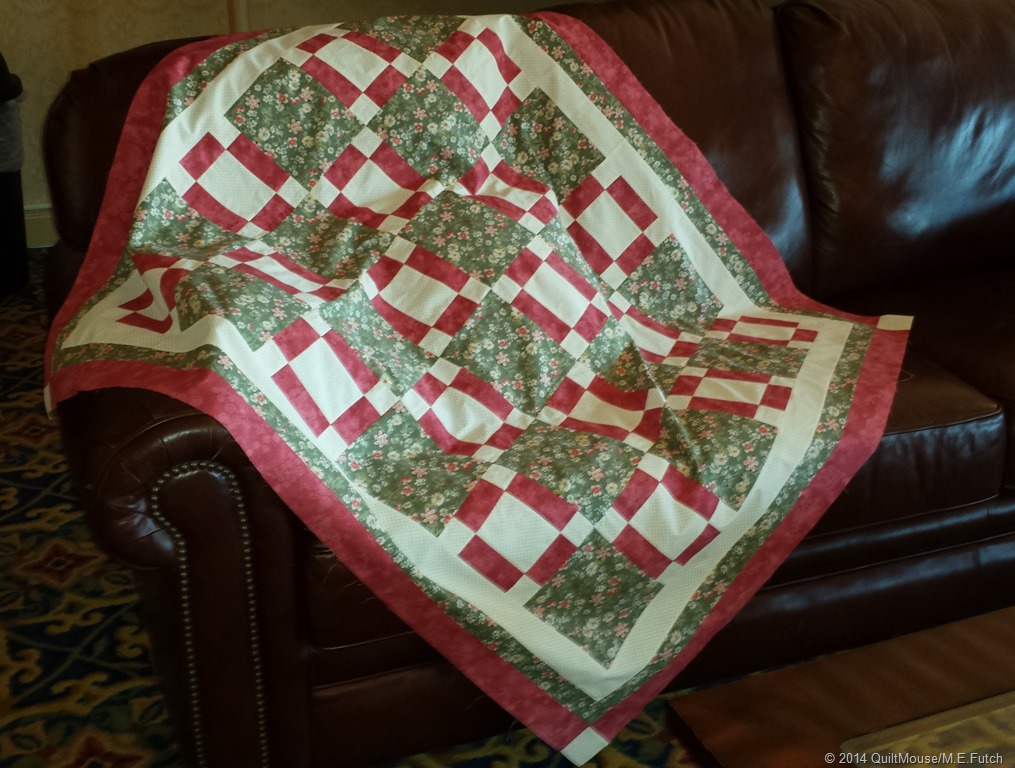
Fabric Café – I pieced a top using the Awareness Pattern.  Once quilted and chenille added, this will be on display at their booth in a number of quilt shows.

AwarenessQuiltTop

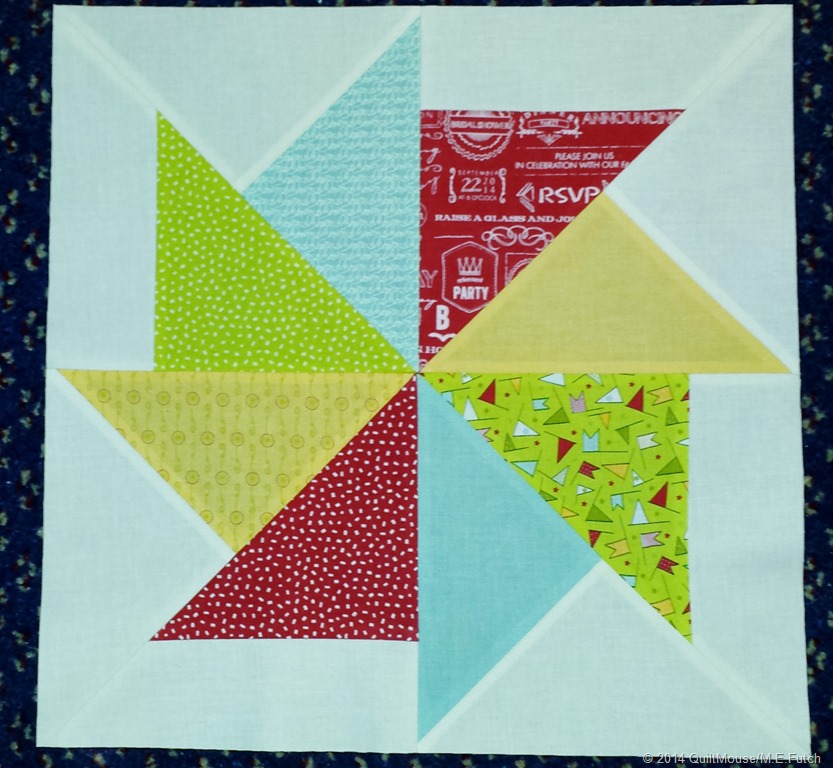
Quiltmaker – This month I tested 4 blocks. I cannot show you what I worked on as these are blocks I’m testing for the Spring issue of Quiltmaker’s 100 Blocks, Volume 8.  I will share these in a couple of months.

? ? ? ?

This year, Quiltmaker Magazine has started a series on Machine Quilting on your Home Sewing Machine.  I’ve downloaded Lesson #1 and some of the exercises and hope to work on this skill and get more comfortable with machine quilting.

Fat Quarter Shop’s Wishes Quilt Along – Block #1 Flying Kite. This block was released on January 1st, but I had to wait until my kit arrived before making this.

Wishes-Block1-completed

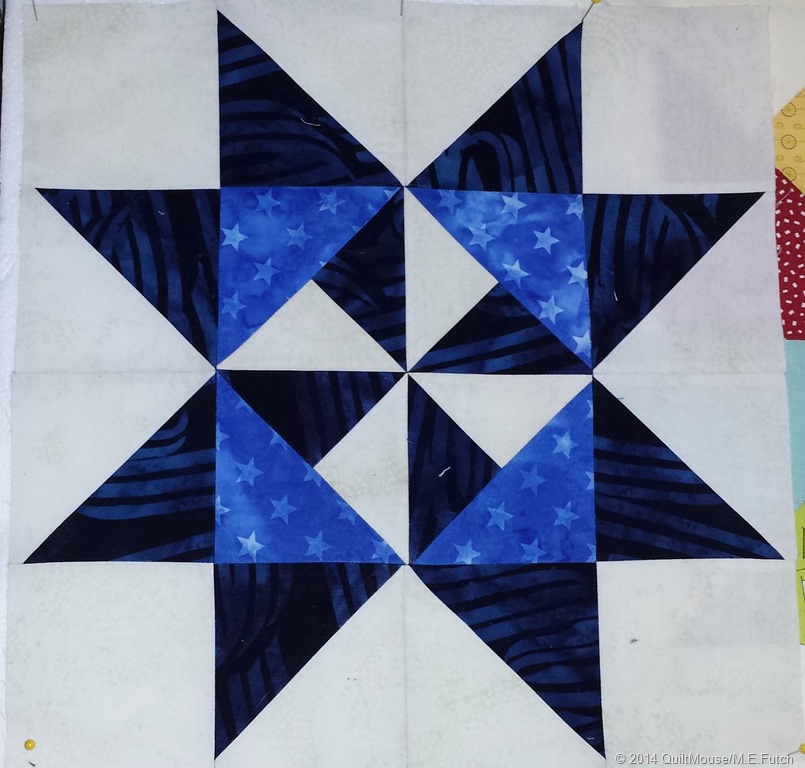
Quilter’s Newsletter’s BOM – Ooh-Rah!! – Block #1 Martha Washington Star Block that was originally published in Issue #1 of Quilters Newsletter in 1969.

2014-01-QN-Ooh-Rah-Block1

My Thursday Hand-Quilting Group helped me to Sandwich and Baste a Quilt that I will be quilting on my Home Sewing Machine.  We missed a couple of times because of sickness or weather.

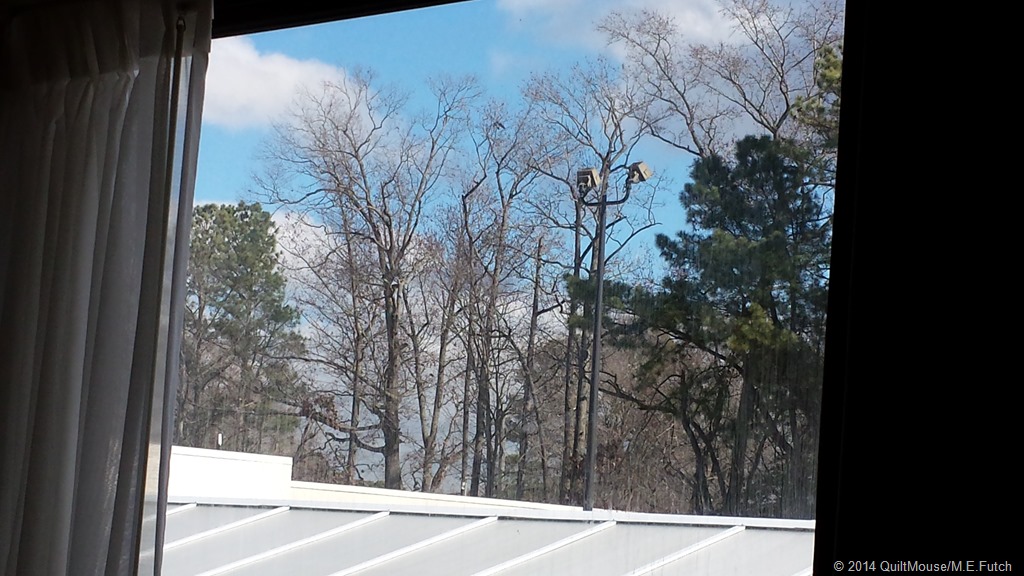
Travels – Mostly stayed home a lot because of the weather, but I did get to enjoy a long weekend in Newport News visiting with a friend and working on a number of quilt projects.

2014-01-18 11.31.54

We had beautiful weather for our trip, but I got home the day before some snow!

2014-01-21-Snow

Here’s hoping the Ground Hog doesn’t see his shadow, I think we’d like an early Spring!

Spring comes on Thursday, March 20th – 46 more days!


Quilt Mouse

Posted in BOM, Quilting | 6 Comments

Economy Binding

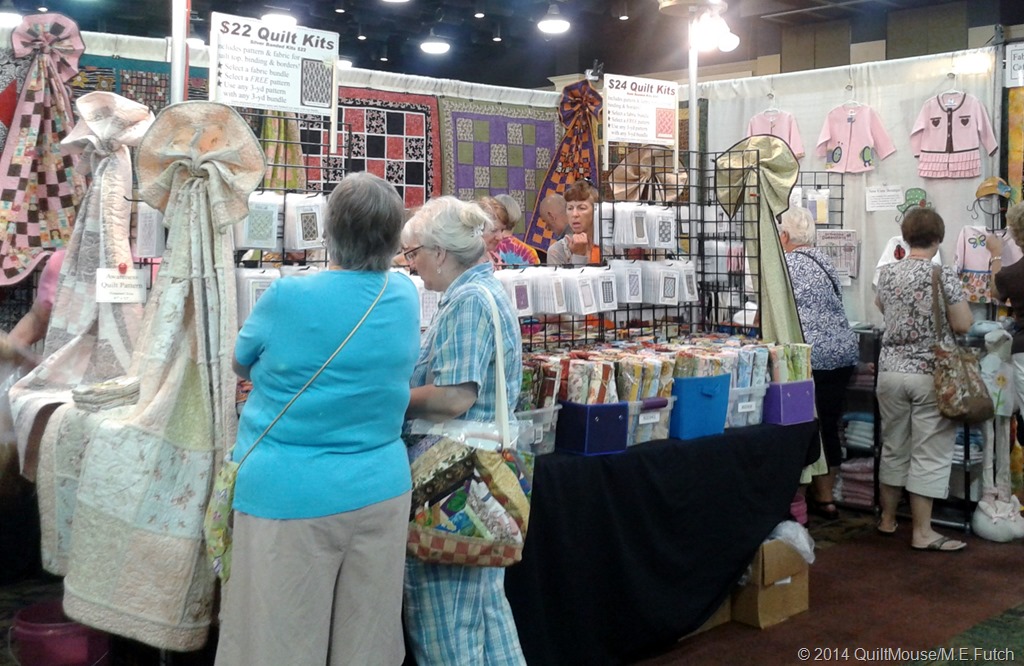
I enjoy the privilege of making quilt tops that are made into Show Samples for Fabric Café. I piece the tops and return them to Donna and they are quilted and bound before traveling cross country and hanging in their Booth at quilt shows throughout the year.

FabricCafe-Booth-Hershey2014

Fabric Café has 3-yard bundles of fabric which can be used to make any of their over 25 patterns that make a nice size throw or youth size quilt.  You want something larger, then get 2 of the same bundle and make a twin; 3 of the same bundle and make a full/queen; and 4 bundles make a king.  One day I’ll make a king, but so far I’ve only made quilts and tops using one bundle.

These bundles & patterns are economy quilts – designed to use as much of the fabric with little waste.  Most of the fabric is used to piece the top, which results in the need for a binding using the smallest amount of fabric.

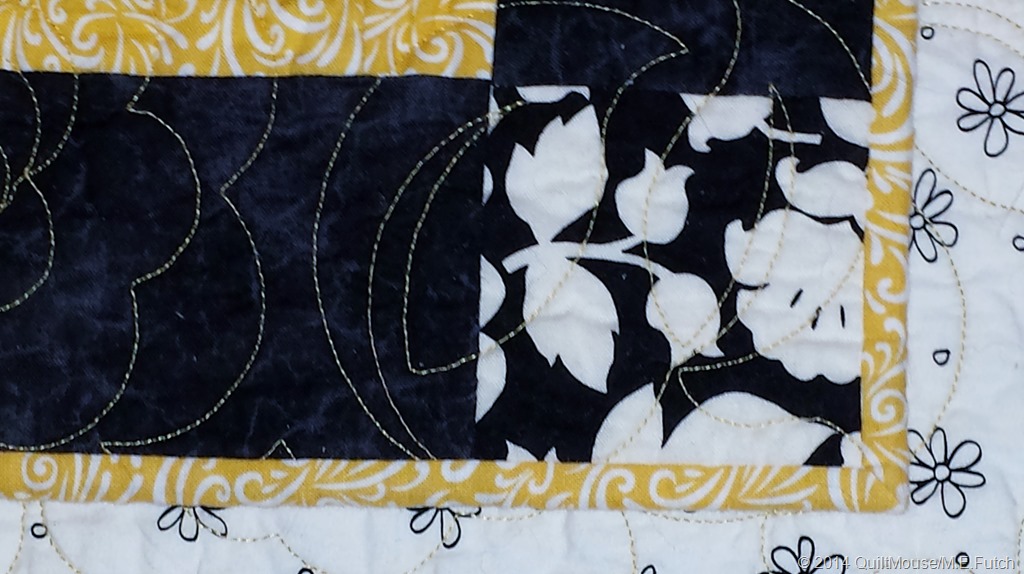
Binding-Finished

You may be familiar with the basic double-fold binding using 2-1/4” strips, which are combined on the diagonal.  This would require about 1/2 yard of fabric. Since most of the fabric in the 3-yard bundles/patterns is used to create the top, there isn’t enough to make the standard binding.  This is  where the Economy Binding comes into use.

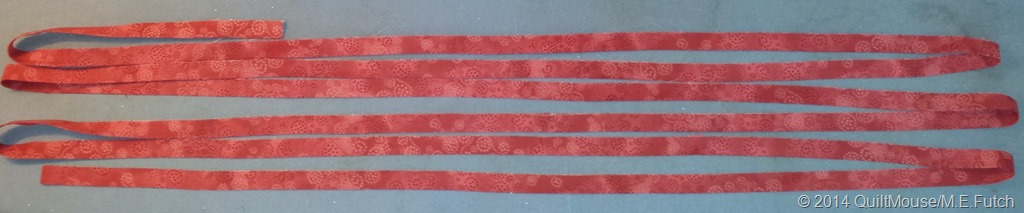
The Fabric Café patterns use only 6-1/4” of fabric which is cut into five 1-1/4” strips to create a Single-fold Binding.  [Read the instructions carefully as a few patterns are a bit different.]

Here is how I make the binding:

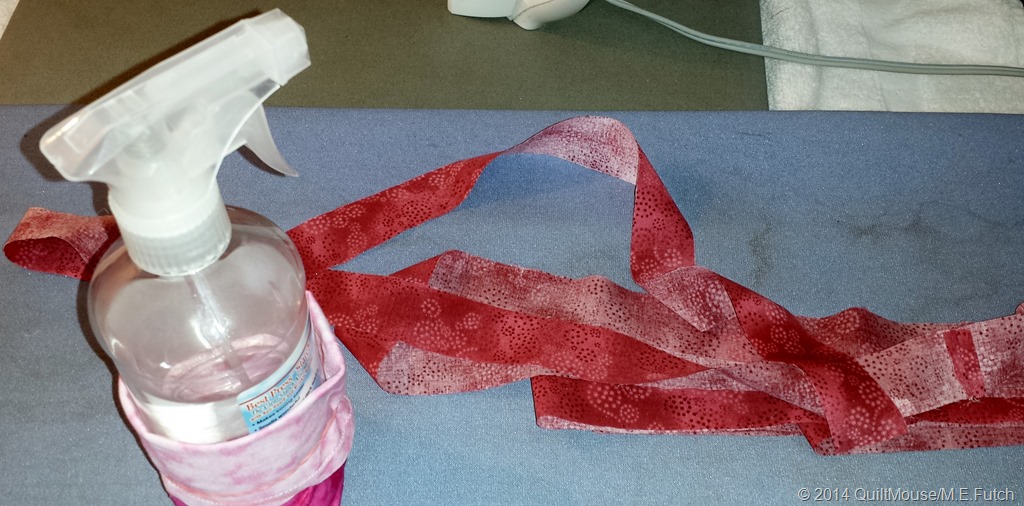
After stitching the strips together using a straight end-to-end seam, the first step is to iron the binding in half lengthwise with wrong sides together.

1Binding-Spray

TIP:  Because your fingers will be close to the iron as you fold and press, I recommend not using steam.  Instead I use a spray bottle filled with water and liberally spray the binding strip.  Let it sit for a few minutes to ‘soak in’.  This will help prevent your fingers from being burned by the steam coming out of the iron.

Fold the binding strip in half with the right side out, and iron.  I iron the connecting seams open.

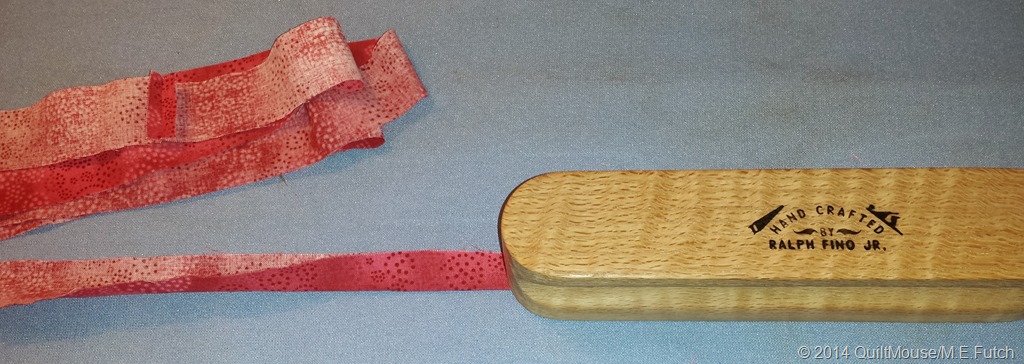
2-Binding-1stFold-Clapper

TIP:  I use a “Tailor’s Clapper” to help set the crease.  As you press the damp binding with the hot iron, immediately place the Clapper on the binding and hold.  This will hold in the steam/heat without scorching the fabric.  See my Post – Click Here – about the wonderful wood quilting tools handmade by my brother-in-law.

3Binding-2stFold-Finished

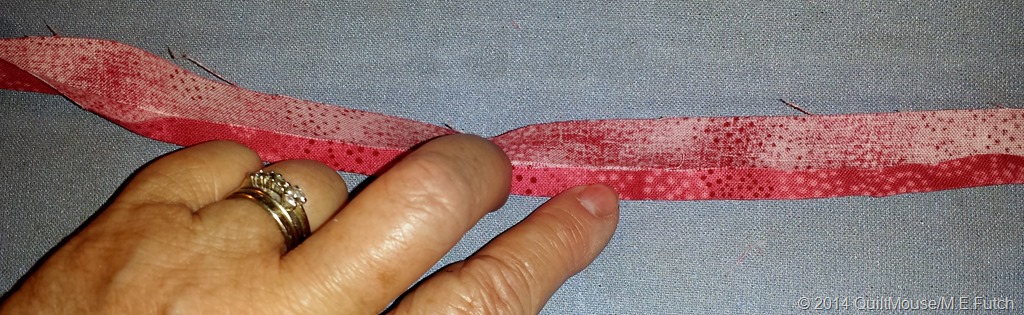
After the first fold, finger-press one side in to the middle.  This will make it easier to get an even fold without pressing out the first crease.

4Binding-FingerFold-2ndFold

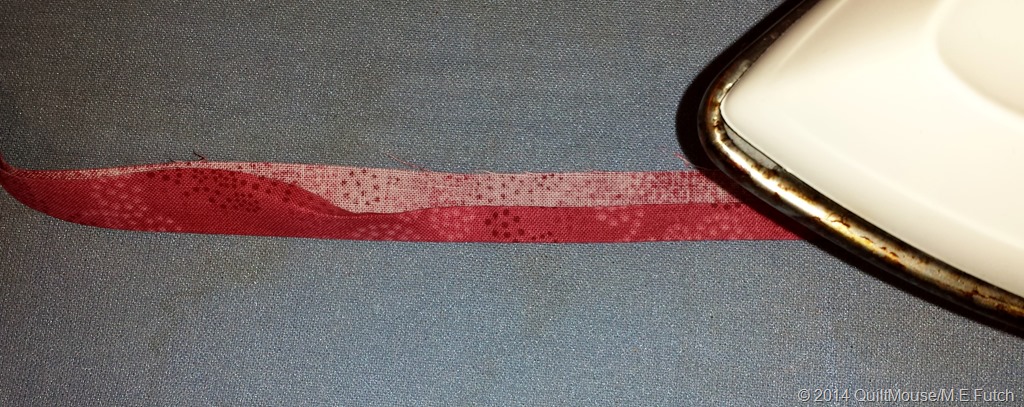
Now use the iron (and Tailor’s Clapper, if you have one) to set the 2nd crease.

5Binding-Iron2ndFold

There, you now have a nicely creased Economy Binding to finish your 3-Yard Bundle Quilt!

After quilting your quilt, finish it by adding the Economy Binding as you desire.  Line the unfolded raw edge of the Binding with the raw edge of your quilt and machine stitch it with a scant 1/4” seam.  Fold the binding to the opposite side and stitch it in place.

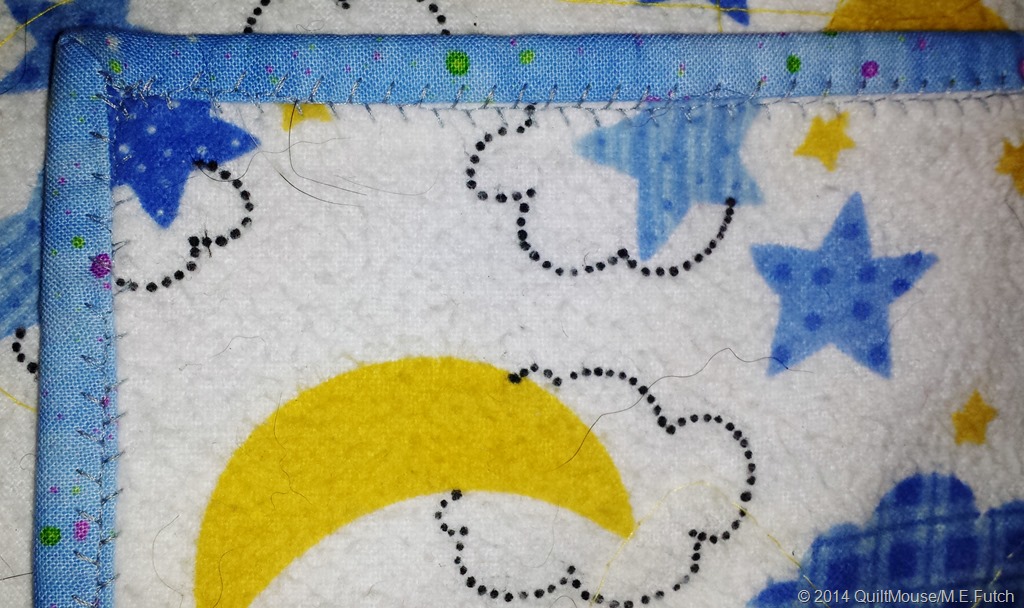
Side Note:  If hand stitching the binding down, machine stitch the raw edge to the front and fold to the back.  I do a lot of baby/children quilts and when adding the binding, I machine stitch the raw edge to the back and fold it to the front.  I then line the folded side of the binding along the stitch line and will use a decorative stitch to attach the binding.  This gives a more secure binding to withstand wear-and-tear usage and frequent washings.

Binding-MachineStitched

Happy Stitching (Binding)!


Quilt Mouse


Posted in Quilting, Tips, Tutorial | 2 Comments

Friday Finds

I follow a number of Quilt Related Blogs, & Quilt Related Companies on Facebook.  Sometimes they offer tips, other times it may be a sale or give away.  Frequently there is a link to a free pattern.  The free pattern may only be available for a week or month, or maybe longer.

I thought I would share some of my Internet finds with my Blog Readers.

Free Patterns:

Quilter’s World – Featured Pattern – This is a cute, quilt-as-you-go placemat, with a ‘twist!’  Did you ever think you might make a placemat with a zipper?  Check this out. This free pattern may not be available for long.

Debbie Mumm – Six Installment Quilt Project 2014 – Stars of Honor.  This looks like a modified Block of the Month.  There will be six blocks – one every 2 months – which will be used to make a 54-1/2” x 70-1/2” Lap Quilt.  You will make several copies of each block.

Quilting Tips:

Craftsy has a Blog Post with everything you wanted to know about a Walking Foot for your sewing machine – what it is, why you would use it, how to use it, and more.


Well, that’s it for now.

Happy Stitching!


Quilt Mouse

Posted in Friday Finds, Quilting, Tips | 1 Comment

Call for Pillowcases

Just a quick note to share a request.  Arrow Sewing Cabinets is hosting a Pillowcase Drive in support of Conkerr Cancer

There isn’t much time, but then pillowcases don’t take much time to make.  The request is to make two pillowcases suitable for children, using the requirements on the Conkerr Cancer website – Click here for more information on how to make, wash & package the pillowcases.

These pillowcases will be collected at Arrow’s office in Elkhorn, WI, and then all of them will be sent to the Conkerr Cancer chapter in Nashville, TN.  They will be used to bring smiles to children in local hospitals undergoing surgery or procedures, which can be scary.

Arrow is requesting that pillowcases be mailed in time to be received by Friday, February 7th.  Read the details of this Pillowcase Drive on Arrow Sewing Cabinets’ Blog and see what one lucky Pillowcase maker will receive.

If you haven’t made a pillowcase before, see my Blog Post – A Tutorial-Travel Pillowcase.  While my tutorial is for a Travel size Pillowcase, the process is the same.  The post also includes a link to a You-Tube video made by Missouri Star Quilt Company.  These can help you get started, but be sure to follow the size requirements on Conkerr Cancer’s Pillowcase Direction’s page.

Won’t you join me in making 2 (or more) bright & cheery pillowcases to help brighten the day for a child?


Happy Stitching!


Quilt Mouse

Posted in Charity, Sewing | Leave a comment

Borders

The Quilt Top that I’m working on for Fabric Café has 3 Borders with the outside Border having Corner Blocks (sometimes called Cornerstones).

Donna’s patterns have very good directions on adding Borders, but I wanted to share a few tips.

First – the White Fabric which I am using in Border #1 had 43” of useable fabric after the selvages were trimmed. I was able to add the right & left borders with only one Width of Fabric (WOF) each.  The top & bottom borders were the same. So no piecing necessary for Border #1.  If your fabric isn’t as wide, these borders will need to be pieced.

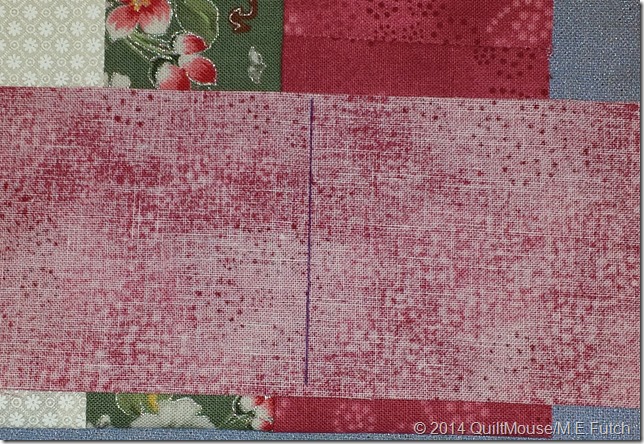
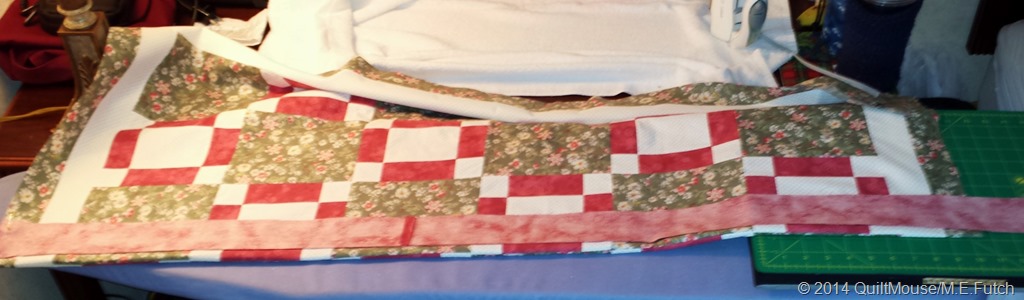
The 2nd & 3rd Borders needed piecing.  After trimming the selvages, one WOF strip was short by just a little bit. To avoid having just a little piece added, I cut one WOF in half – making 2 strips about 21” long, and stitch one piece to one full piece for the Left Border and repeated that for the Right Border.

Measuring/Squaring – I found a hint which helps keep your Quilt Top square.
1-BorderStipMeasure

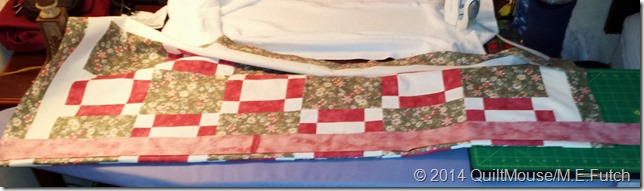
Fold the top in half (bringing the Left side to the Right side) and lay it on your ironing board or cutting table. (OK, a dining room table would work, too!)

Do not use a tape measure – instead, take your 2 border strips and starting with the 1/2 strip end pin matching raw edges along the fold (not the left/right sides raw edges).  Smooth the 2 border strips, pinning a few times until you reach the other side raw edges. 
2-Border-Trim

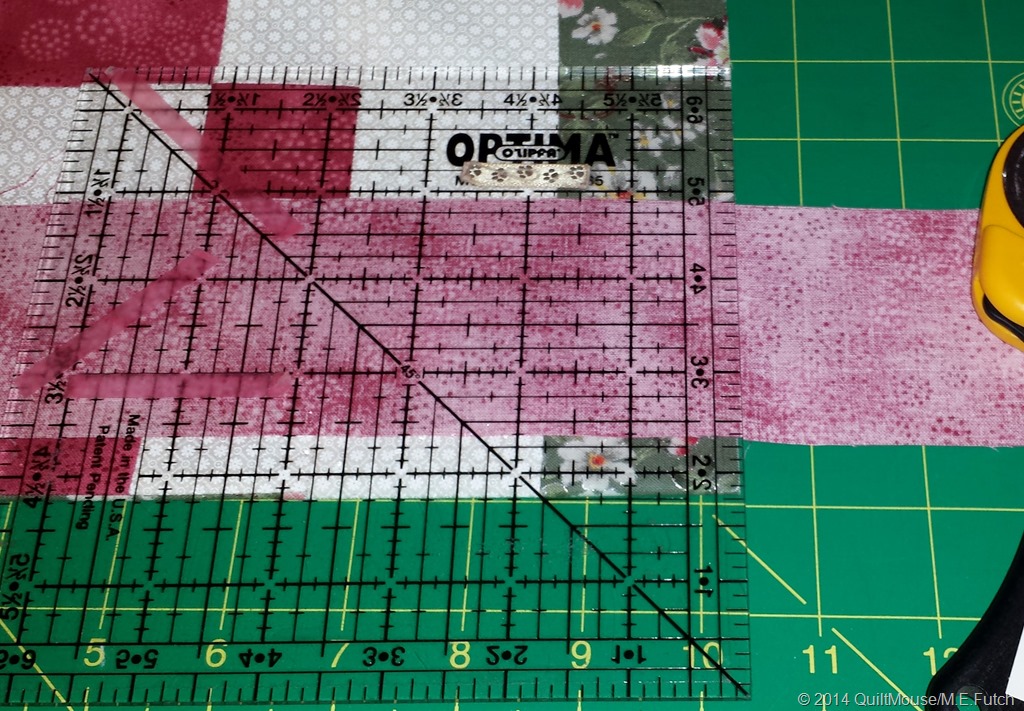
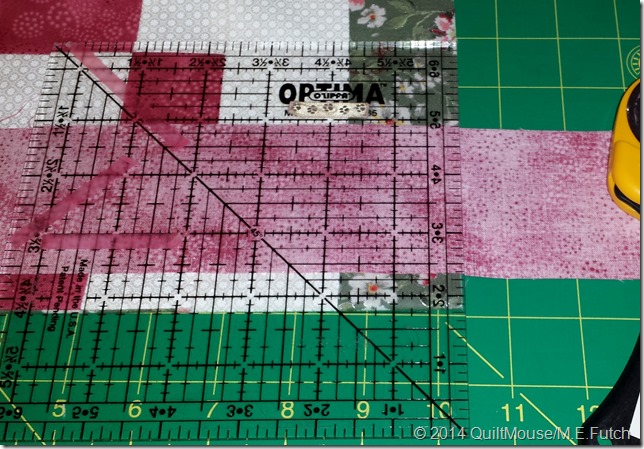
Mark your border fabric or slide a small cutting mat under and cut the border strips even with the raw edges.  There are now two border strips the same size which will fit the left & right sides of the Quilt Top.  Sew the ‘left-over’ fabric strips to the ends of the remaining 2 WOF strips to be used for the top/bottom borders.  Repeat the pinning/trimming for the Top & Bottom Borders.  Remember to begin with the short, added-on strip.

Note:  By starting your border strip with the shorter piece the border will be more evenly distributed and a small pieced segment will be avoided.

Repeat this process for the Left & Right Border #3 Strips.

Adding Corner Blocks (or Cornerstones)

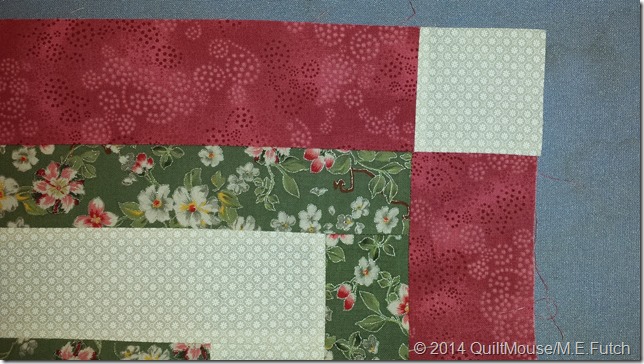
After adding the left over strips from Border #3 Left/Right borders to the two WOF strips for the Top/Bottom Border #3, add one Corner Block to the short end strip for both the Top & Bottom Borders. You will have two strips like this:

1-CornerBlocks

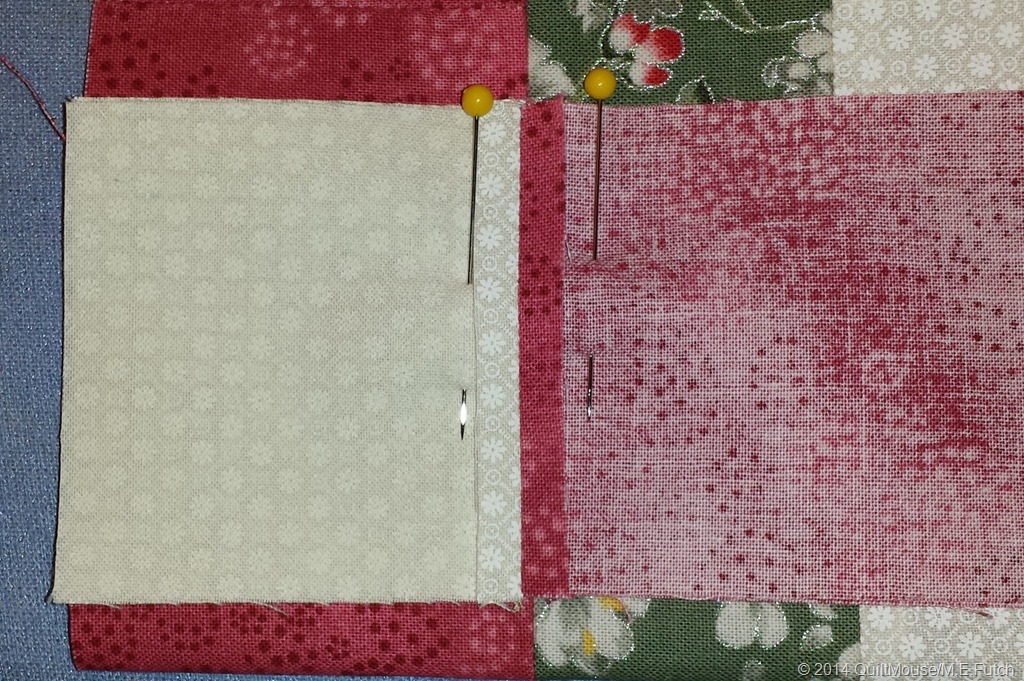
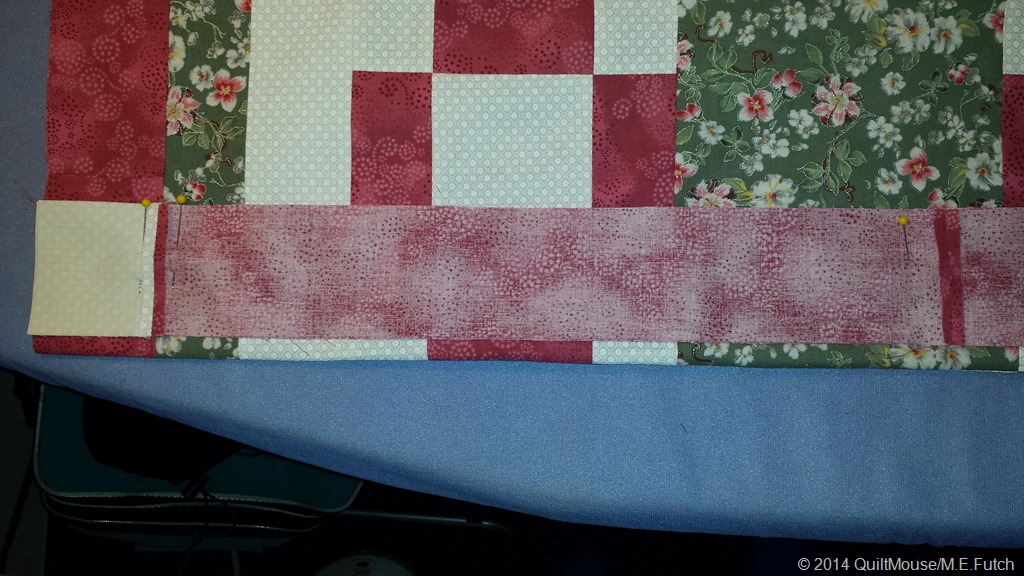
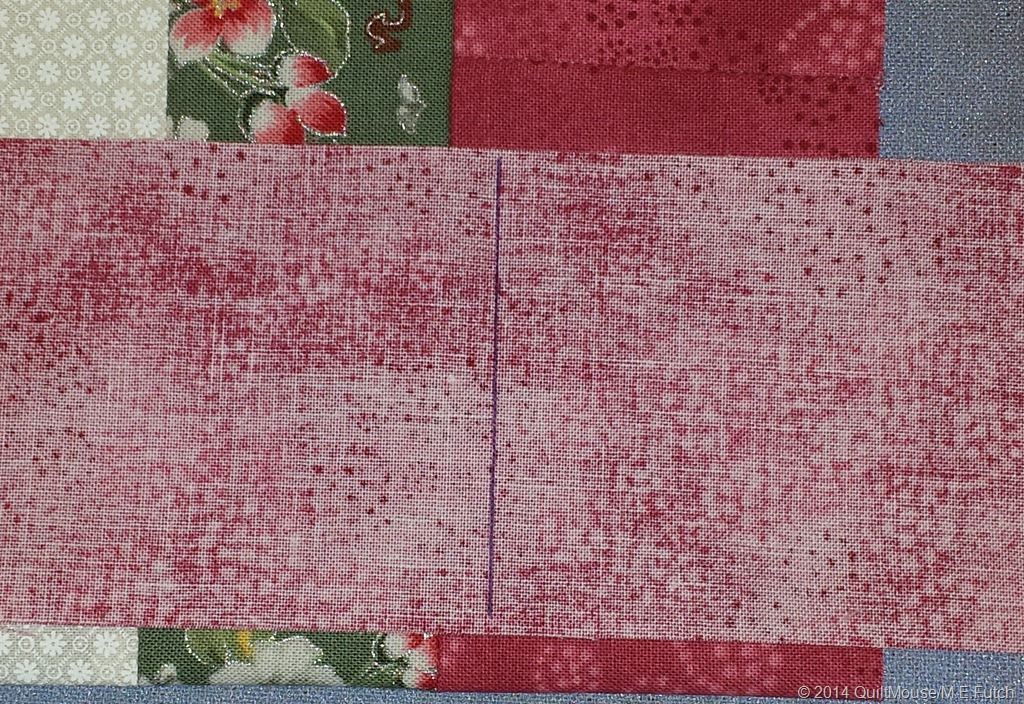
Fold the Quilt Top in half (bring bottom raw edges to top raw edges), and beginning with the Corner Block (use both strips), line raw edges together at the fold and the Corner Block seam with the Left/Right Seam.  Smooth the border strips, pinning occasionally until you reach the other side/raw edges.
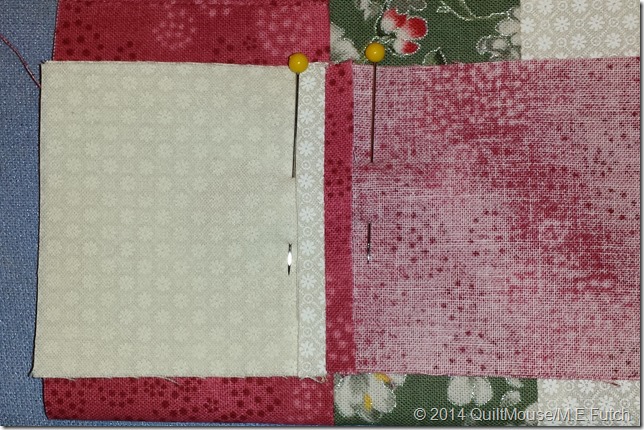
3-Border-CornerBlock1

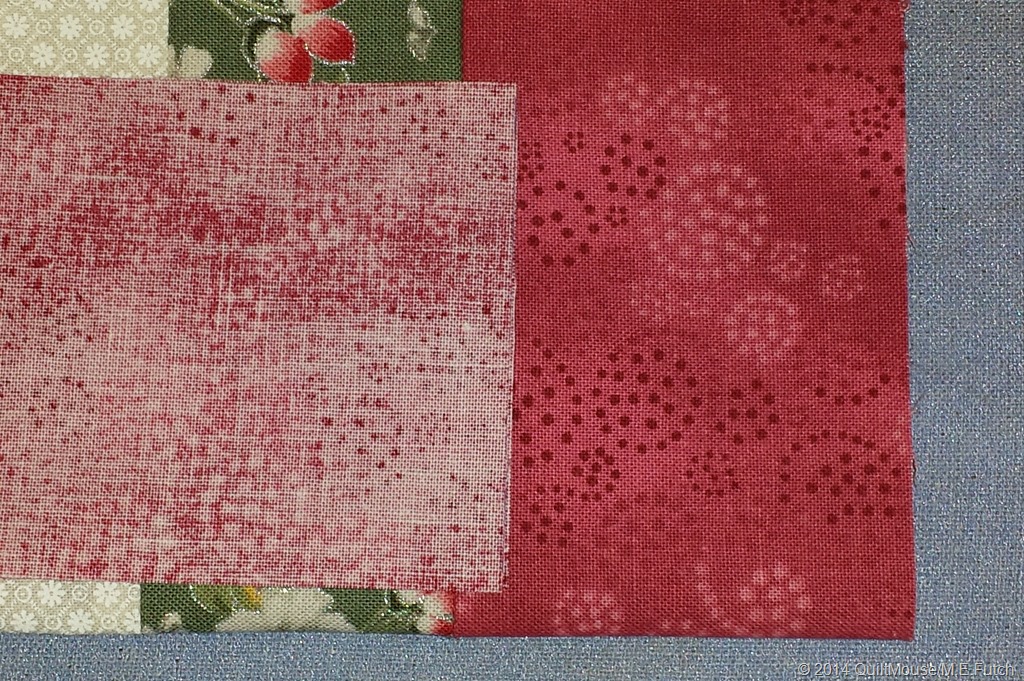
Caution – unlike adding plain borders, do not extend all the way to the raw edges.  Since the other Corner Blocks will need to be added, the Top & Bottom Border strips will be cut a little differently.
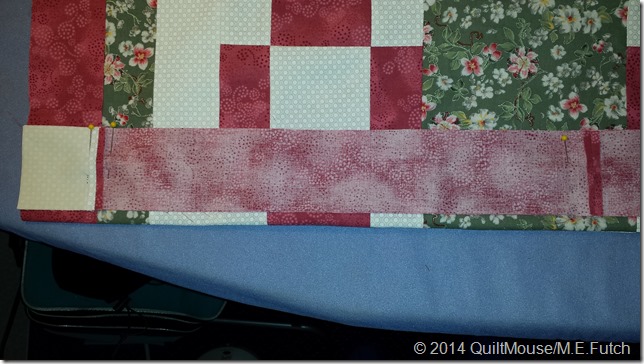
4-Border-CornerBlock-2

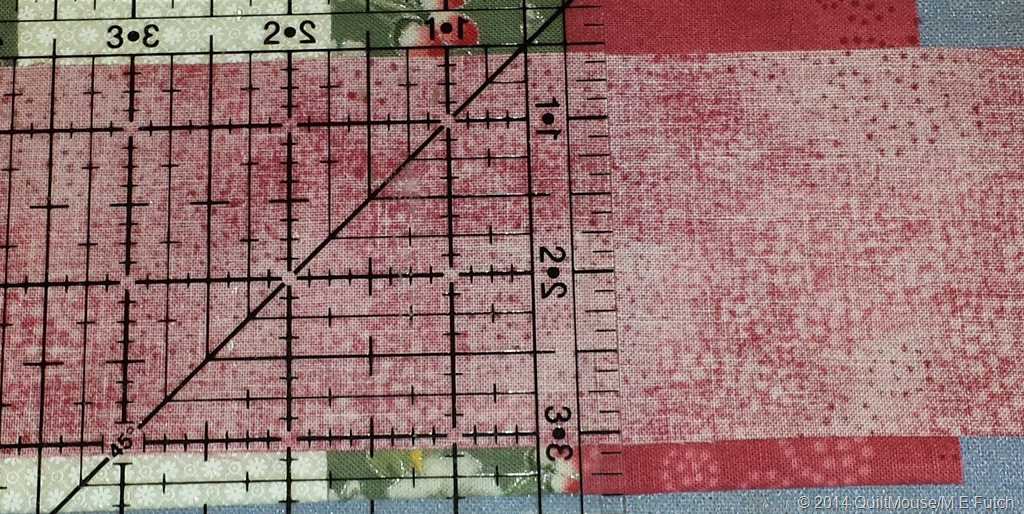
When you reach the end measure 1/4” past the seam where the Corner Block will be added.
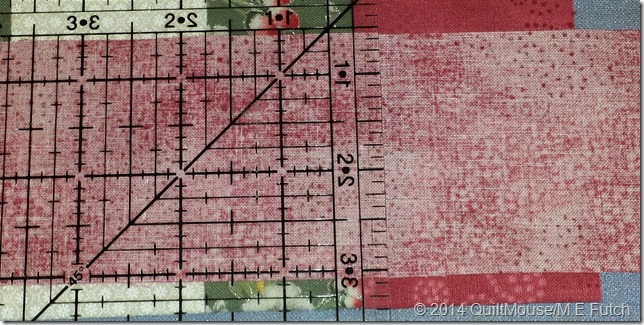
5-Border-CornerBlock3

Mark it.

6-Border-CornerBlock

Cut it – But DON’T cut the Quilt Top!!! This gives the 1/4” seam allowance which will be used to sew on the 2nd Corner Block.
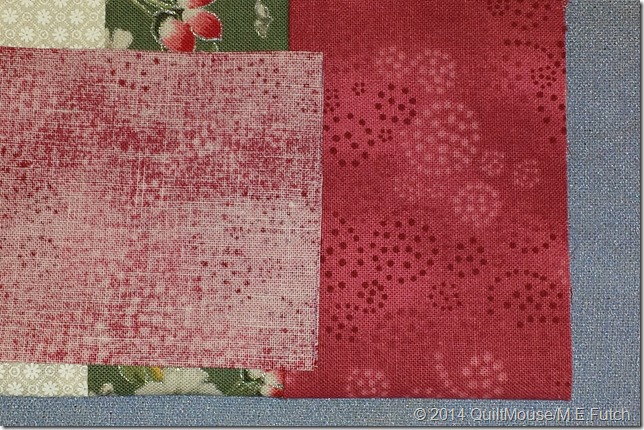
7-Border-CornerBlock

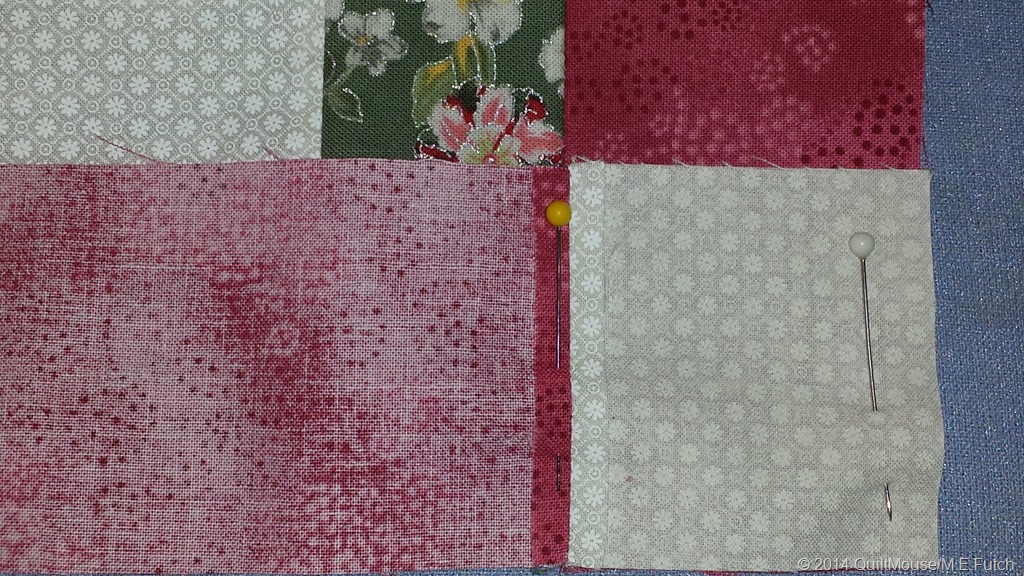
Return to the sewing machine and add the 2nd Corner Block to each strip.

Pin the Top & Bottom Borders in place matching the Corner Block seams to the Left/Right Border #3 seams.  Pin the remaining strip along the raw edges of the top.  Repeat for the bottom border
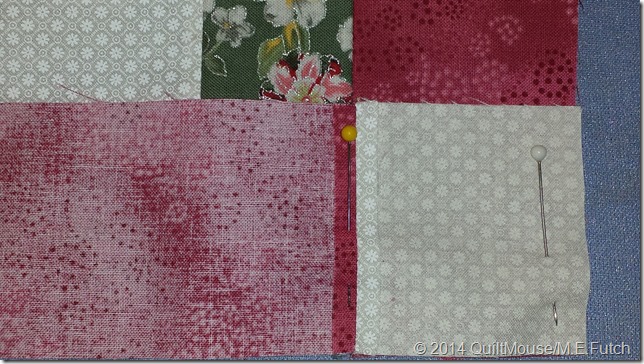
8-TopBottomBorders

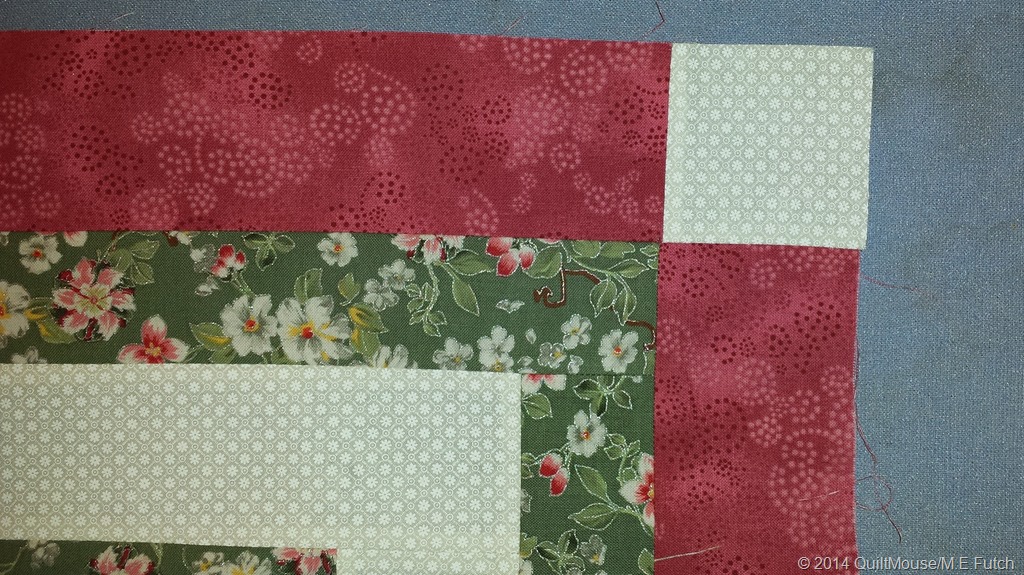
You now have perfectly attached 3 Borders and 4 Corner Blocks!
10-CornerBlocks

See the completed Quilt Top.

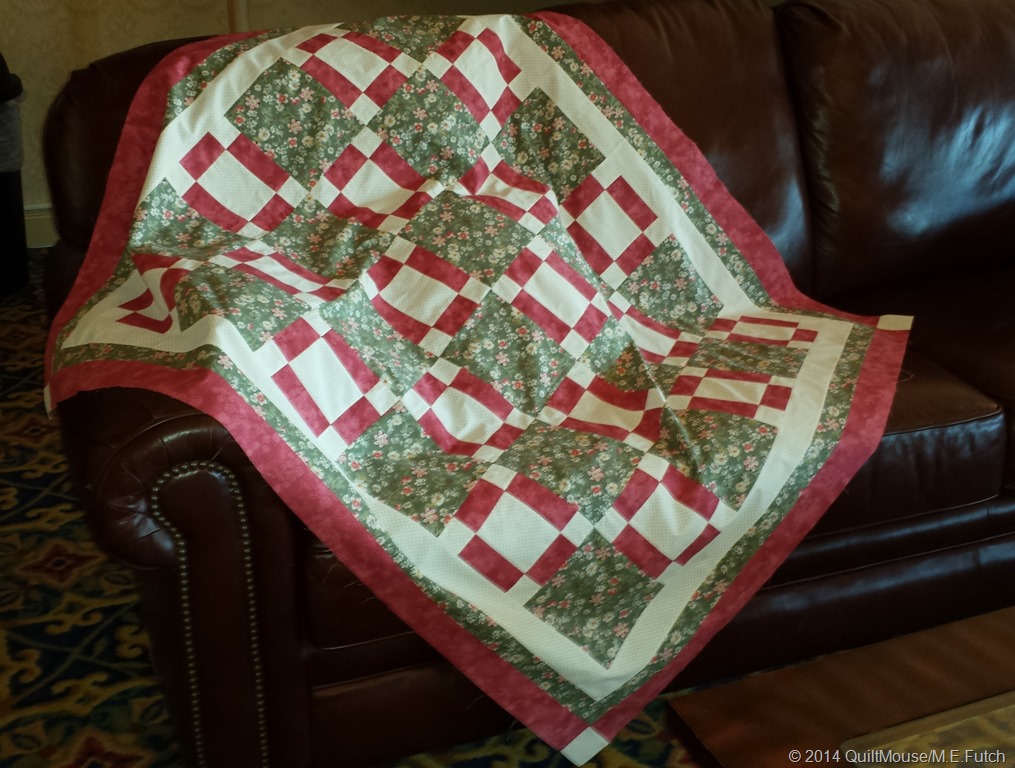
AwarenessQuiltTop

You ask, ‘How long does it take to make this top?’  Well, I’d have to say a day and a half.  But that included, taking pictures, editing pictures, and writing 2 Blog Posts.  Add into the timetable, I’m with a friend, and of course we had to visit a local quilt shop and spend some time catching up with each other’s lives. (Plus, I went to bed about 9 pm last night.)

Could I have made this in one day – Certainly!  Especially using the quick tricks of Strip Piecing & Chain Piecing!!  Try it!

This quilt is the Breast Cancer Awareness Kit which is sold by Fabric Café and when finished it will have Chenille Ribbons on the White Blocks.  I will post a picture of the finished quilt when it is available.

This kit is not on the Fabric Café’s website yet.  But if you are interested in making this Breast Cancer Awareness Quilt, you can call Fabric Café at 866-855-0998.  The 3-yard bundle costs $24 & includes a free pattern.  If you want to add the Chenille Ribbons, you will also have to order one roll of Chenille ($10.99).


Happy Stitching!


Quilt Mouse
Posted in Quilting, Tutorial | 2 Comments