Saturday, Day #5 of Make-A-Quilt Weekend – Part #6
In case you haven’t figured it out yet, I really haven’t been able to make this quilt in just ONE weekend! So, to continue, yesterday I finished adding the Borders to the top, and washed the flannel backing fabric. The Finished Top is 56" x 72".
Today, I have cut the backing fabric in two pieces, trimmed the selvages and stitched them together making a larger than necessary backing (62" x 80"). The backing and batting are always cut a bit larger to allow for ‘shrinking’ when the quilt top is quilted. The more stitching done to quilt it, the more ‘shrinking’ happens. I don’t plan on ‘over-stitching’ the quilt, because I want it soft & cuddly.
I have also pieced the binding strips into one very long piece and ironed it WST (Wrong-Sides-Together). You do not bind a quilt until AFTER you quilt it, so this is just set aside for now.
Next I created my "Quilt Sandwich." First lay the backing fabric down, wrong-side up & smooth out the wrinkles. Then add the batting, smoothing out any wrinkles. Finally, lay the top, right-side up and center on the batting/backing. Keep smoothing out wrinkles.
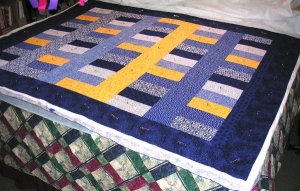
Once the Quilt Sandwich is made, but before stitching, I have Pin-Basted the pieces together to keep them from shifting. You can baste with spray adhesive, or you can hand or machine baste, or you can baste with pins. I don’t really care for the spray, although I do use it sometimes — it is messy, you get sticky stuff on other things than where you need it and it doesn’t always keep it from shifting. Hand basting could take a lot of time, but you have to rip it back out once you’ve finished quilting.
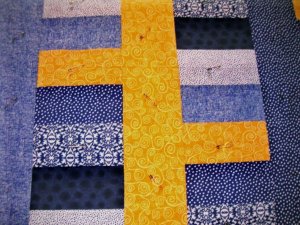
Taking a break to have lunch, and then will get to Quilting!