Yesterday I got some ‘sort of” sewing done – Didn’t even sit at my machine. Not everything in quilting is actually stitching. My day involved rulers, a rotary cutter, and an iron.
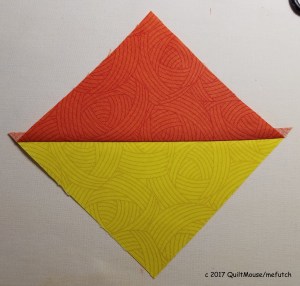
4-1/2″ Unfinished HST (when added to a quilt it will be 4″ Finished)
I was working on 60 HSTs. I don’t usually count, because often there are so many pieces in a quilt that I can get overwhelmed with the idea of getting so many done. So I usually think in smaller numbers. It takes 4 HSTs to make one Pinwheel Block and the pattern I am making requires 5 Pinwheel Blocks to create one row. The finished quilt requires 3 rows of Pinwheels. See, it doesn’t sound as bad using the smaller numbers! LOL!!
Friday, I chain-pieced the 30 squares required to make the 60 HSTs. To complete the process I needed to cut the triangles, trim the edges to give me the 4-1/2″ unfinished HST and iron the blocks.
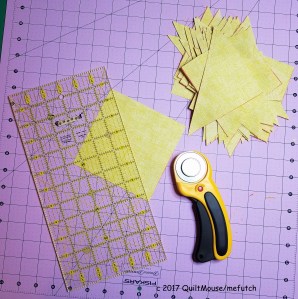
HST – Cutting the squares
Edges all trimmed – stay tuned for a tutorial about the special method of trimming the HSTs I really like. (Hint: notice that my trimming is done before I open the square.)
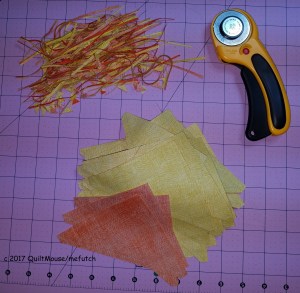
HST – All Trimmed
Iron the HST open – I ironed the seams toward the dark (orange) side. This will help me ‘nest’ the seams to improve the accuracy of my points.
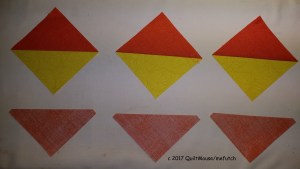
HST-Ironing in Progress
I press to set the seams and then fold the orange triangle open and press. Since the seam is on the bias, and therefore can stretch out of shape, I’m careful to hand fold at the seam and press, not iron the block.
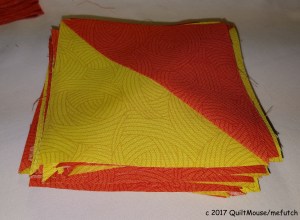
60 HST blocks all ironed & ready to chain piece.
Today’s project will be to chain piece the HSTs and create my 3 rows of pinwheels. HSTs & Pinwheels are the most time consuming part of this quilt top! The rest will go quicker.
We had enough leftovers from my previous days of cooking this week, that I really didn’t have to worry about supper (or do you call the evening meal dinner?). I saw a recipe on Facebook recently for a Berry Cobbler made in the Slow Pot and it only took a few ingredients and 2 hours to make. To make a plain meal of leftovers a bit more special, I decided to make this for dessert.
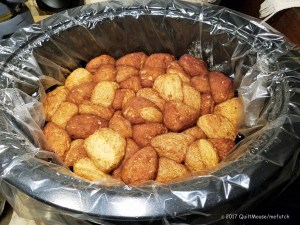
Slow Cooker Berry Cobbler
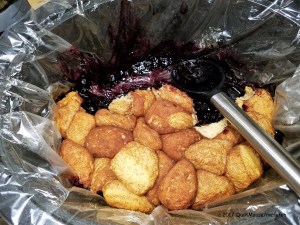
Slow Cooker Berry Cobbler

Yummy dish of Blueberry Slow Cooker Berry Cobbler
We topped each serving with a couple of scoops of Vanilla Ice Cream – it was Yummy!! One thing I liked was that it was not too sweet. I see making this with peaches, blackberries or raspberries, or maybe even homemade apple pie filling.
The recipe says it serves 6, but I’m thinking we might squeak out 8 servings. I used one of those slow pot liners for easier clean up, plus I wanted to avoid any possible leftover onion or garlic smell/taste to bleed into the berries.
I may try cutting the recipe in half and making it in the slow cooker using an oval corning ware casserole I have that fits inside.
Finally, for all our Family & Friends in the path of Hurricane Irma – all our thoughts & prayers are with you and all the residents in the affected area. Love you and be safe! Twenty-eight years ago this September 21-22, we were in a small town south of Charleston, SC, when Category 4 Hurricane Hugo came ashore. That night and the weeks after will forever be part of the fabric of our lives.
Happy Stitching!
Quilt Mouse