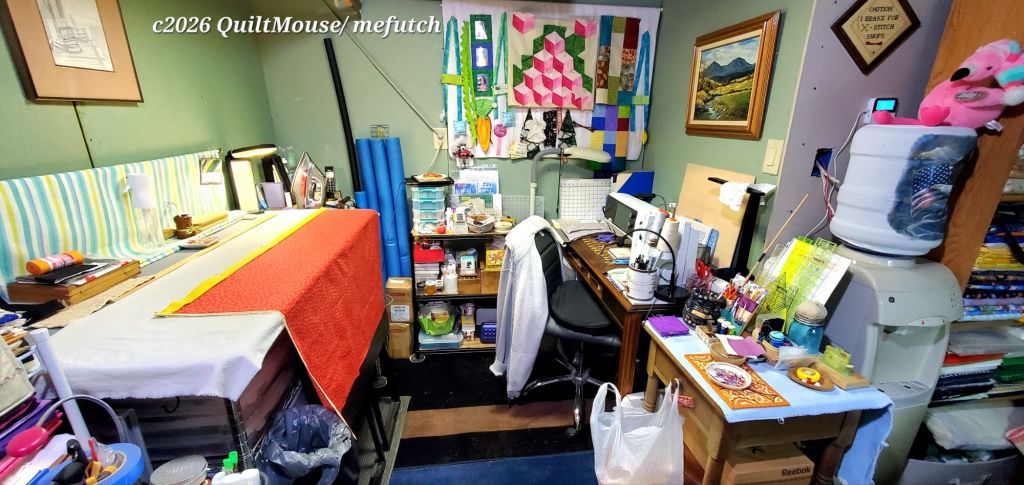
Things are getting back to normal. I actually got to spend a good amount of time in my Sewing Room this past weekend.
Fabric Cafe – 5 Yard Quilt Top
My weekend was spent organizing, ironing and cutting 5 yards of fabric into smaller pieces and started sewing them back together. Isn’t that what all quilters do?
While I can’t share the fabric or pattern I’m working on, I thought I’d share a few steps I take when making a new pattern. I do this for nearly all my projects not just for Fabric Cafe.
Cutting & Assembly Notes –
I’ve found my eyes need some assistance. Thanks to my inkjet printer I can enlarge pattern cutting instructions and steps.
If I have a PDF pattern I will cut and paste sections separately. For example I might enlarge and print cutting instructions for each fabric separately. This helps to avoid the wandering eye syndrome where your eyes skip from one line to another and you end up cutting wrong.
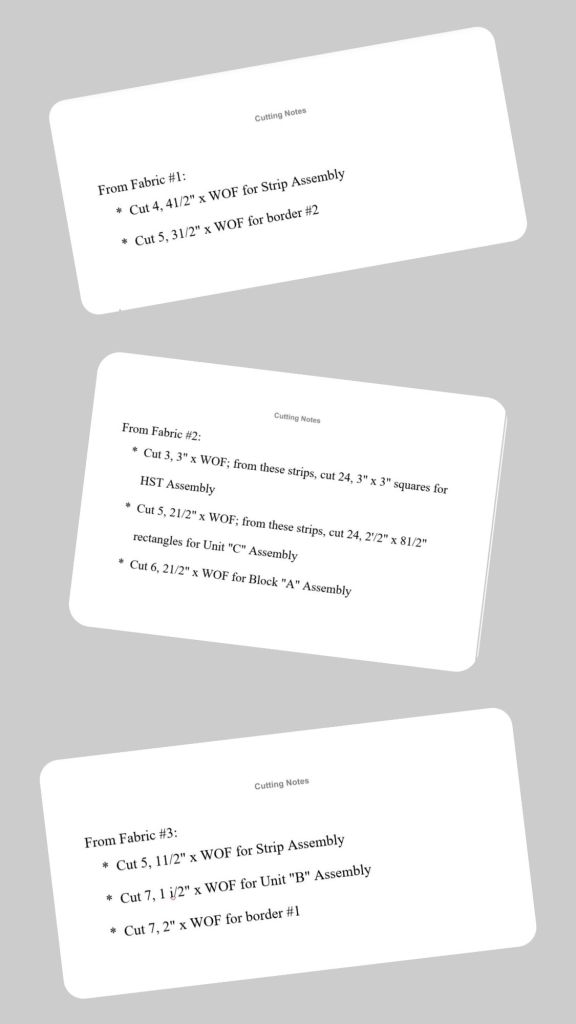
If the pattern has step-by-step instructions and pictures, I will enlarge and print each step separately with the matching pictures. By separating each step I’ve discovered I’m less likely to jump ahead and mistakenly stitch the wrong pieces together. I’m just focused on that one step until completed.
Washing –
I do not prewash the Fabric Cafe bundles. And I’ll admit, I don’t prewash my other fabric, BUT…
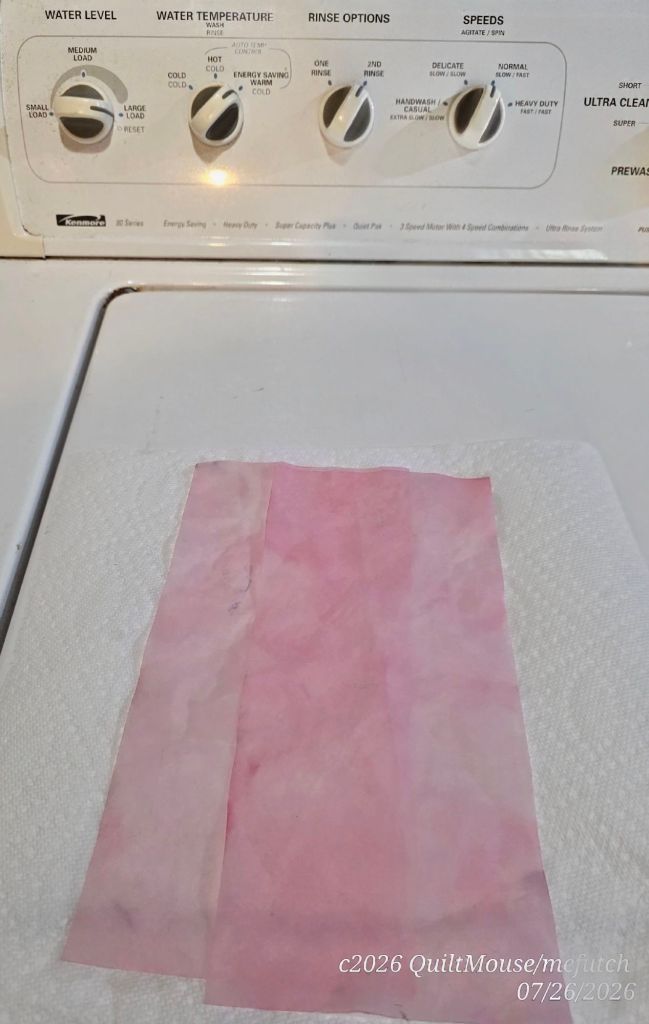
There’s always an exception. Fabric that I think may bleed, I will prewash. Mostly it is the dark, rich colors like deep red, forest green, dark blues and some batiks. The Poinsettias fabric I used in my Christmas in July Table Topper was a red that definitely bled. When I prewash I’ll use just a smidgen of laundry soap and add 2-4 Shout Color Catchers. It’s better to be safe than sorry!
Ironing –
I’ve found that ironing my yardage before cutting helps with accuracy. Some fabric may twist or wrinkle while on the bolt. Or if you get the very end of the bolt it may have bunched up. Even if you folded your fabric nicely while stored, the fold creases can become set in.
Once ironed I gently accordian fold the fabric and stack in cutting order on the left of my cutting table.
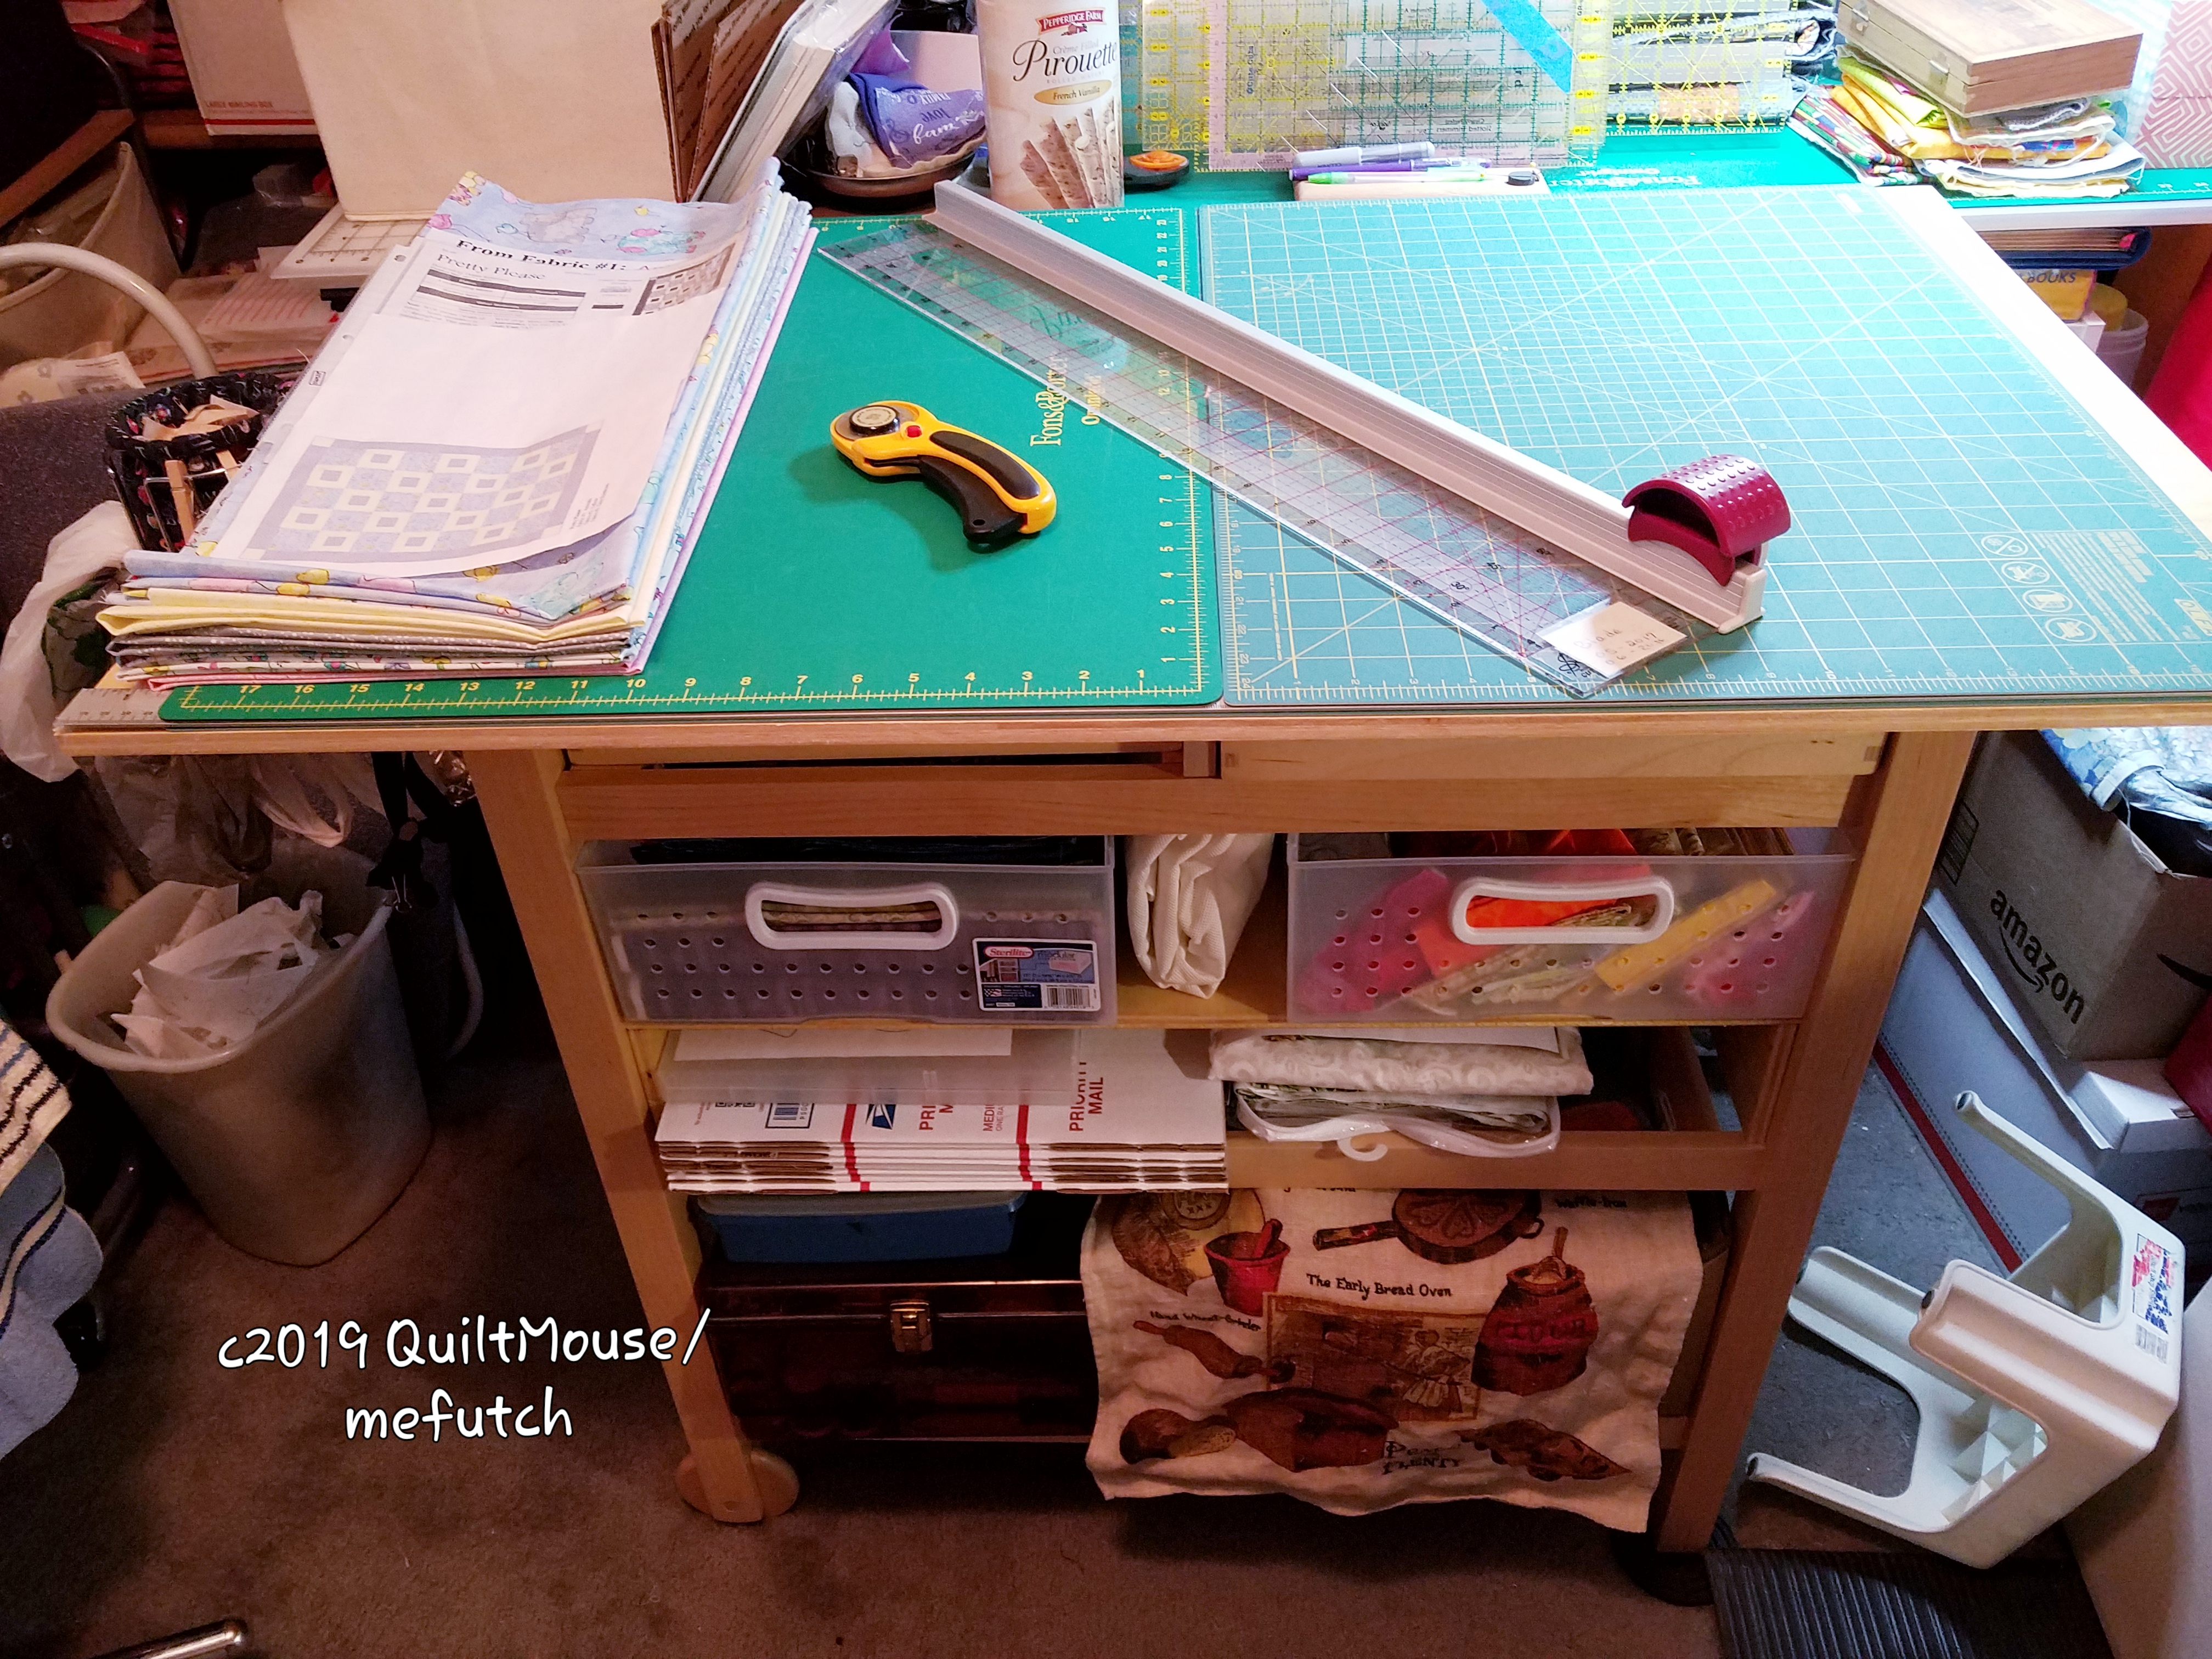
Thar’s the first things I do when starting a project. The next step is Cutting. I’ll continue my process in my next post.
***Note – I apologize for the limited pictures. Flickr has chosen to randomly replace my pictures with stock photos. Once Flickr corrects this behavior, I’ll add the pictures.***
Hope you are making progress on whatever you are stitching this week!
Happy Stitching!
Quilt Mouse





Pingback: How I Go About Making a Top – Part 3 | QuiltMouse
Pingback: How I Go About Making a Top – Part 2 | QuiltMouse