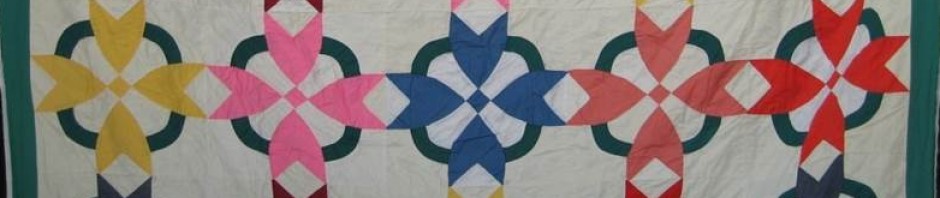
In my last post – Part 1, I shared the first three steps I usually follow when making a new pattern.
Cutting & Assembly Notes –
Washing –
Ironing –
Today I’ll share the next three processes.
Cutting –
After ironing I will stack my fabric on my cutting table in the order listed in the pattern. I will have the enlarged, individual Cutting Instructions I had printed laying on each fabric.
The first thing I do with each fabric is to verify it is folded along the straight of grain and trim off just a smidgen to straighten/ square the edge. If there are a lot of small WOF strips, I may square the edges again after cutting several strips.
In high school I was taught to tear fabric to get a straight edge. While I may do that occasionally it does create a curl and I’m satisfied with using a ruler and rotary cutter. I lose less fabric. (And to be honest my high school days were several years BEFORE rotary cutters were created!)
If there are a lot of pieces from a fabric or a number of similar sizes (like both 3″ and 3-1/2″) I may clip a label on them for easy reference. The pieces are then piled on the Cutting Instruction sheet.
I will use the Alphabitties (just for reference, not an affiliate) Alphabets to label Units or Blocks and the Numbers to identify Rows. I copy & cut instruction visuals to label cut pieces that go together. I’ll also use Post-it notes or just scraps of paper to label cut pieces for Borders (1, 2 or 3) or just to remind me which fabric is which. I’ll do anything to help me from getting confused or distracted.
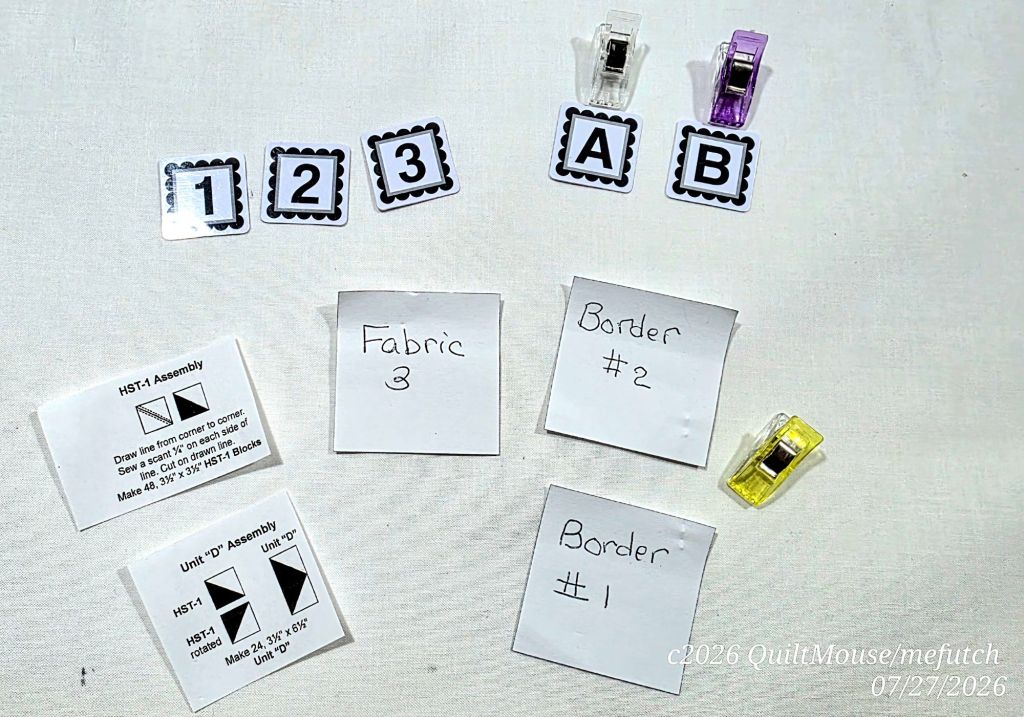
I may also check (✔️) off each of the different cutting step especially if I get interrupted or have to stop in the middle.
Strip Piecing, or Special Units (HSTs, Flying Geese, Stitch & Flip, QSTs)
Using the enlarged and printed Assembly Instructions I then will pull the fabric cut pieces that will be required for each step and arrange them in the stitching order.
Now the stitching begins! Strip piecing usually goes fast and additional sub-cutting will be required for additional steps.
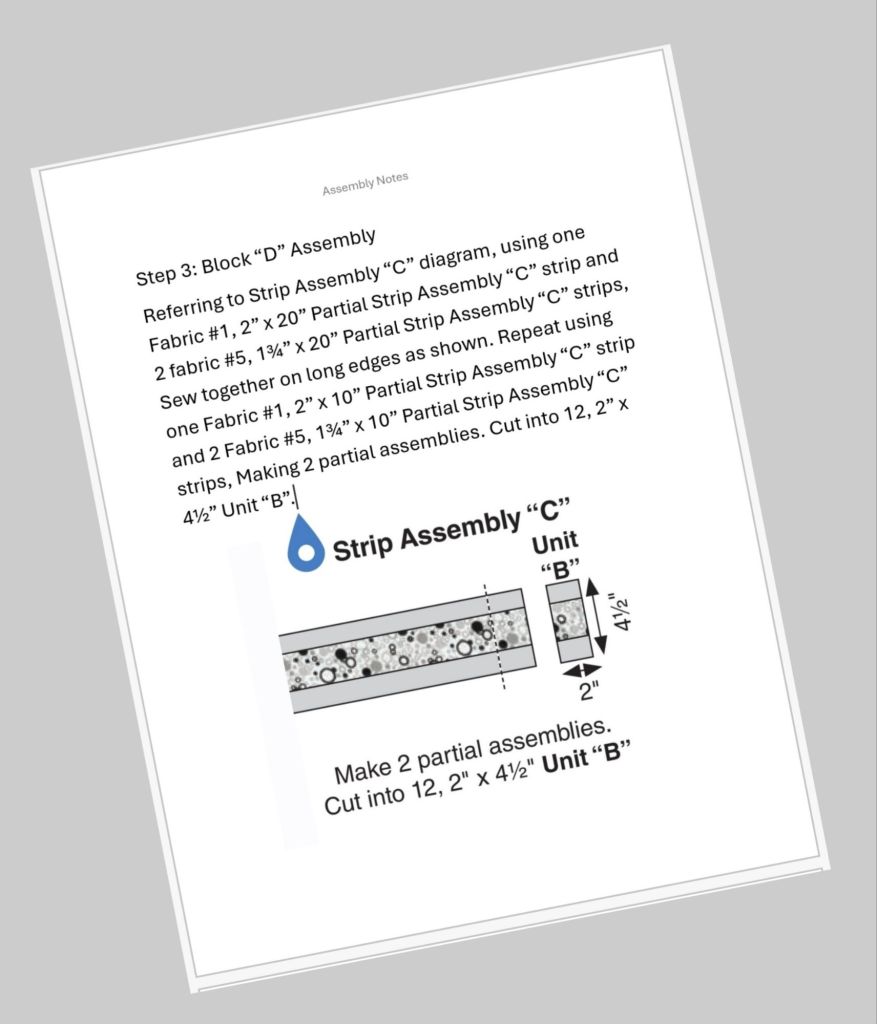
Special Units usually take a bit more time as they will require additional cutting and maybe more stitching.
Block Assembly-
Once the preliminary stitching is completed, the Block Assembly begins. The completed units are placed with the Block Assembly printed sheets.
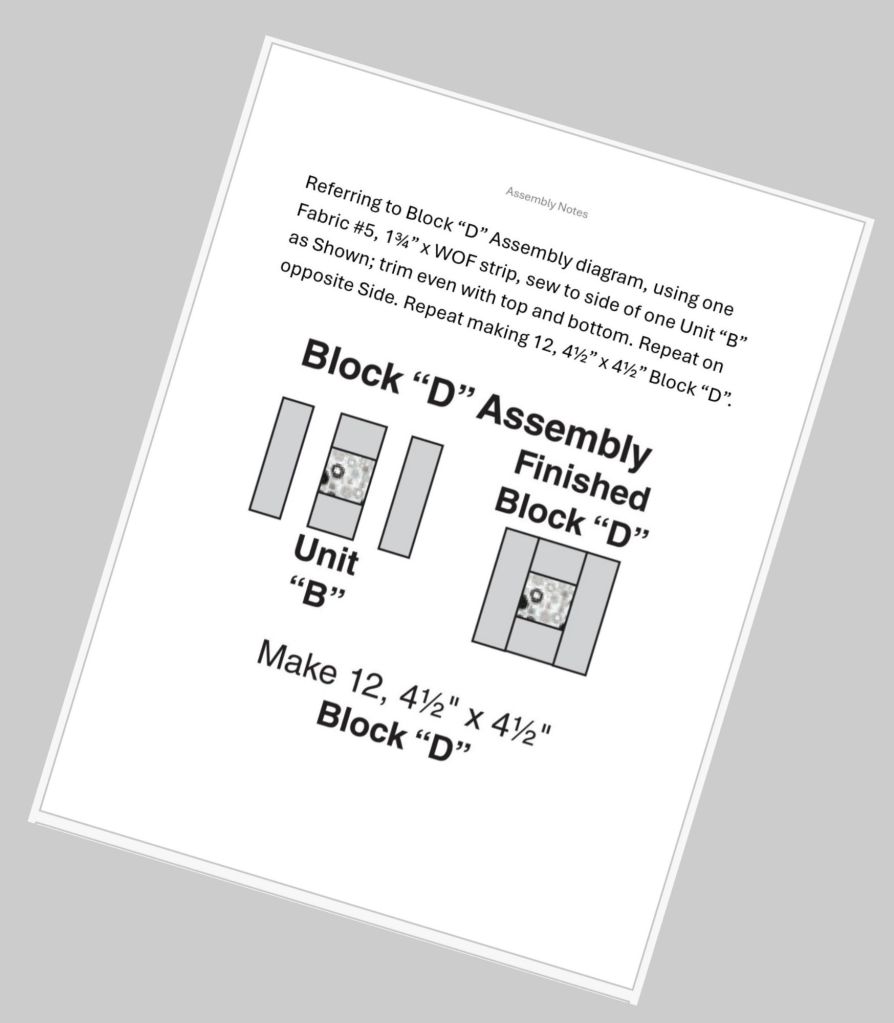
I will usually make one complete Block checking seam direction as I go. By doing just one first I can discover any issues. If it works well, I will chain piece the remaining of that block.
I try to be aware of seam direction to permit nesting of seams and reduce bulk. I rarely press my seams open unless it is to reduce bulk especially in Half Square Triangles and Flying Geese.
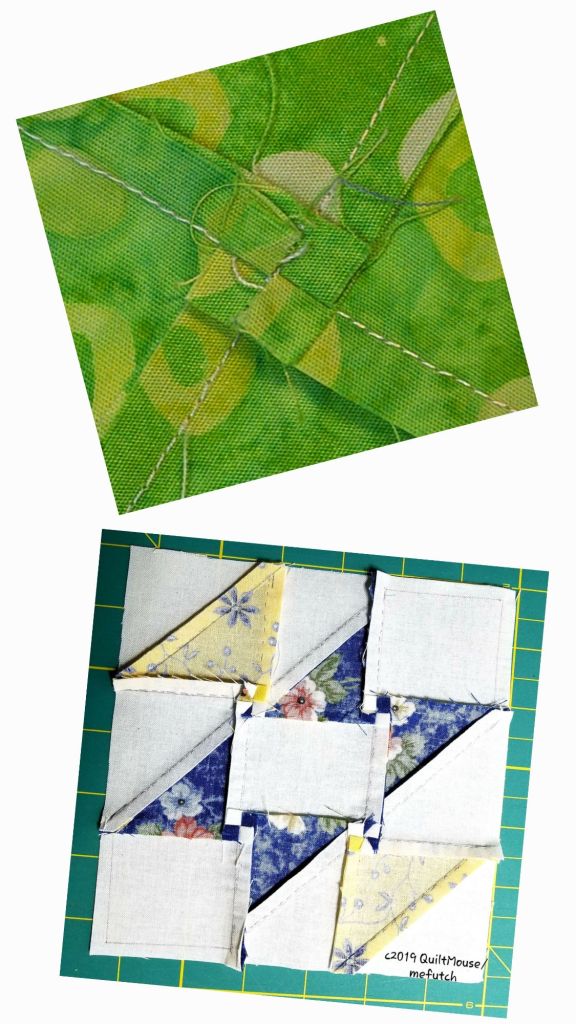
Another Tip to reduce bulk is to “twirl” seams. The seams are pressed to one side but when joining crossing seams the intersection is twirled and makes what looks like a 4-patch.
After finishing all the blocks I move on to assembling the Rows. I’ll share my additional steps in the next post.
***Note – I apologize for the limited pictures. Flickr has chosen to randomly replace my pictures with stock photos. Once Flickr corrects this behavior, I’ll add the pictures.***
Hope you are making progress on whatever you are stitching this week!
Happy Stitching!
Quilt Mouse





Pingback: How I Go About Making a Top – Part 3 | QuiltMouse
I do something similar when cutting for a project. I use my clips and leftover squares of embroidery stabilizer to write notes, number of pieces etc. And I check off on my pattern that items have been cut. When I am doing a machine embroidery “in the hoop” project this saves me a lot of time. Note – no problem with your last 2 posts and the issue you were having with Flickr. No stock images.
LikeLiked by 1 person