In my earlier posts – Part 1, and Part 2, I shared the first six steps I usually follow when making a new pattern.
Cutting & Assembly Notes –
Washing –
Ironing –
Cutting –
Strip Piecing, or Special Units (HSTs, Flying Geese, Stitch & Flip, QSTs)
Block Assembly
Today I’ll share the final processes.
Row Assembly –
Following both my enlarged assembly instructions plus the picture of the quilt itself I will lay out the blocks for each row. If there are just two different rows, I will assemble all the same rows before making the other row.
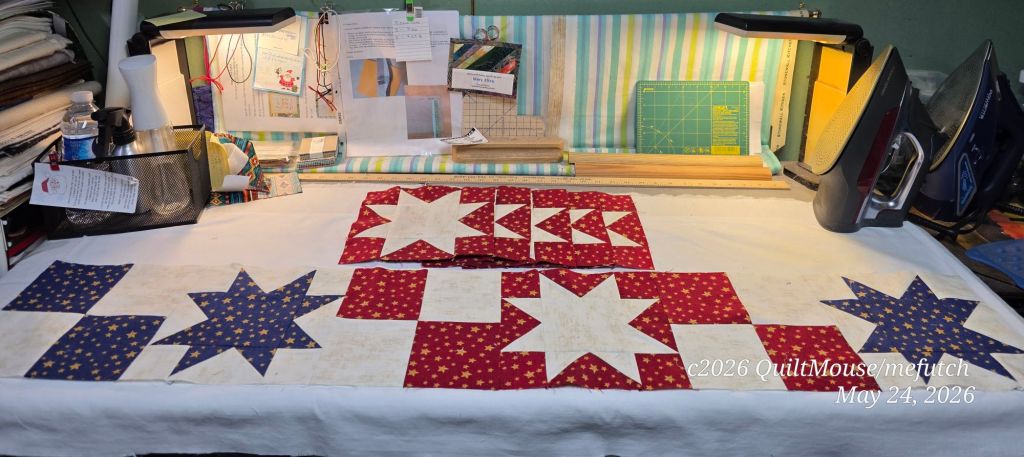
If possible, I will press each row’s seams in opposite directions so when combining the rows I can nest the seams to help keep points straight.
Row Combining –
Now the top is really coming together! If there are an even number of rows, I will usually sew them together in pairs. Then sew the pairs together until I have two halves of the top to stitch together. If there are an odd number, I will stitch in pairs and add the bottom row in before sewing the two halves together.
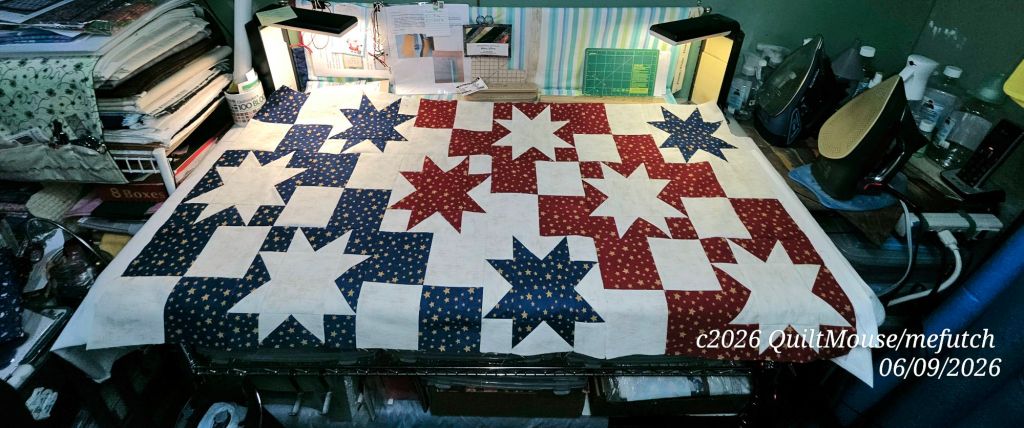
After combining the rows I will iron the horizontal seams facing the bottom of the top.
Borders –
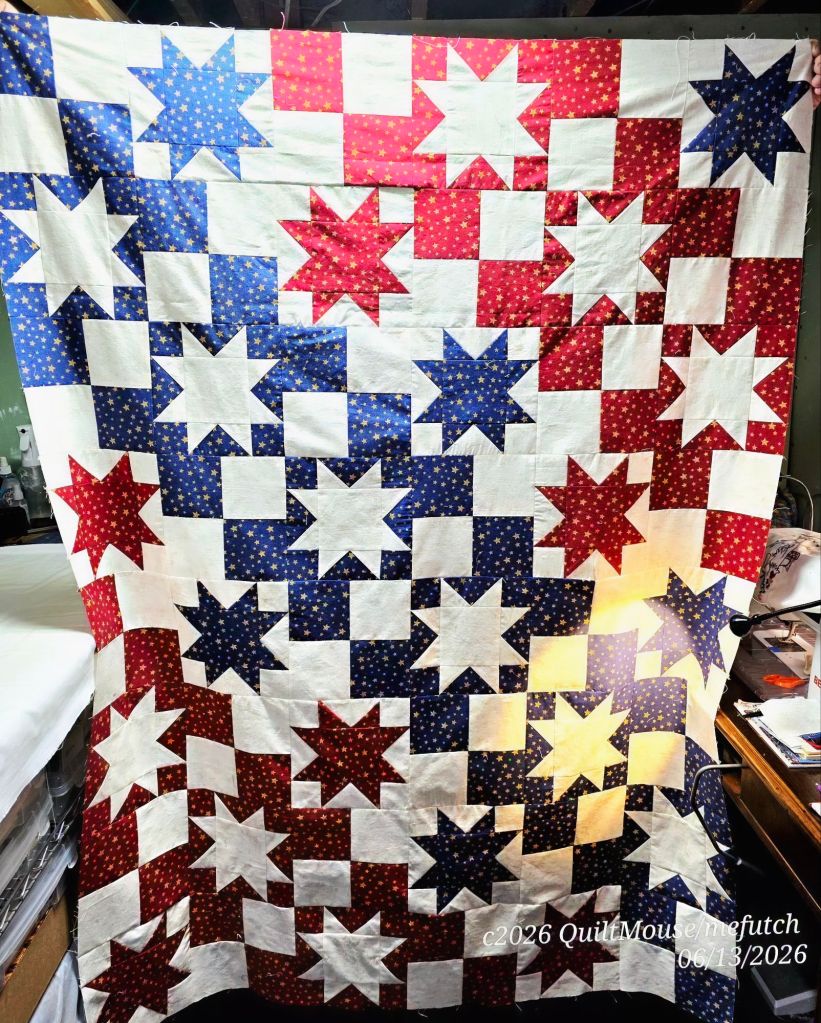
Fabric Cafe tops have the borders stitched together end-to-end and not using the diagonal/mitered seam. I will stitch the borders together with a bit more than a quarter inch seam and press them open.
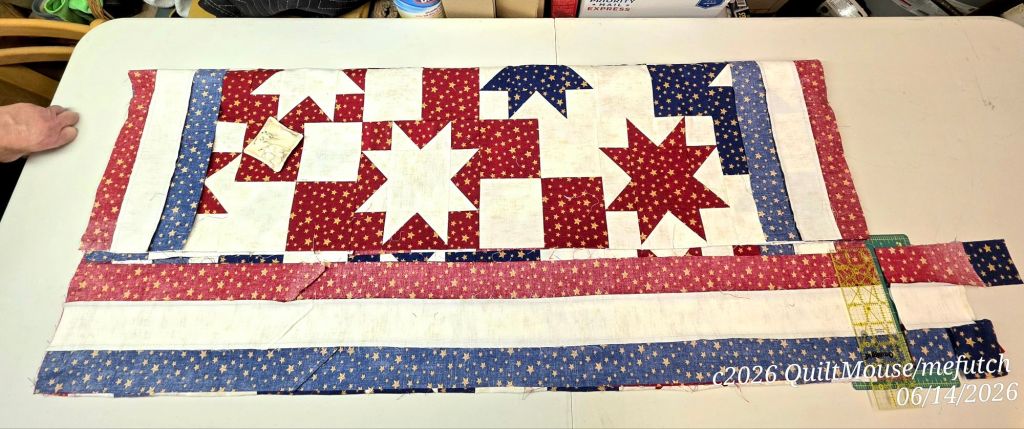
The side borders are added first, then the top and bottom borders. To measure the strips for the borders I will first fold the top in half lengthwise and place on my ironing board (cutting table or any large table).
The fold is placed nearest me and the top is smoothed. Two border strips are first pinned to the left edge lined close to the fold. I then smooth the border strips and top together until I reach the right edge of the top. I slide a small cutting mat under and cut the border strips at the right edge of the top. This measure insures both left & right borders are the same size and helps the quilt be square and avoid wavy borders.
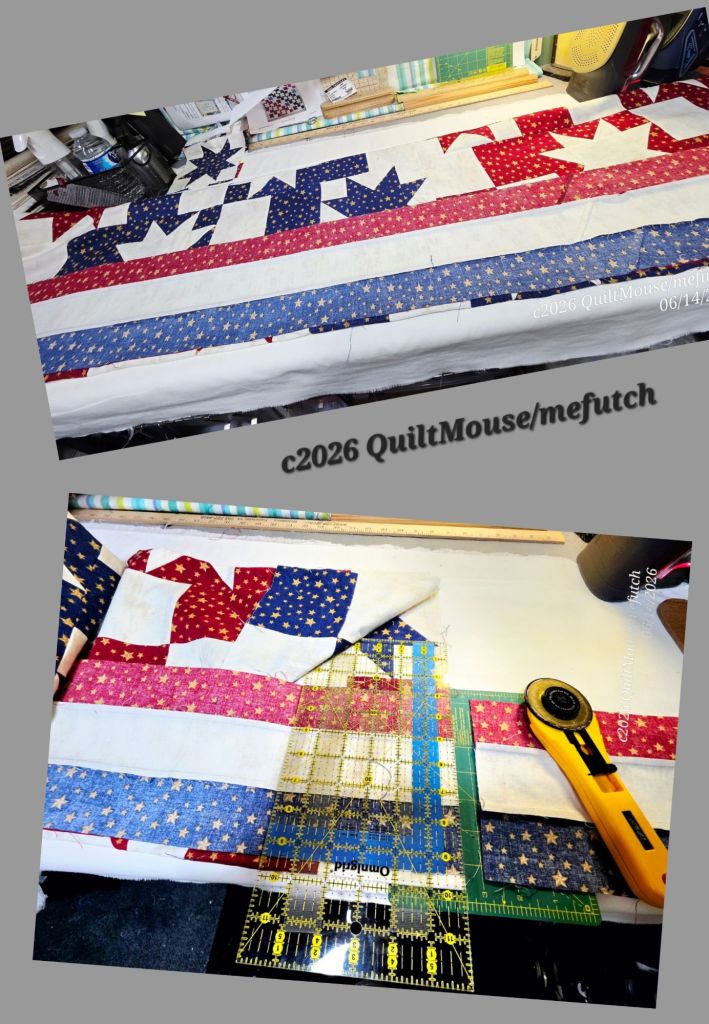
I pin the border to the right & left sides of the top. Next I pin it in the center. Easing in any differences, I will pin at the 1/4 length right & left and add any more pins to hold it smooth.
After stitching, the seam is ironed toward the border and the top is folded horizontally and the process is repeated for the top and bottom borders. If there are additional borders I do the same for each.
Binding –
For Fabric Cafe tops the binding is a Single Fold binding. The strips are 1-1/4″ wide and stitched together with a straight seam. I use a smaller stitch size and backstitch each seam beginning & ending.
I shared a Tutorial on the Single Fold Binding on my Post Here on April 26, 2014.
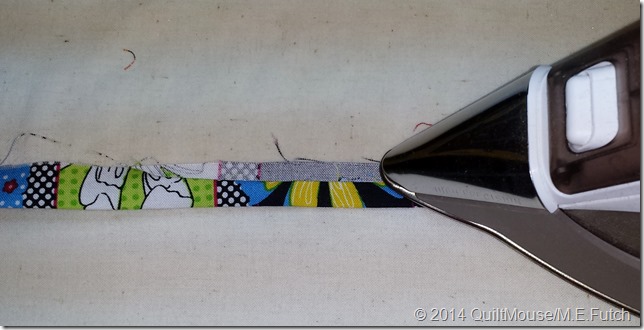
To finish the binding, the strips are ironed in half lengthwise first. Sometimes I will spray the fabric with Mary Ellen’s Best Spray until wet and allow it to dry before ironing which helps set the crease.
The next step is to fold one raw edge in toward the center crease. This will be the folded edge which is hand stitched down. The remaining raw edge will be the first edge stitched to the front of the quilted quilt.
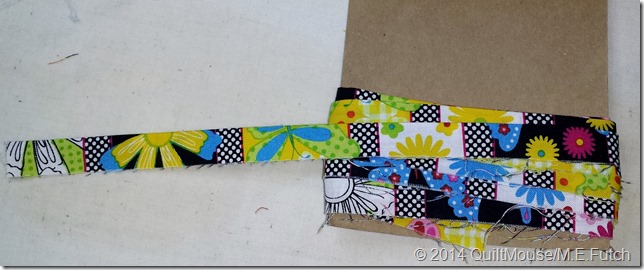
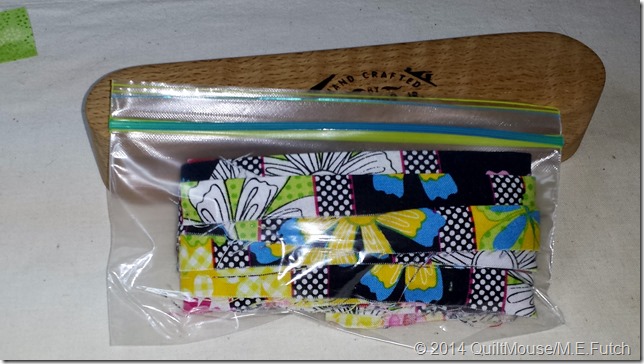
I wind the finished binding around some cardboard and store in a zip snack baggie. It is all ready for Donna or someone to add to the quilt and ready to finish.
When doing my own bindings I will use either a 2-1/4″ or 2-1/2″ Double Fold Binding. Lately I’ve begun using the Magic Binding which appears to have a trim and is completely stitched down by machine. There are a number of websites and YouTube videos showing the Magic Binding. Aunt Marti’s 52 Quilts is one that has a tutorial and video for the Magic Binding.
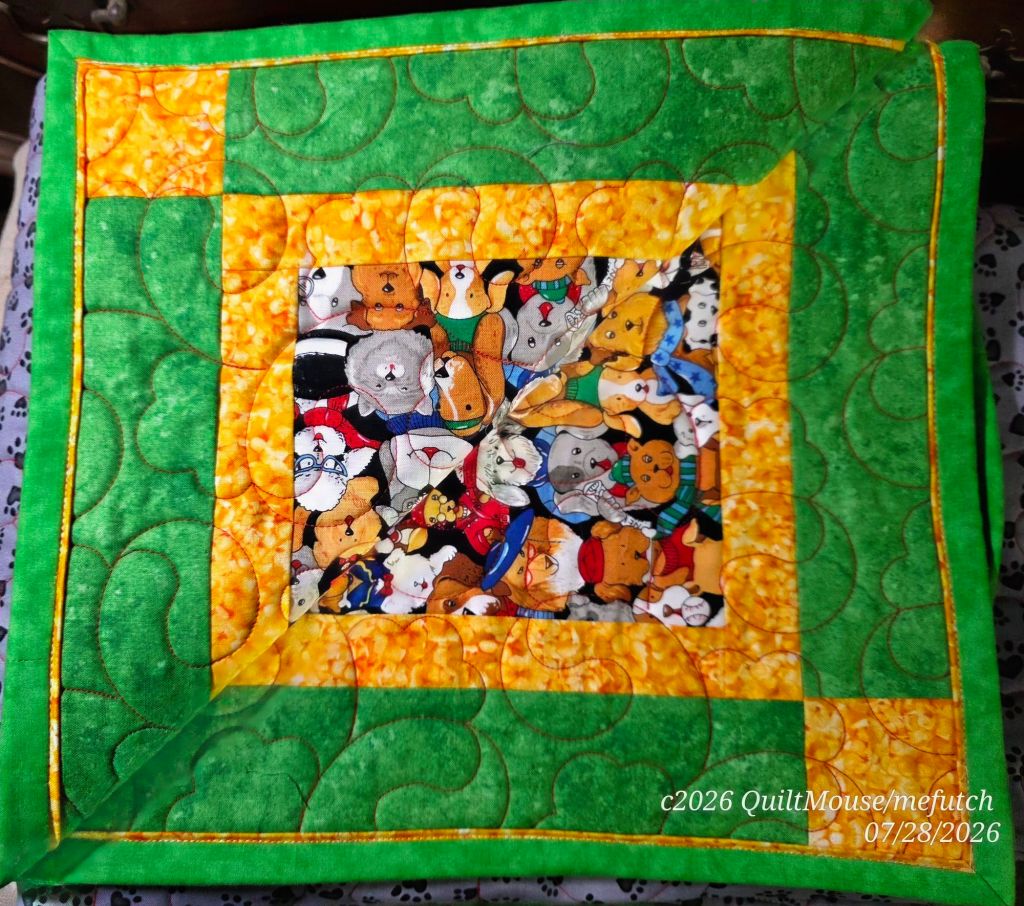
I’m not always that disciplined with my own bindings. Mostly I just save the required amount of fabric to be cut later. Lately I’ve been trying to at least cut & sew together the binding & fold inside the top waiting to be quilted.
That’s my process of making a quilt top. I don’t necessarily do this much detail for much smaller projects unless the pattern is written in small print.
Hope you are making progress on whatever you are stitching this week!
Happy Stitching!
Quilt Mouse





So smart to ENLARGE the critical information in a pattern. It’s easy to get things wrong by missing a step. I usually find my binding fabric when I trim the top after quilting. A lot of times the backing fabric makes for a nice binding, and no strip goes to waste. I’m a big fan of Susie’s Magic Binding. If it wasn’t for Aunt Marti, I may never have gotten a quilt bound. That QOV is spectacular!
LikeLiked by 1 person
Having an enlarged pattern has really helped. It focuses my attention to the step I’m working on rather that repeatedly verifying exactly what I am working on. When I cross stitched I would use a highlighter to mark stitches I had completed.
Yes, I like to use the backing fabric for the binding and often am able to use the “leftover” backing after trimming after quilting.
I’m so happy QOV now allows the Magic Binding on their quilts. It makes finishing go so much faster.
LikeLiked by 1 person