This is the story of a quilt made in a weekend. It really isn’t a completed quilt. It is the top and the backing which will be sent off to my longarm quilter ❤️ to be quilted. When it is returned I will trim it and add a label and binding.
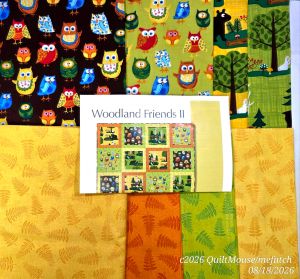
It started with a kit and a pattern. Ironing and cutting were done on Friday.
Baby “L’s” Quilt Progress
This pattern worked up very quickly. Using the Chain Piecing Method all the block borders were added in a continuous string.
Step 1 – Sew smaller strips to the blocks. Iron to the center block.
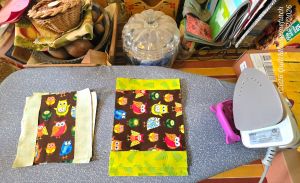
Step 2 – Sew the longer strips to the top & bottom of the blocks. Iron to the strips
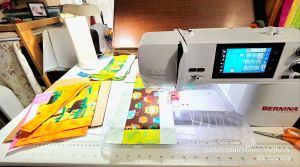
Step 3 – Iron all blocks
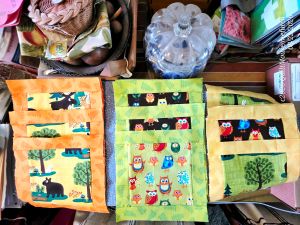
Step 4 – Following the Layout on the picture, pin the blocks on a Styrofoam Design Board. Note the Diagonal design created by the Orange, Green and Yellow Block Borders.
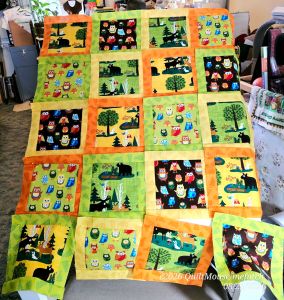
Step 5 – Chain Piecing continued combining the blocks into five rows. And the five rows into a top.
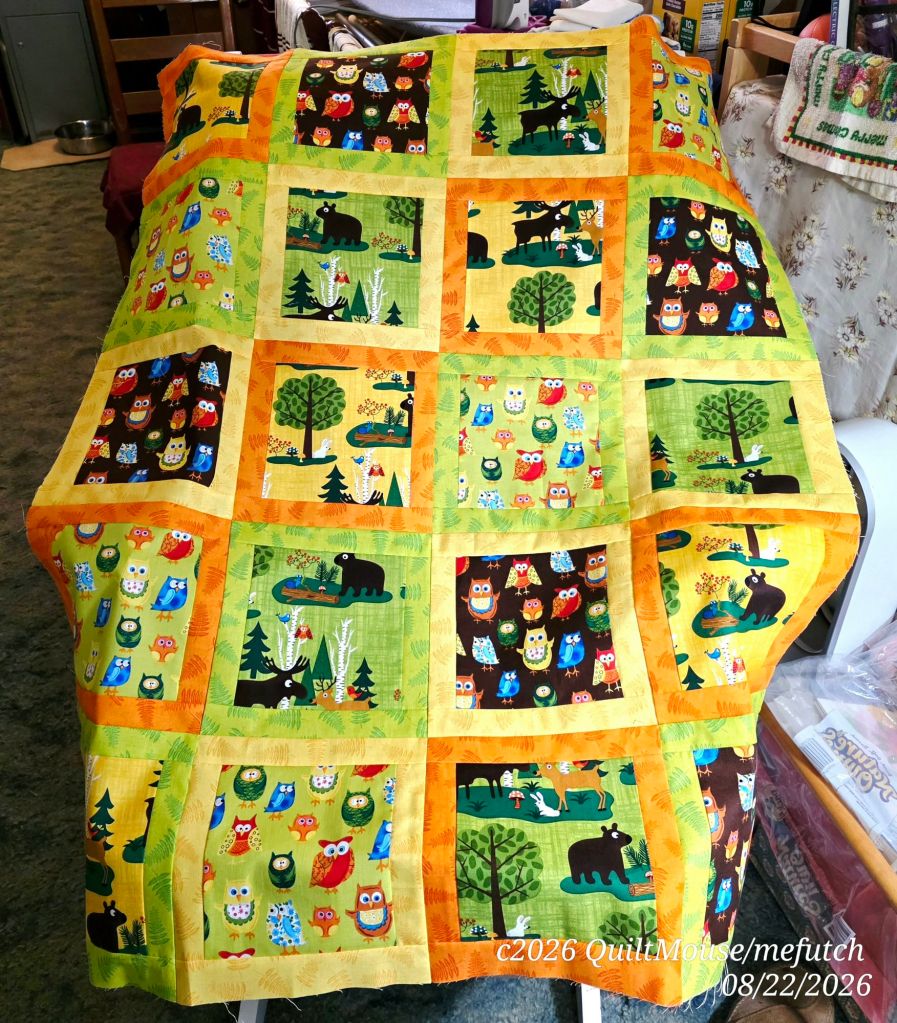
Modifications – That’s where the pattern stops at 32″ x 40″ but I wanted to add a border to frame it and also to enclose all the seams. So I added a brown 2″ border.

Backing – The fabric included in the kit wasn’t quite enough for a backing that goes to a longarm quilter. To fit on the machine an extra 4″ all the way around is needed. Plus since I added the border I needed to piece the backing.
The width of fabric was ok but I needed to add some length. I chose to cut the backing in half and add 8″ in the middle. I wasn’t happy with the fabric set aside for the binding so I used that to extend the backing.
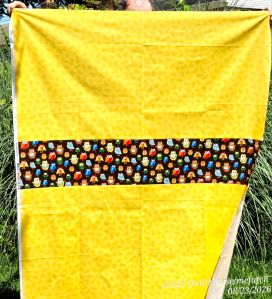
Everything gets ironed and folded nicely. It will go into a Ziplock baggie before packing to send it off.
Don’t you just love a project nearly completed?!
Hope you are making progress on whatever you are stitching this week!
Happy Stitching!
Quilt Mouse





Wonderful kid quilt, someone will be very happy.
LikeLiked by 1 person