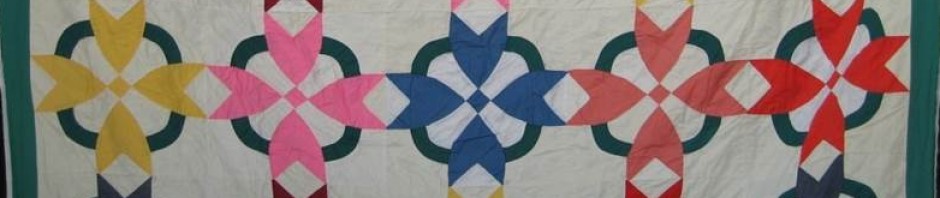

All this snow we’ve been having makes me think of snowball fights. Hubby recently tossed a few with the 2 elementary school kids across the street. They were in their yard & he was in ours.
Of course, for quilters snow may bring images of a Snowball Block. I’ve made a few quilts using this block, so I thought I’d share a tutorial with a few tips.
For a Finished Block that is 6″ square (6-1/2″ square Unfinished) you need 1 square of fabric 6-1/2″ x 6-1/2″ which will be the main fabric. Next, there will be 4 squares of contrasting fabric 2-1/2″ x 2-1/2″ that will make the corners.

Take the four corner pieces and draw a Diagonal Line from Corner to Corner on the wrong side of the fabric, using your favorite method of marking your fabric. Note: Use caution as this may show through on your finished block. I use a Frixon Pen that disappears when I iron the finished block.

Take the main block piece and one of the marked corner pieces and align on one corner. I don’t always pin, but you could add a couple of pins to make sure it doesn’t shift.

Your block will look like this and now you are ready to stitch

You will be folding the corner piece over the seam allowance. The thickness of your thread will take up some space so there is a trick you can do to compensate. When stitching the corner piece to the main block body, do not stitch directly on the drawn line. Watch your needle and stitch just a bare needle width toward the corner (which will be cut off later).

Here is a close-up view of the stitch and the drawn line.

TIP: Sometimes you can have problems beginning to stitch at the tip of a corner. Chain Piecing or using a small piece of fabric as a leader can help avoid this problem.

Repeat the process until you have all four corner pieces stitched on to the main fabric of the block.

TIP: I like to Flip & Iron the corner pieces BEFORE I trim the seam allowance. It seems to reduce the bias stretch. I can also check to see if the corner squares.

After ironing, fold the corner back flat and line up the 1/4″ mark of your ruler ON the stitch line and trim away the excess fabric. If your pieces are large enough you could even stitch the two pieces cut off and create small Half Square Triangles.

Return to the ironing board and give the block a quick press.
Hope you enjoyed this tutorial and start making some Snowball blocks! With these snowballs your hands won’t get cold. LOL!





Great tips!!
LikeLiked by 1 person