In America this is a long, holiday weekend. Monday we celebrate Labor Day. This year it is arriving a bit late. It is scheduled for the first Monday in September.
Labor Day is often marked with a cookout. We will have Hamburgers, Macaroni Salad, BBQ Beans & Homemade Coleslaw.
Hubby & Daughter had a list of projects to work on/accomplish over the long weekend. I opted to spend my time in my sewing room. Meals were quick, easy & lots of leftovers for simple preparation.
In the Sewing Room
Magic Binding was on the agenda. This process adds a bit of “bling” to the edge of the quilt and can easily be machine stitched on the front.
I worked on the Magic Binding for the Woodland Friends II quilt.
There are a number of tutorials & videos that demonstrate this method. I won’t “recreate the wheel,” but will just include some notes.
- This binding uses two different colored fabrics cut the length required for the binding. The main color (Brown) is cut 1-1/2″ wide while the accent color (Yellow) is cut 1-3/4″ wide.
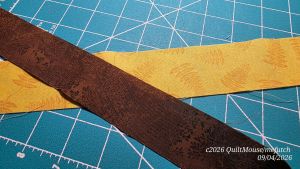
- I use the mitered method to combine each of one color’s strips. Once combined the two colors are stitched right sides together along the long edges. This becomes a Double Fold Binding with the accent fabric peeking out.
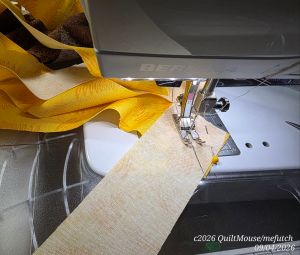
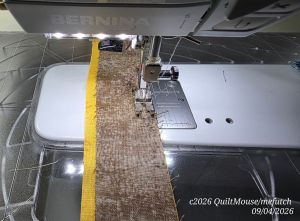
- I iron the seam toward the main color. Matching the raw edges the binding is then folded in half wrong sides together and ironed. Here’s where some of the Magic begins. Notice how the accent fabric now just peeks out about 1/8″ creating the appearance of piping.
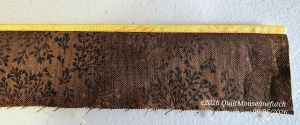
- The Magic Binding is stitched to the back of the quilt with the raw edges aligned and the accent fabric side facing up. Miter the corners and combine the ends using your favorite method. But be careful to line up the accent fabric when joining.
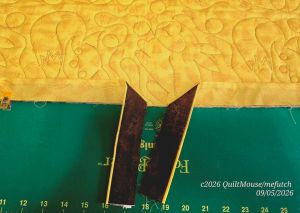
- Before stitching the Magic Binding to the front I flip the binding and first iron it along the back and then iron it folded to the front.
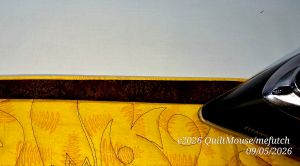
binding up
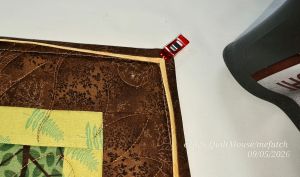
- Using my Walking Foot (also called an Even Feed Foot) I Stitch in the Ditch along the seam between the Accent Fabric and the Main Fabric of the binding.
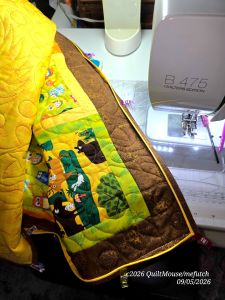
Ta Da! The only thing left is to hand stitch down the label.
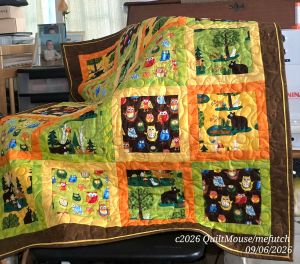
All in all, I’d say it was a productive weekend.
Hope you are making progress on whatever you are stitching this week!
Happy Stitching!
Quilt Mouse